CloudFlare Tunnel Setup
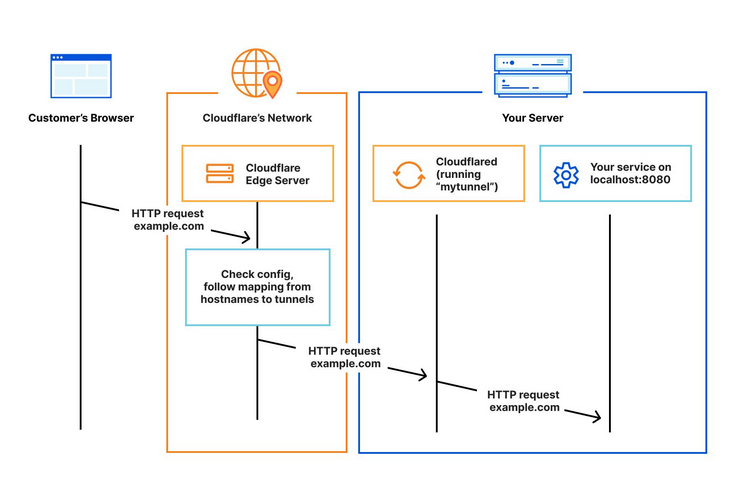
This tutorial helps you to expose your services via tunnel to CloudFlare reverse proxy without having to expose or port forward to. Their reverse proxy will also automatically issue certificates to your services! Neat eh!
All you have to do is to install unraid-cloudflared-tunnel docker container, add token to it so it can communicate to CloudFlare ZeroTrust Edge server, then voila!
Introduction
Visit https://developers.cloudflare.com/cloudflare-one/connections/connect-networks/ for more details.
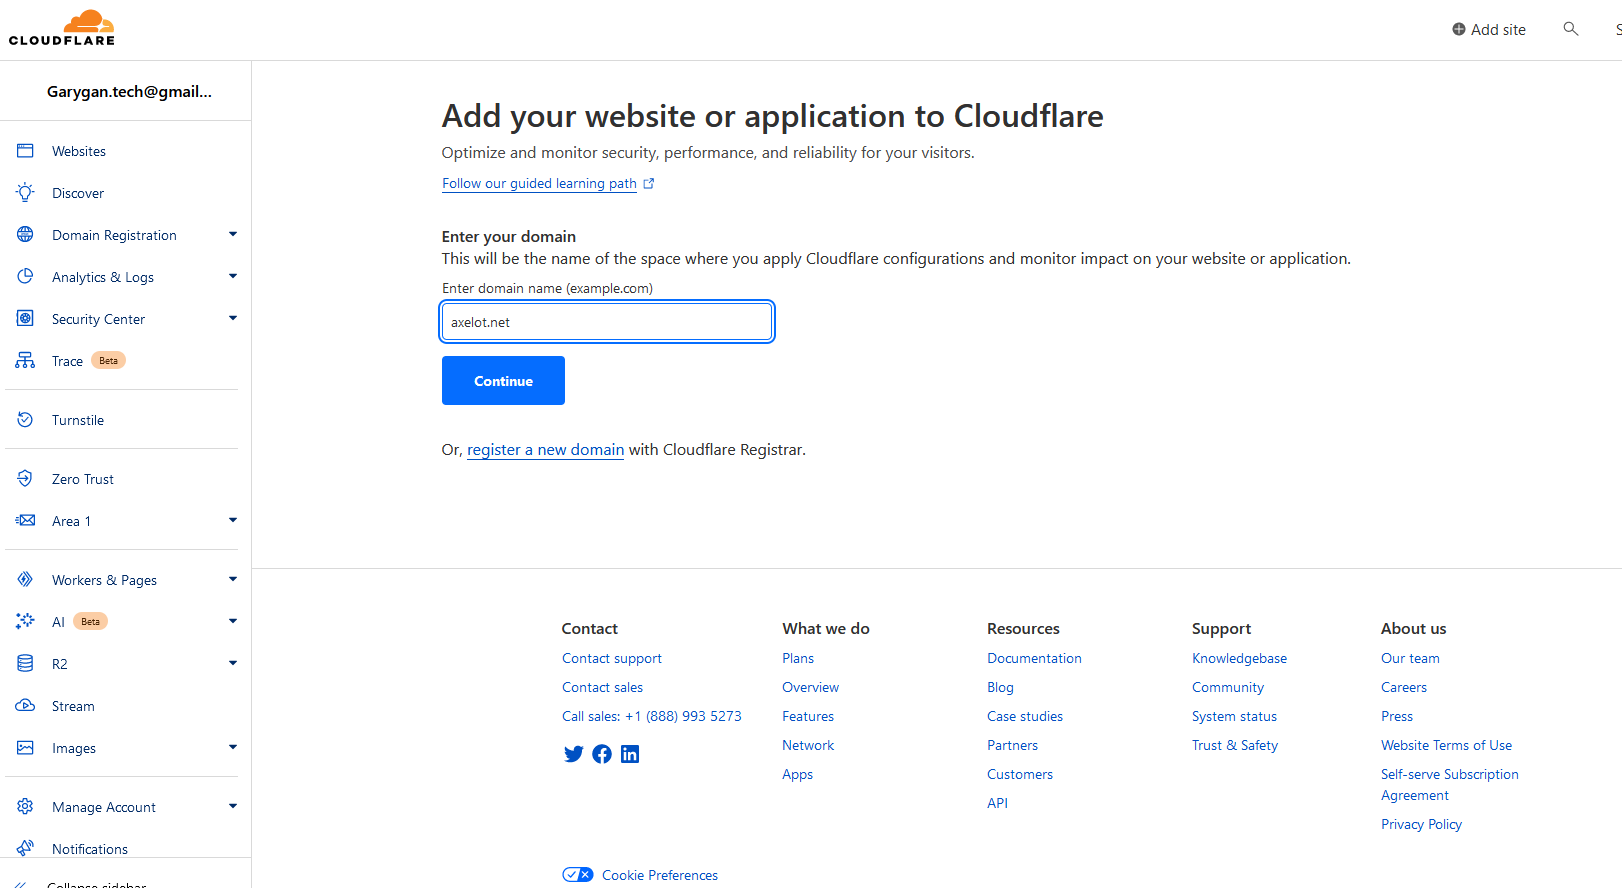
Add Domain to CloudFlare
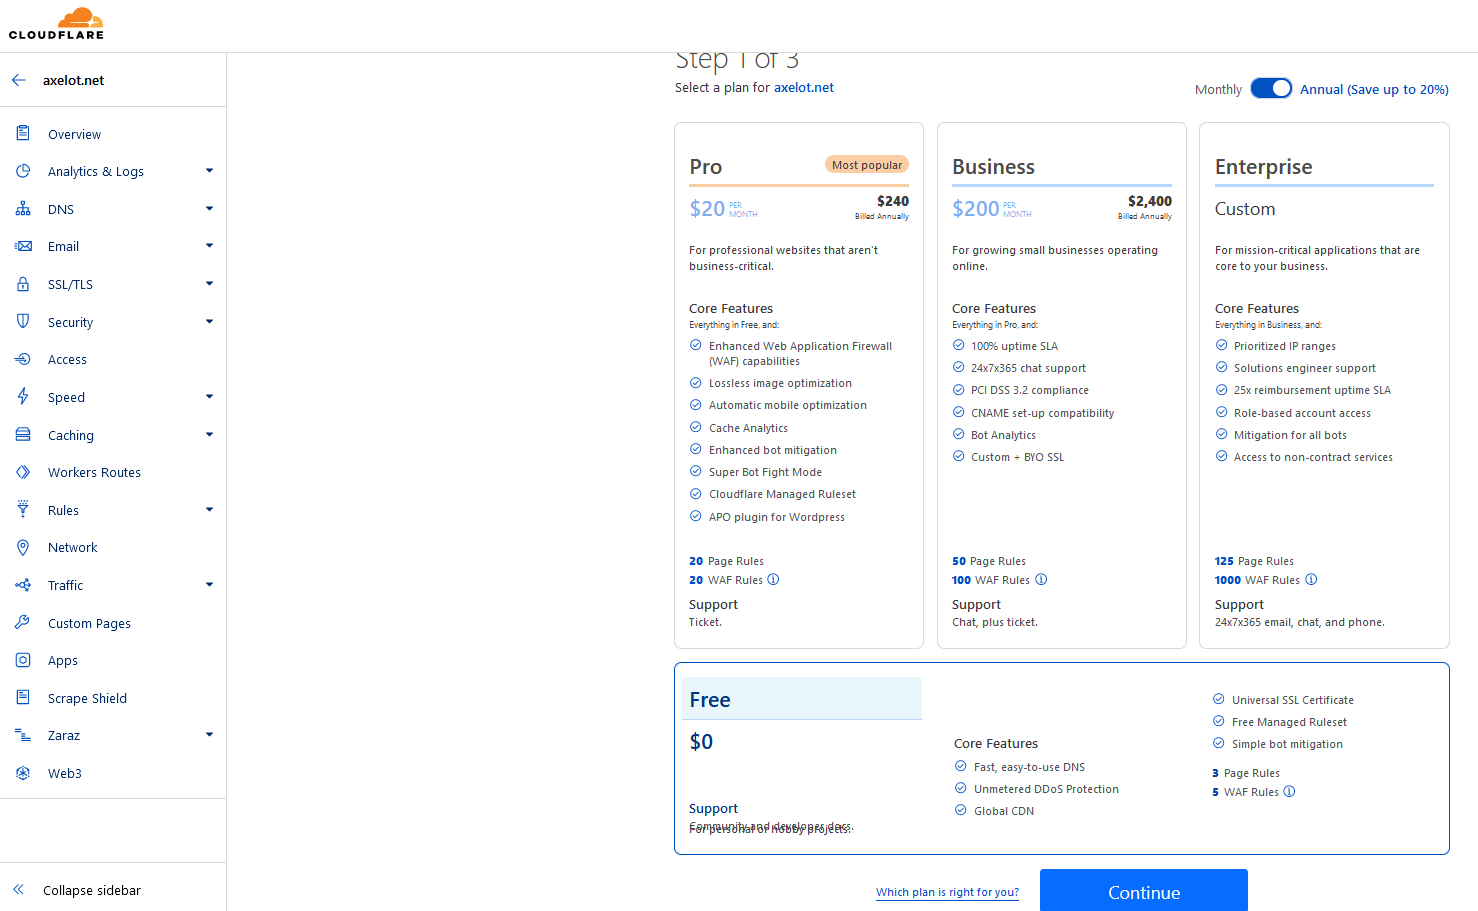
Select Free then continue
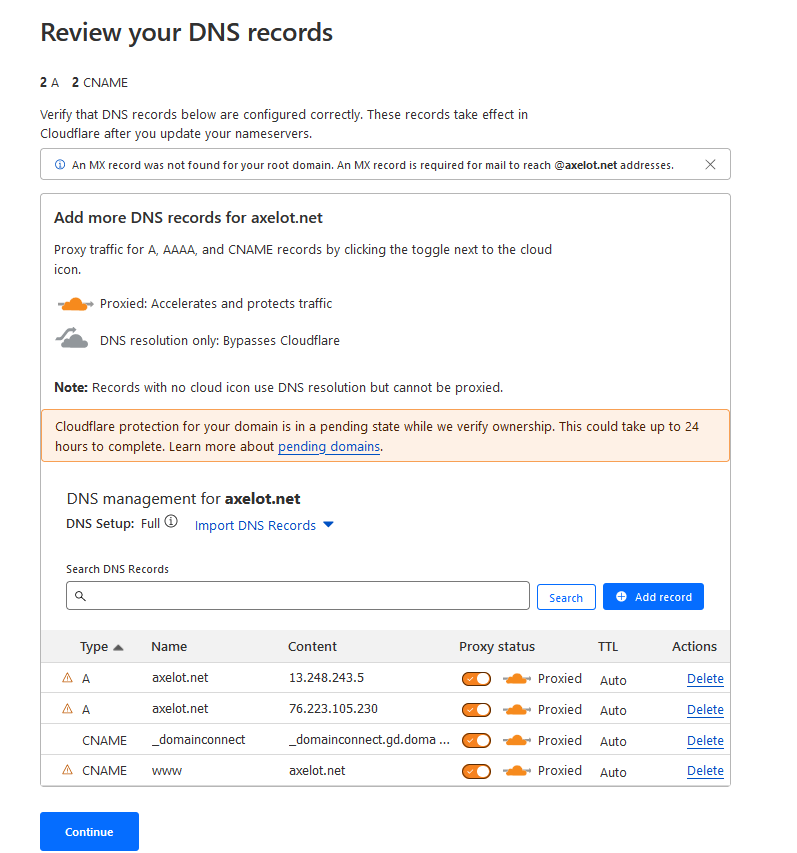
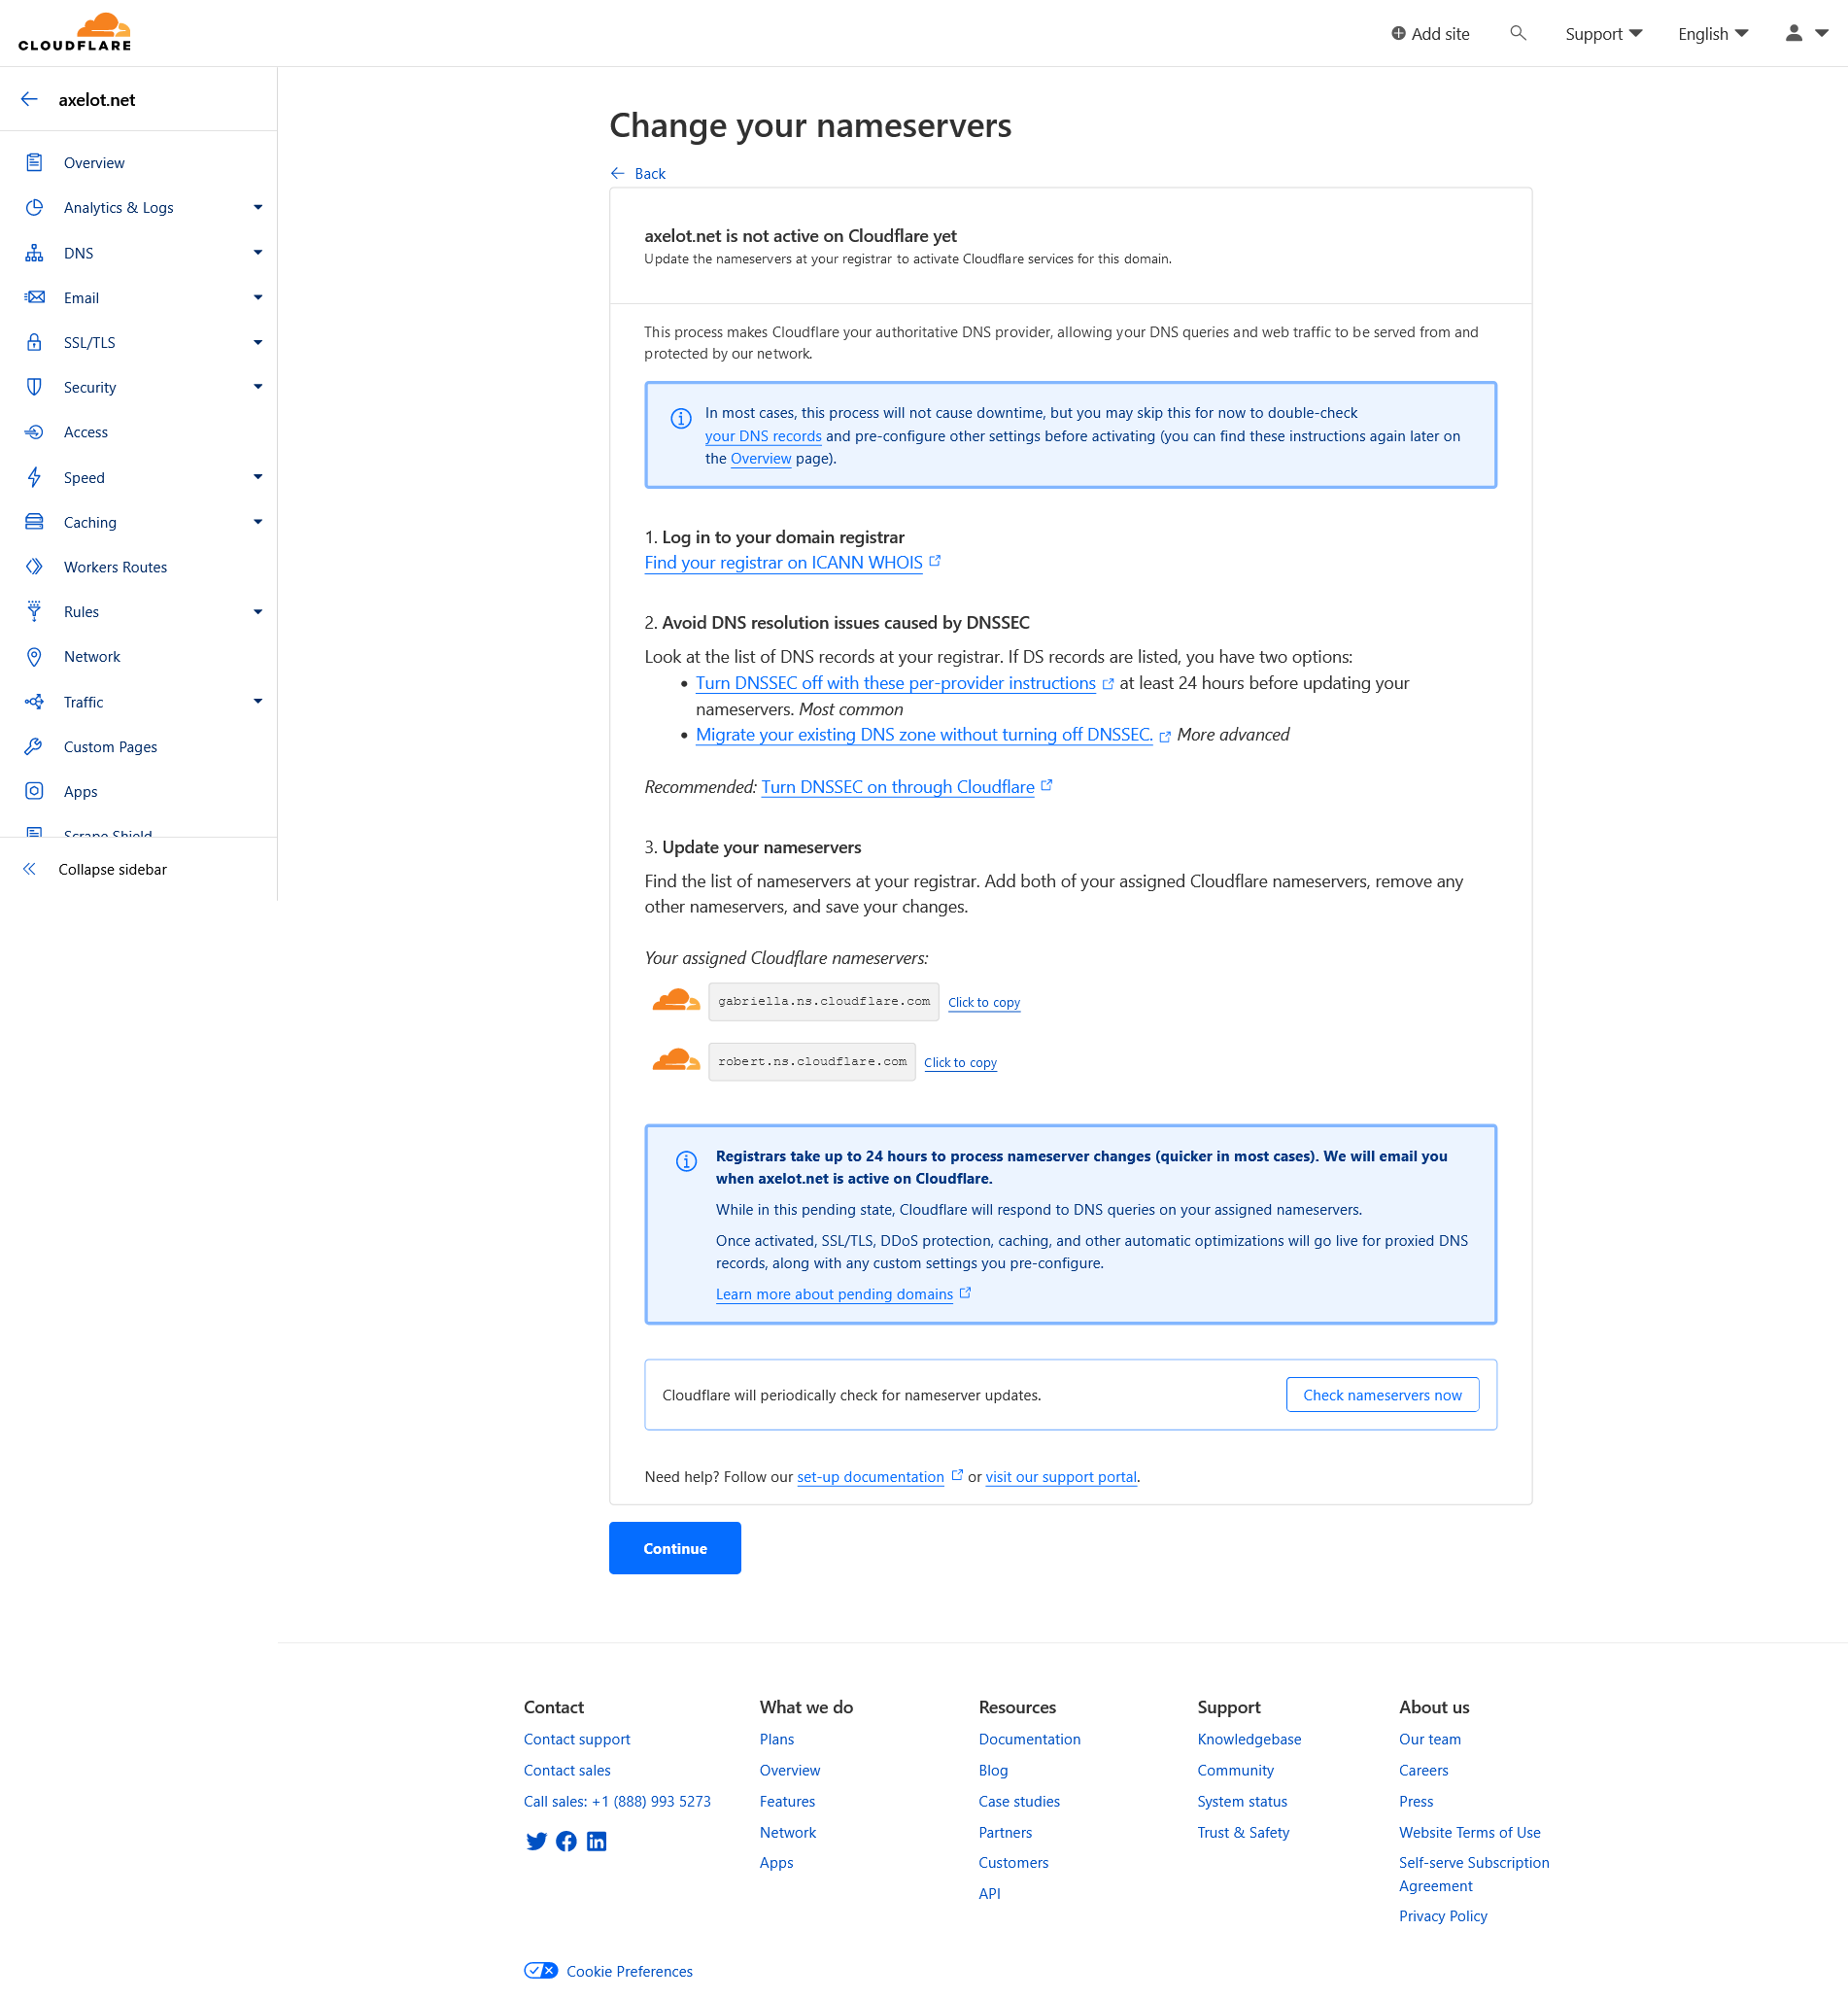
Pulling DNS record.
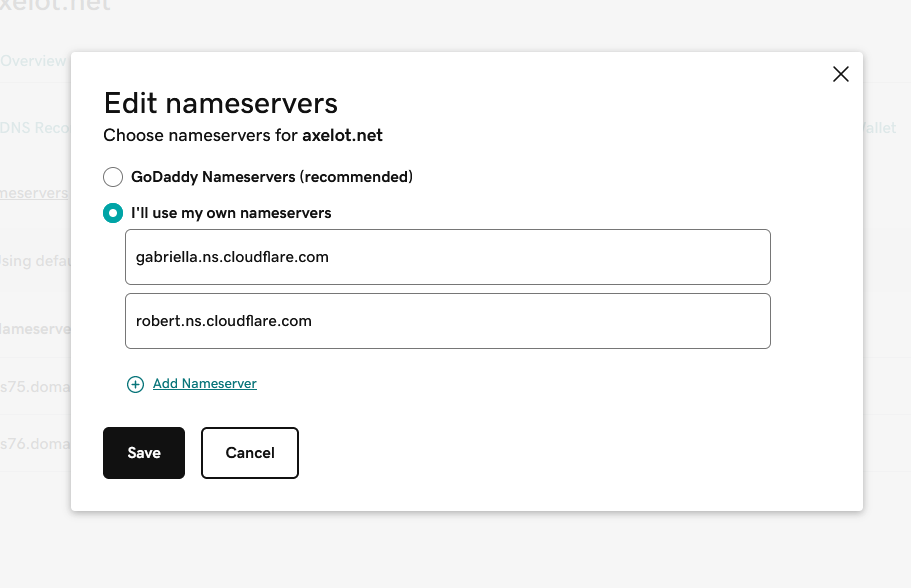
Copy nameserver to GoDaddy
Change nameserver in GoDaddy Domain settings.


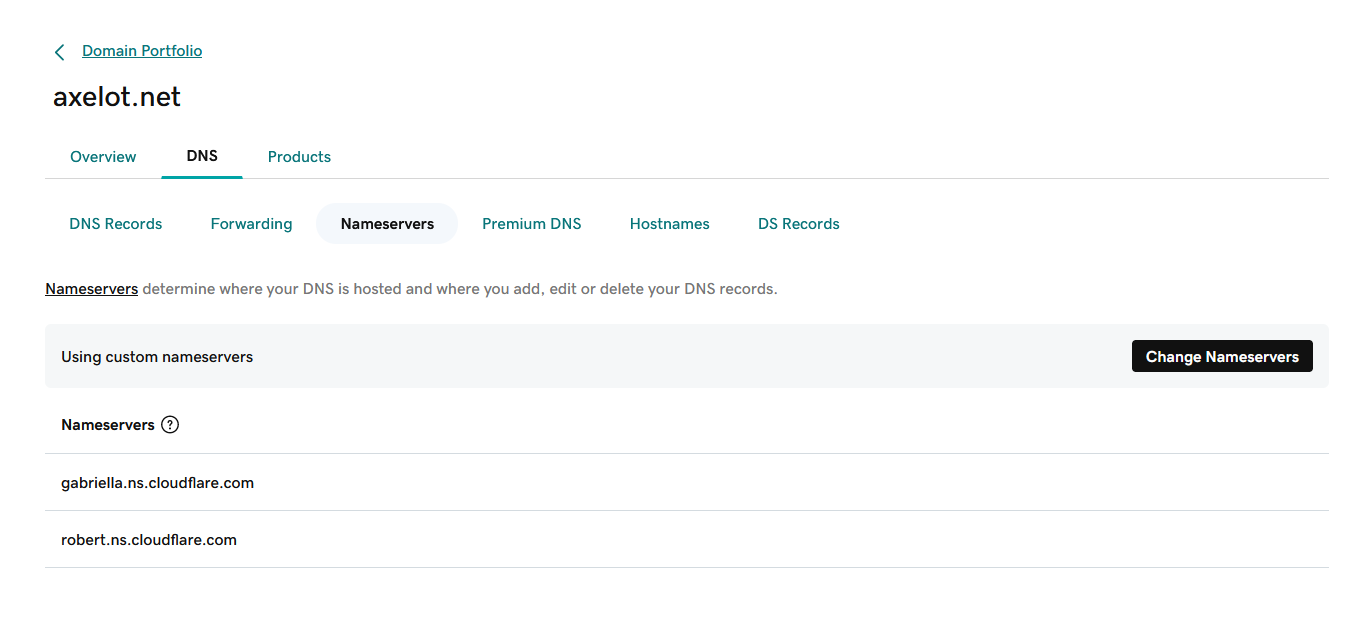
Refresh the page and the nameservers should be updated, but only in GoDaddy UI.
Next, wait 10 minutes or up to 24-48 hours for it to propagate to the public DNS servers, or until it reaches the DNS server that cloudflare uses.
Go back to CloudFlare and check for updates.
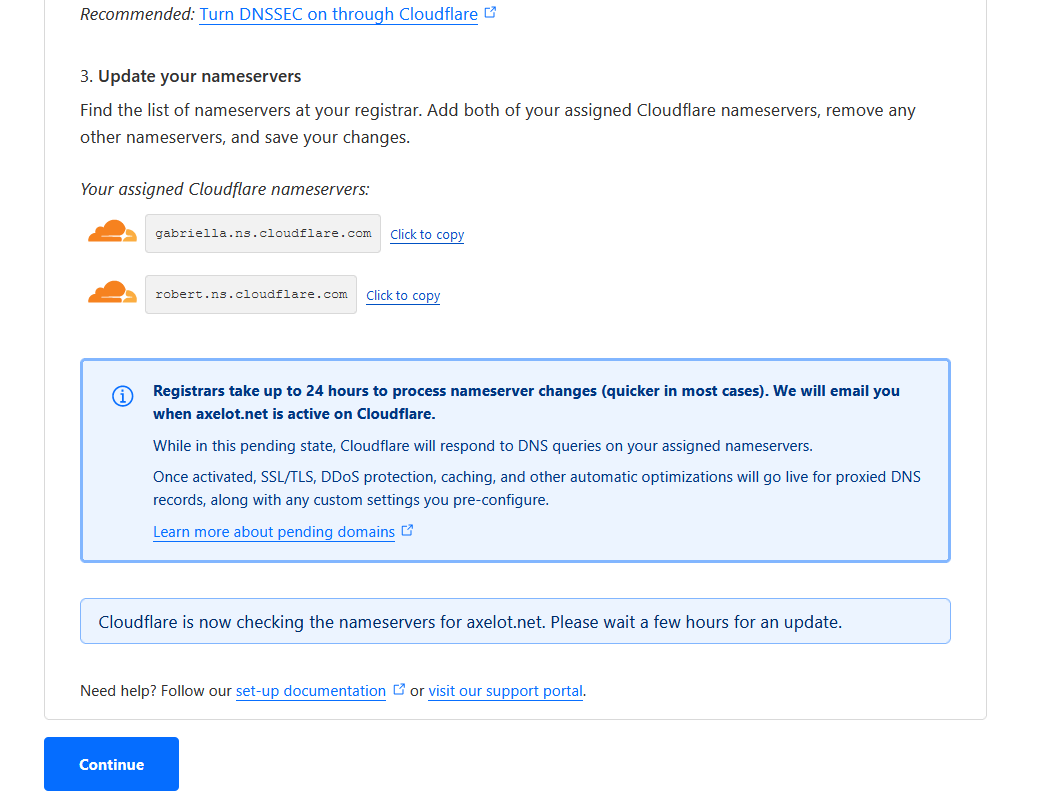
In the meantime, you can still click Continue to wait.
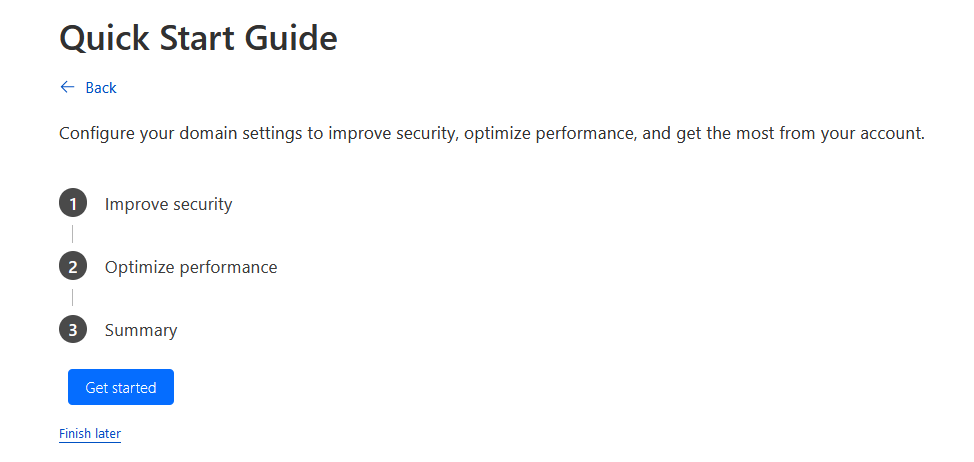
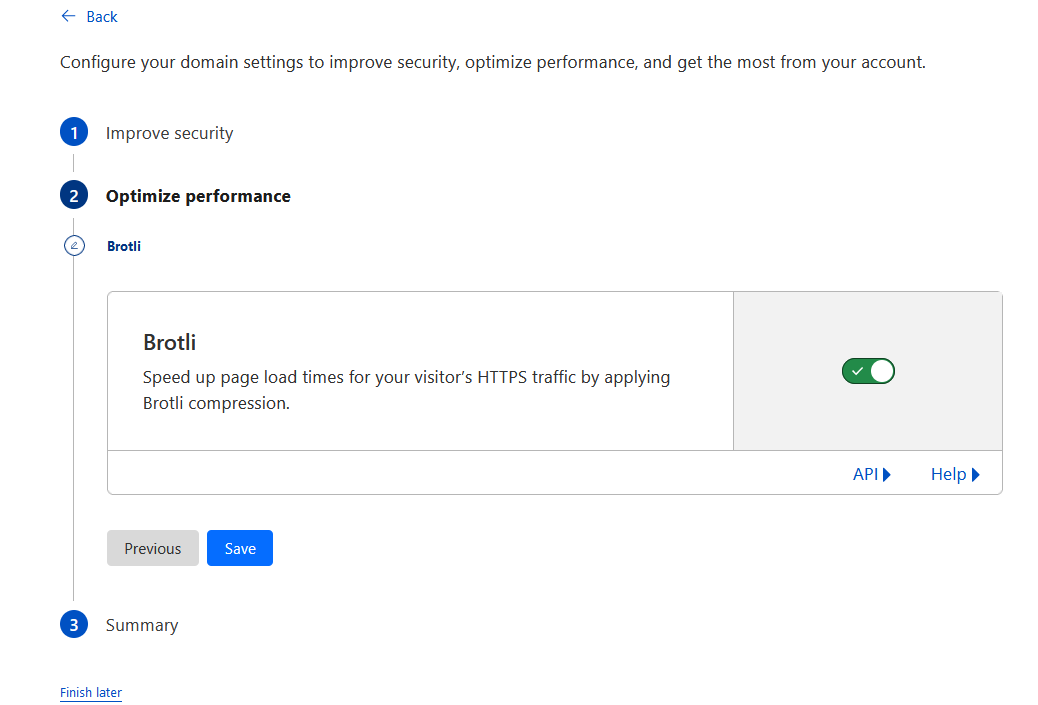
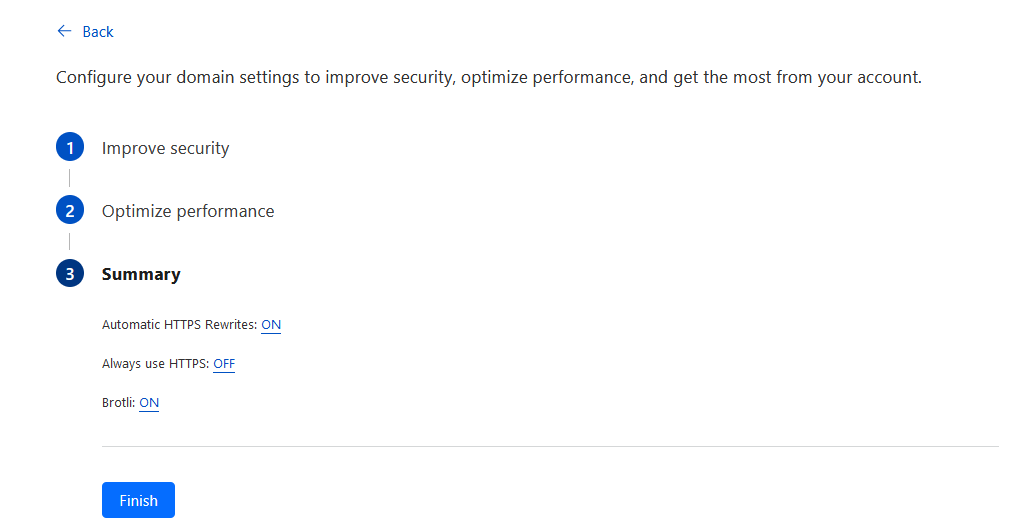
Quick Start Guide
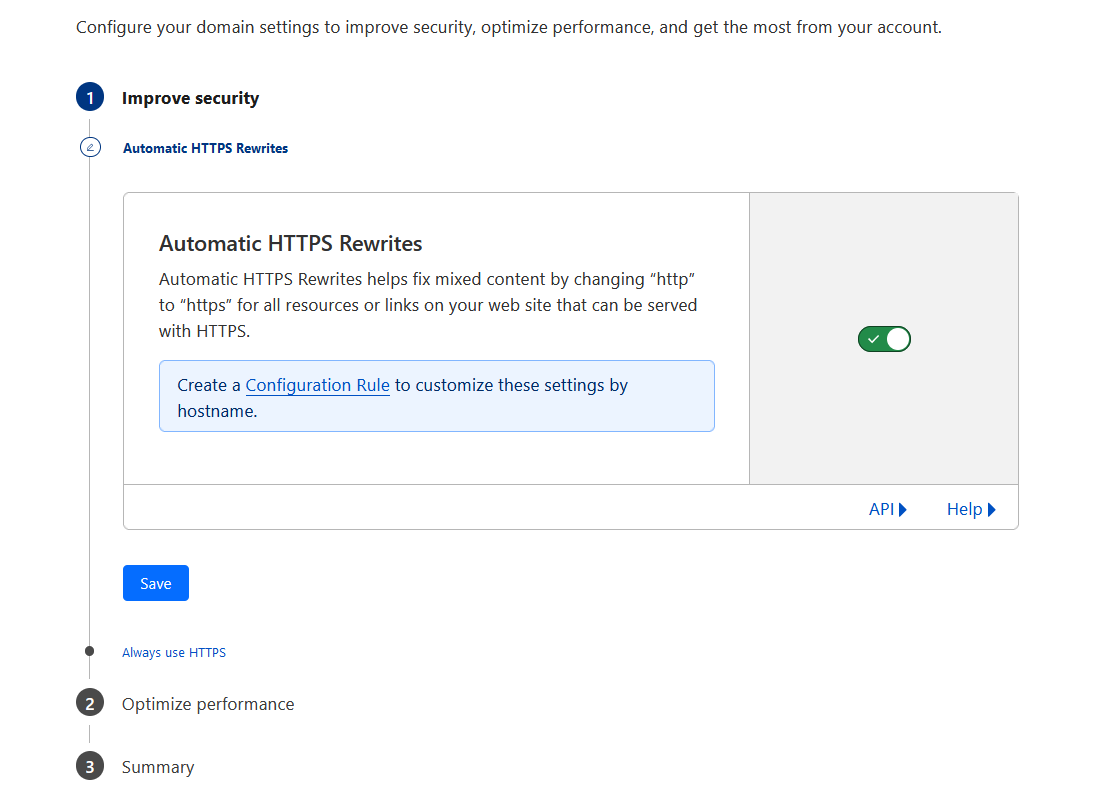
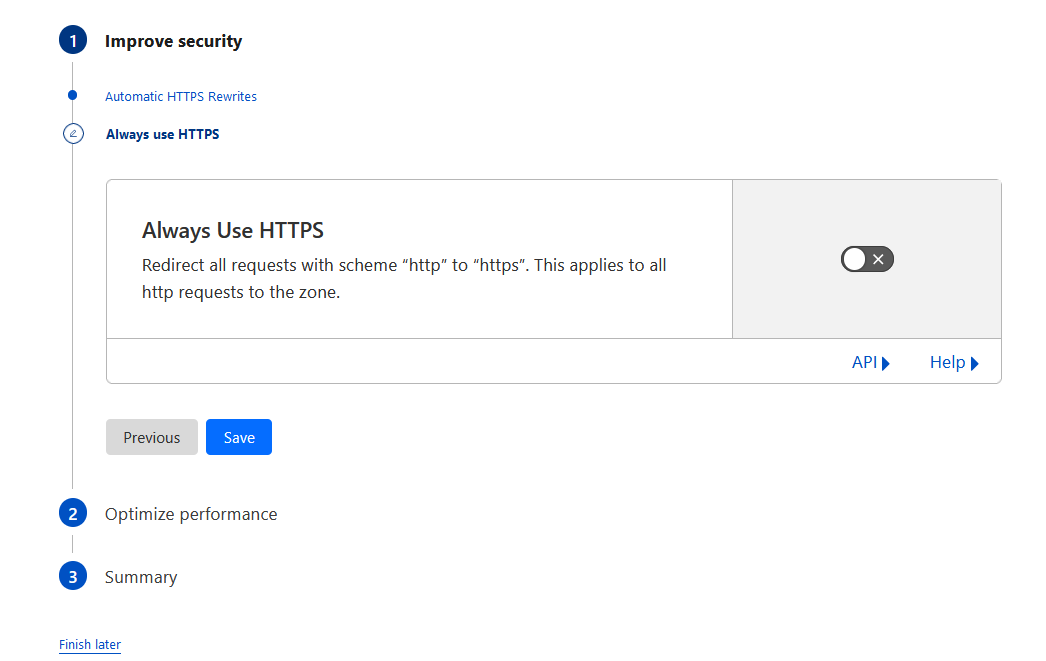
Enable always use HTTPS. I didn’t enable by default but later realized I should have done it earlier 😃
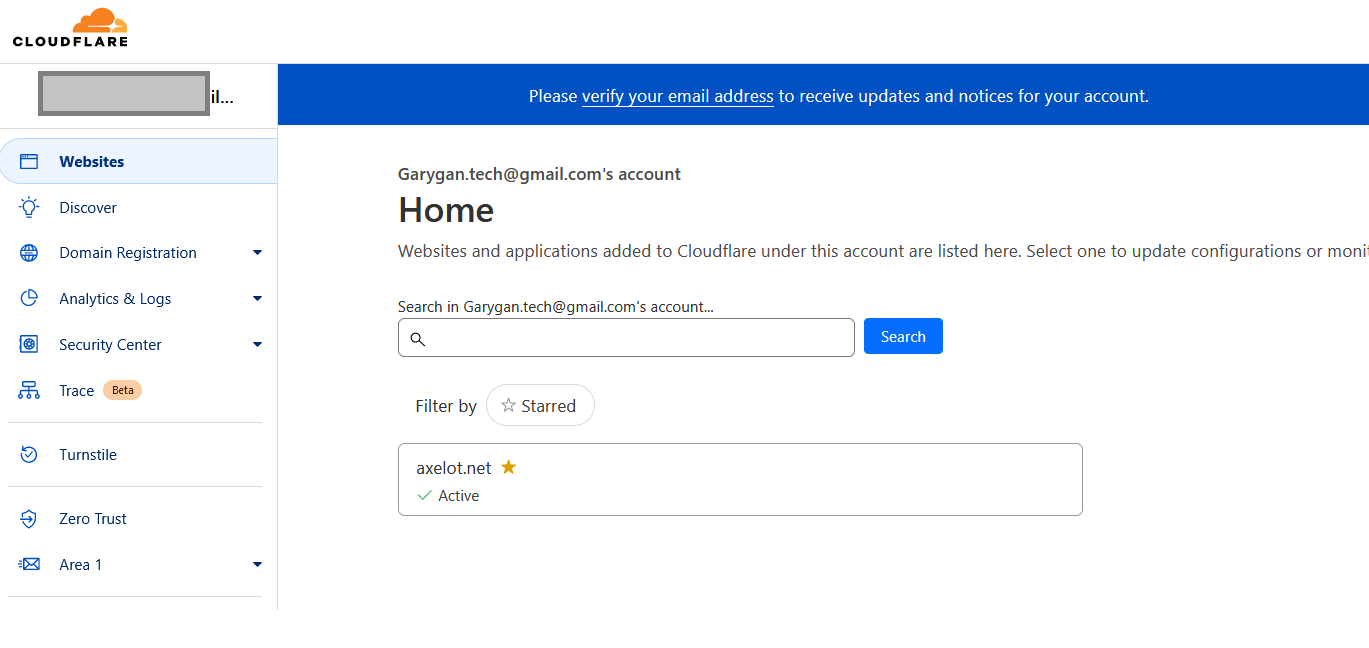
Go back to CloudFlare dashboard and see if the DNS nameserver is updated. Your domain should show Active if updated.
Setup billing
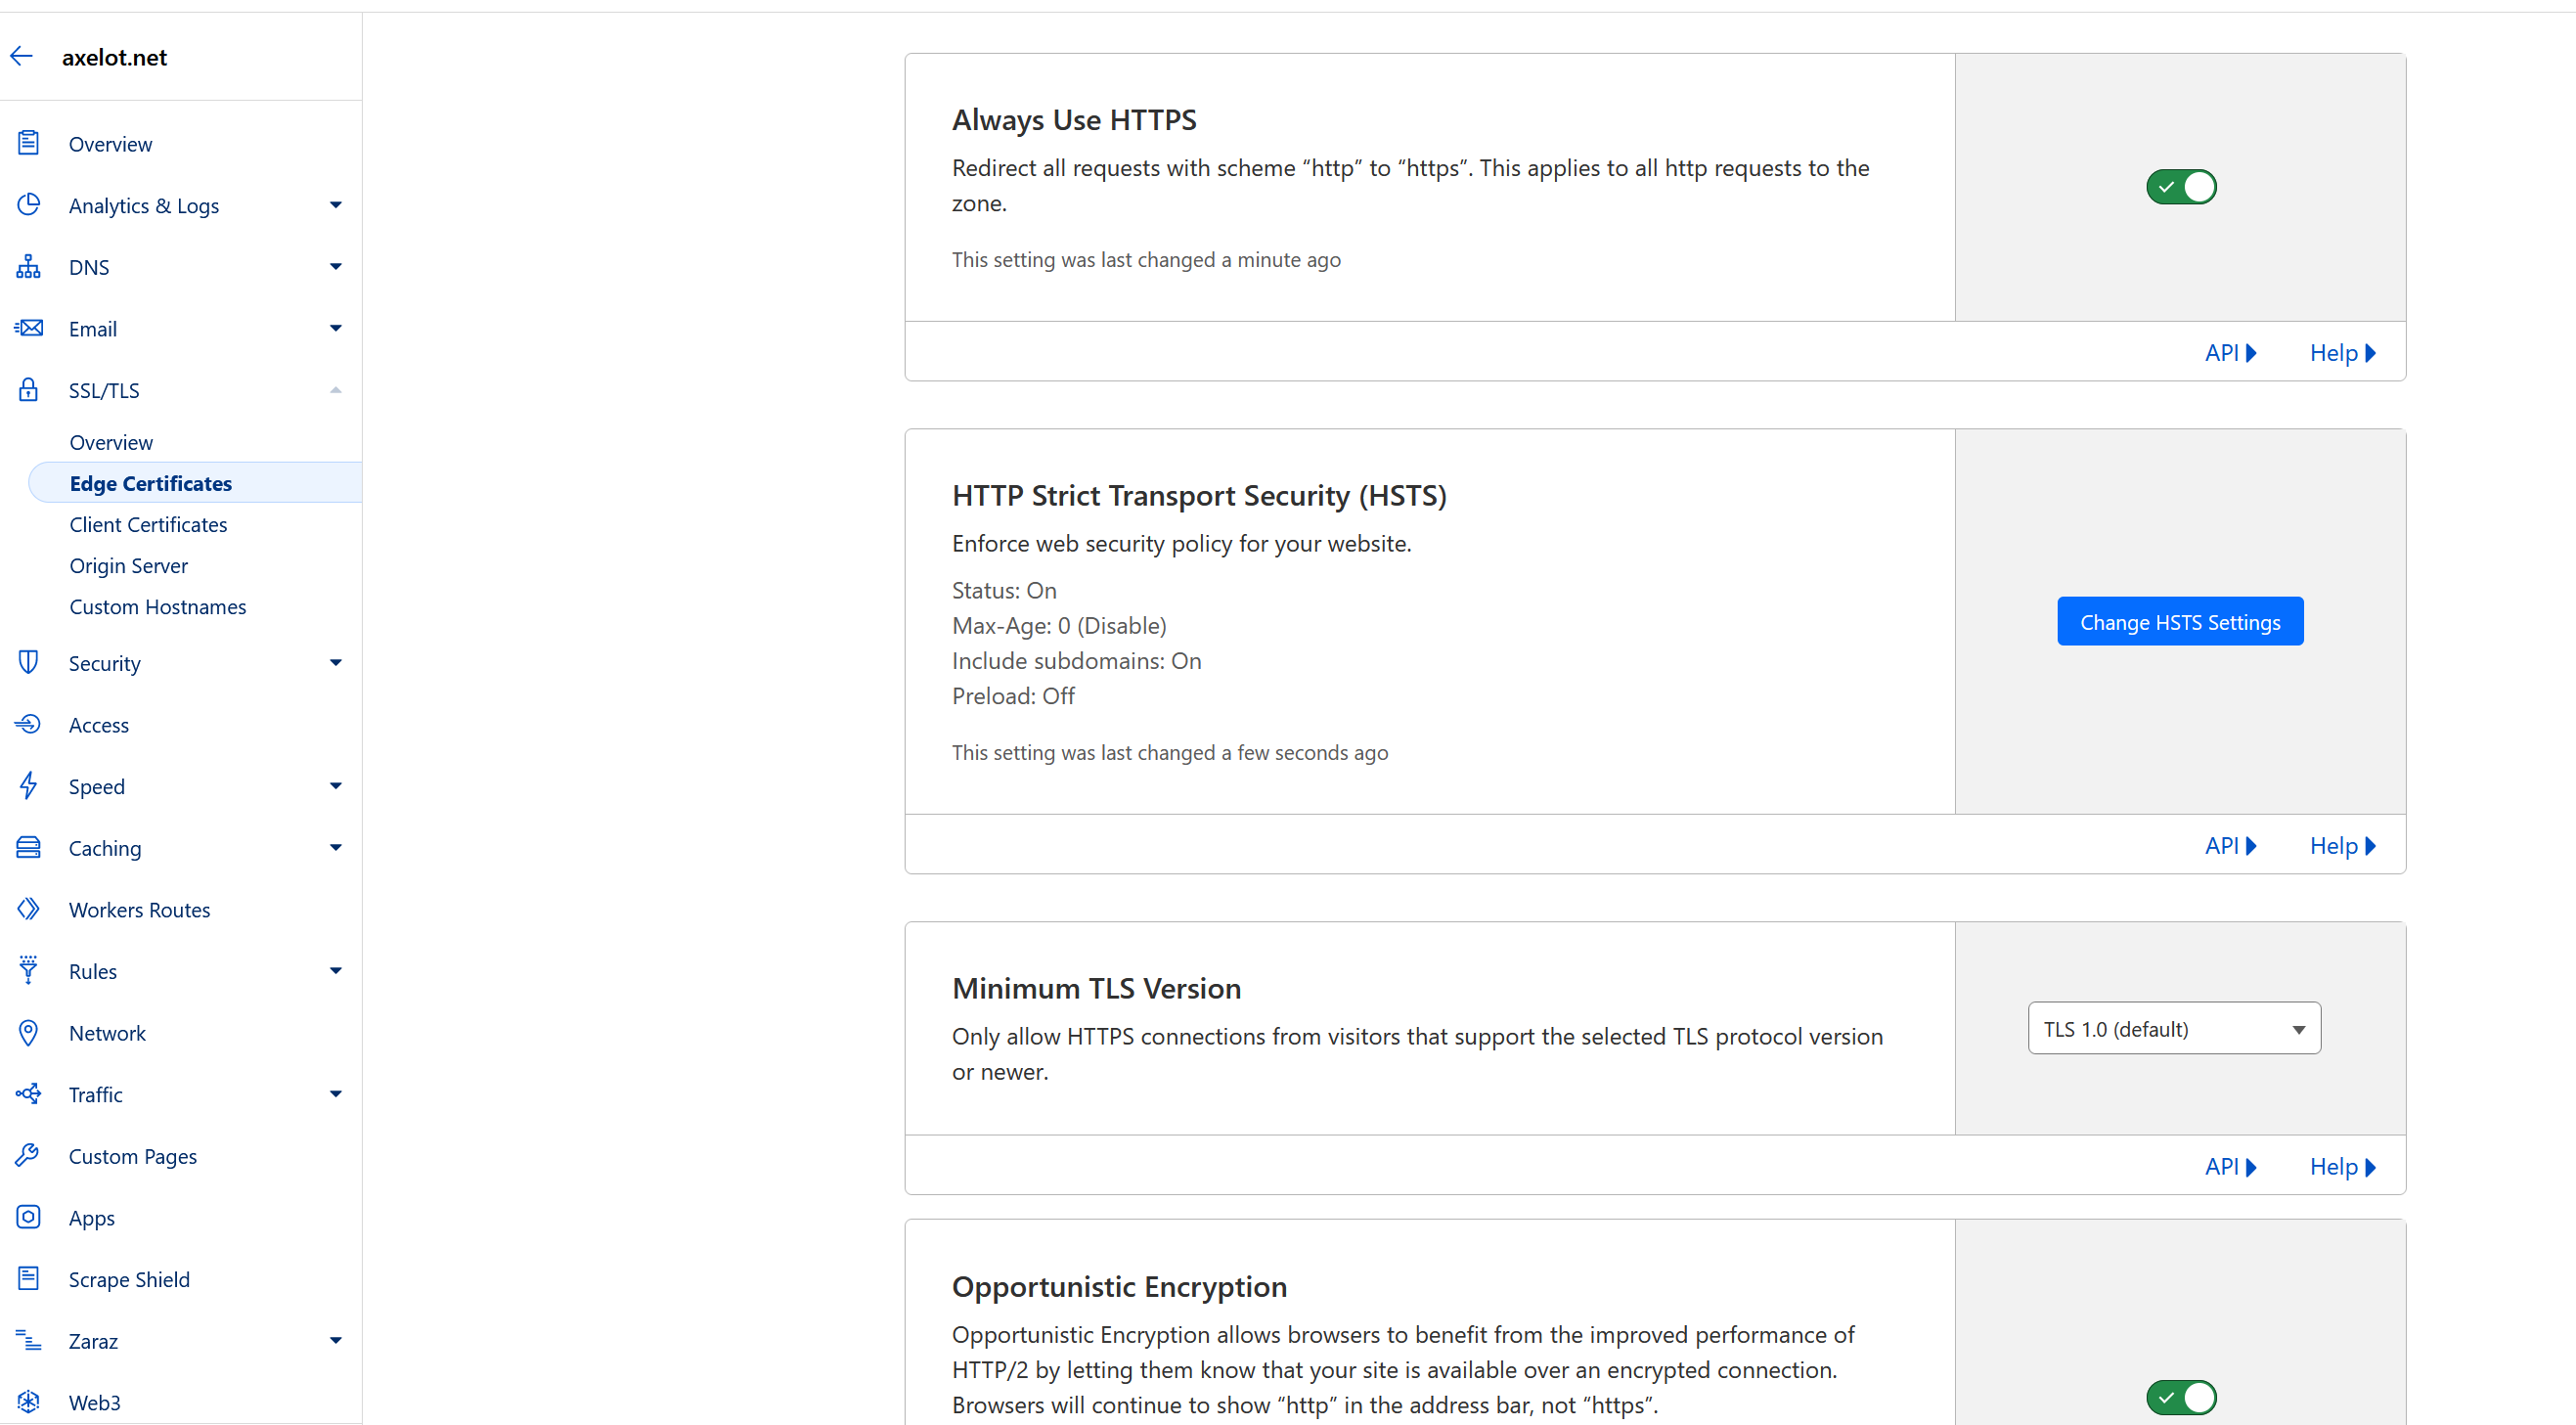
Additional Settings
Enable HSTS
Enabling it is good, but you have to make sure all subdomain serve using HTTPS. No problem here because we use CloudFlare as reverse proxy and certificate manager.
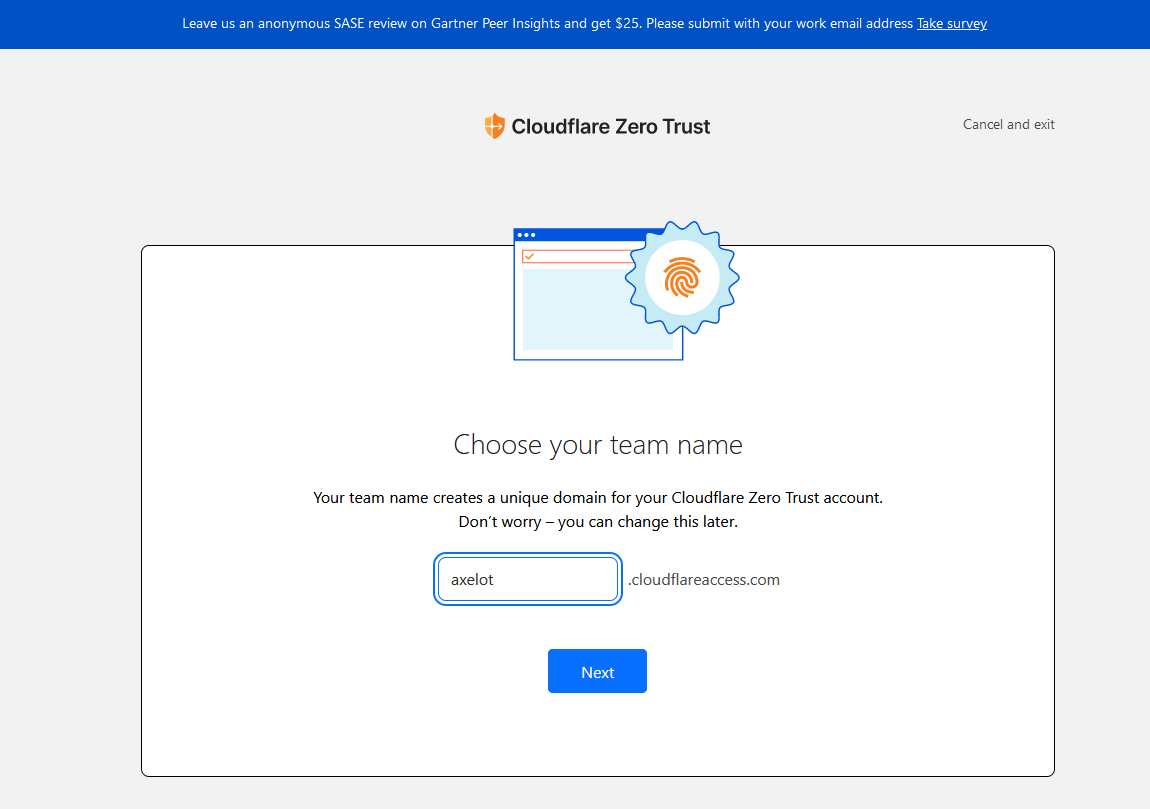
Setup Zero Trust
Create a team name.
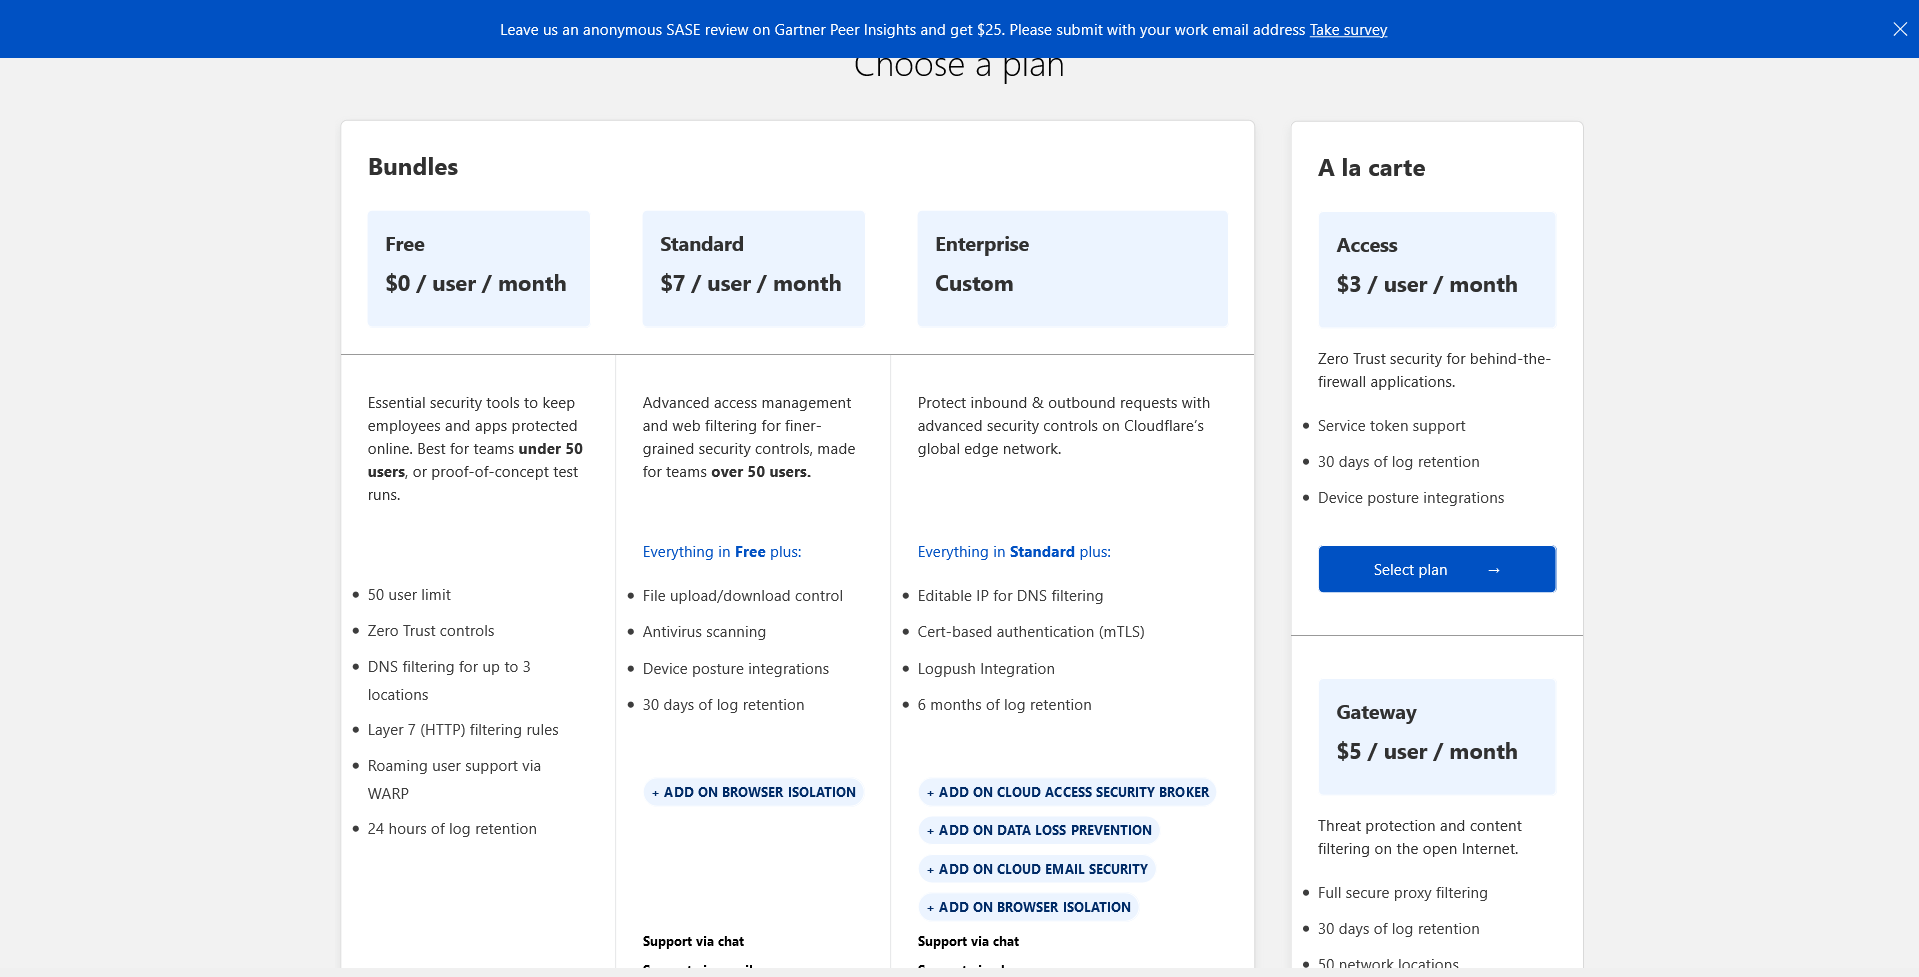
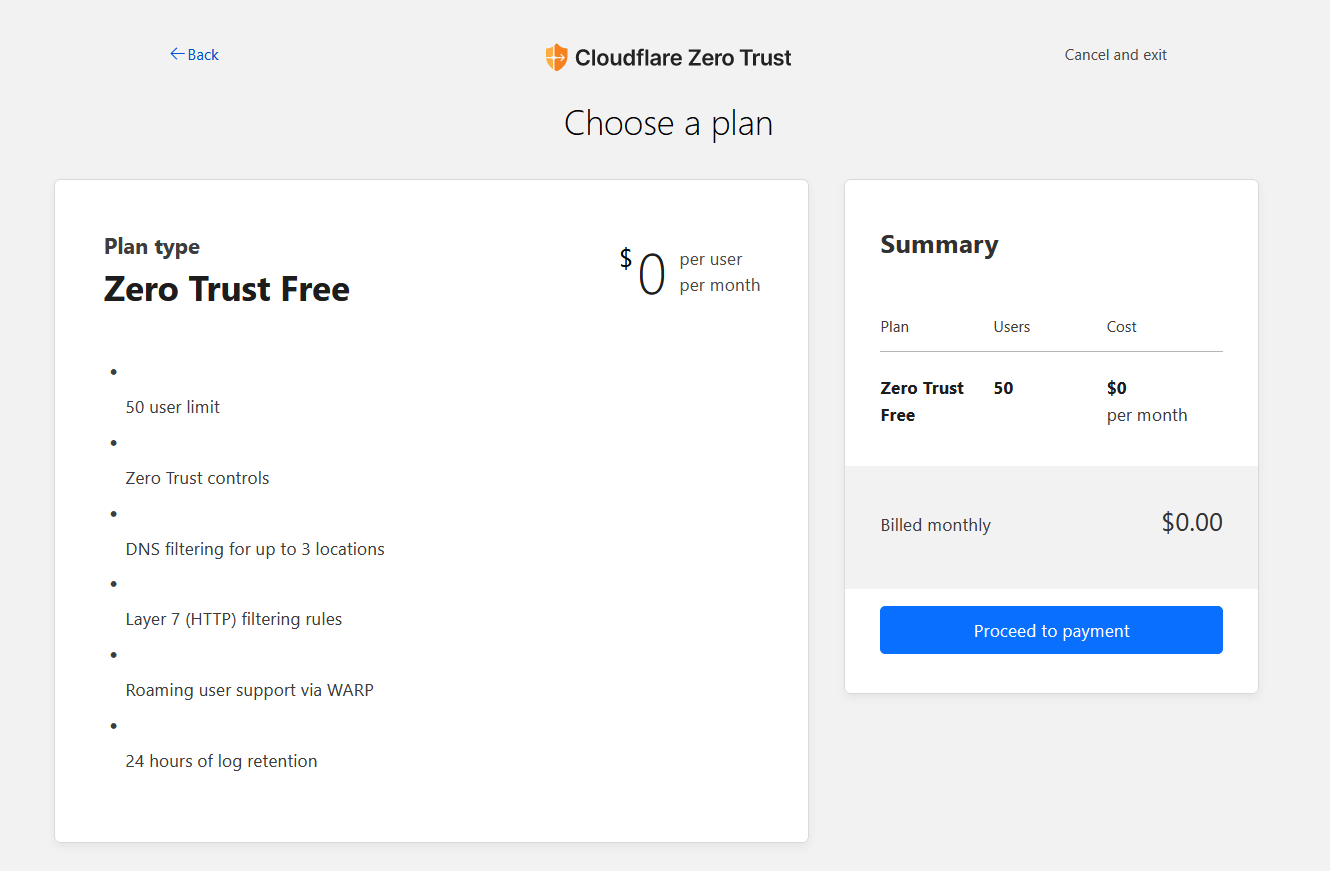
Select Free
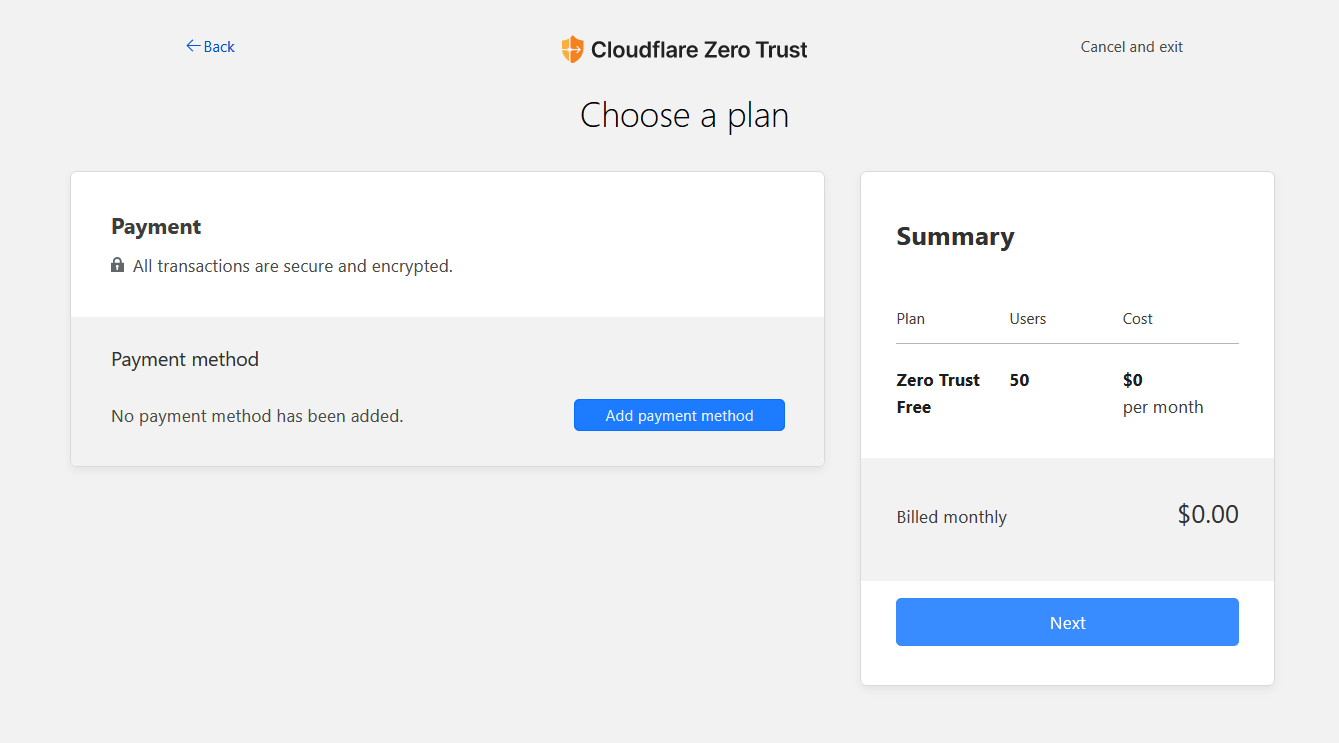
Add a payment method. Don’t worry it won’t cost anything. It’s just to make sure your account is legitimate.
After adding payment method ,e.g. PayPal
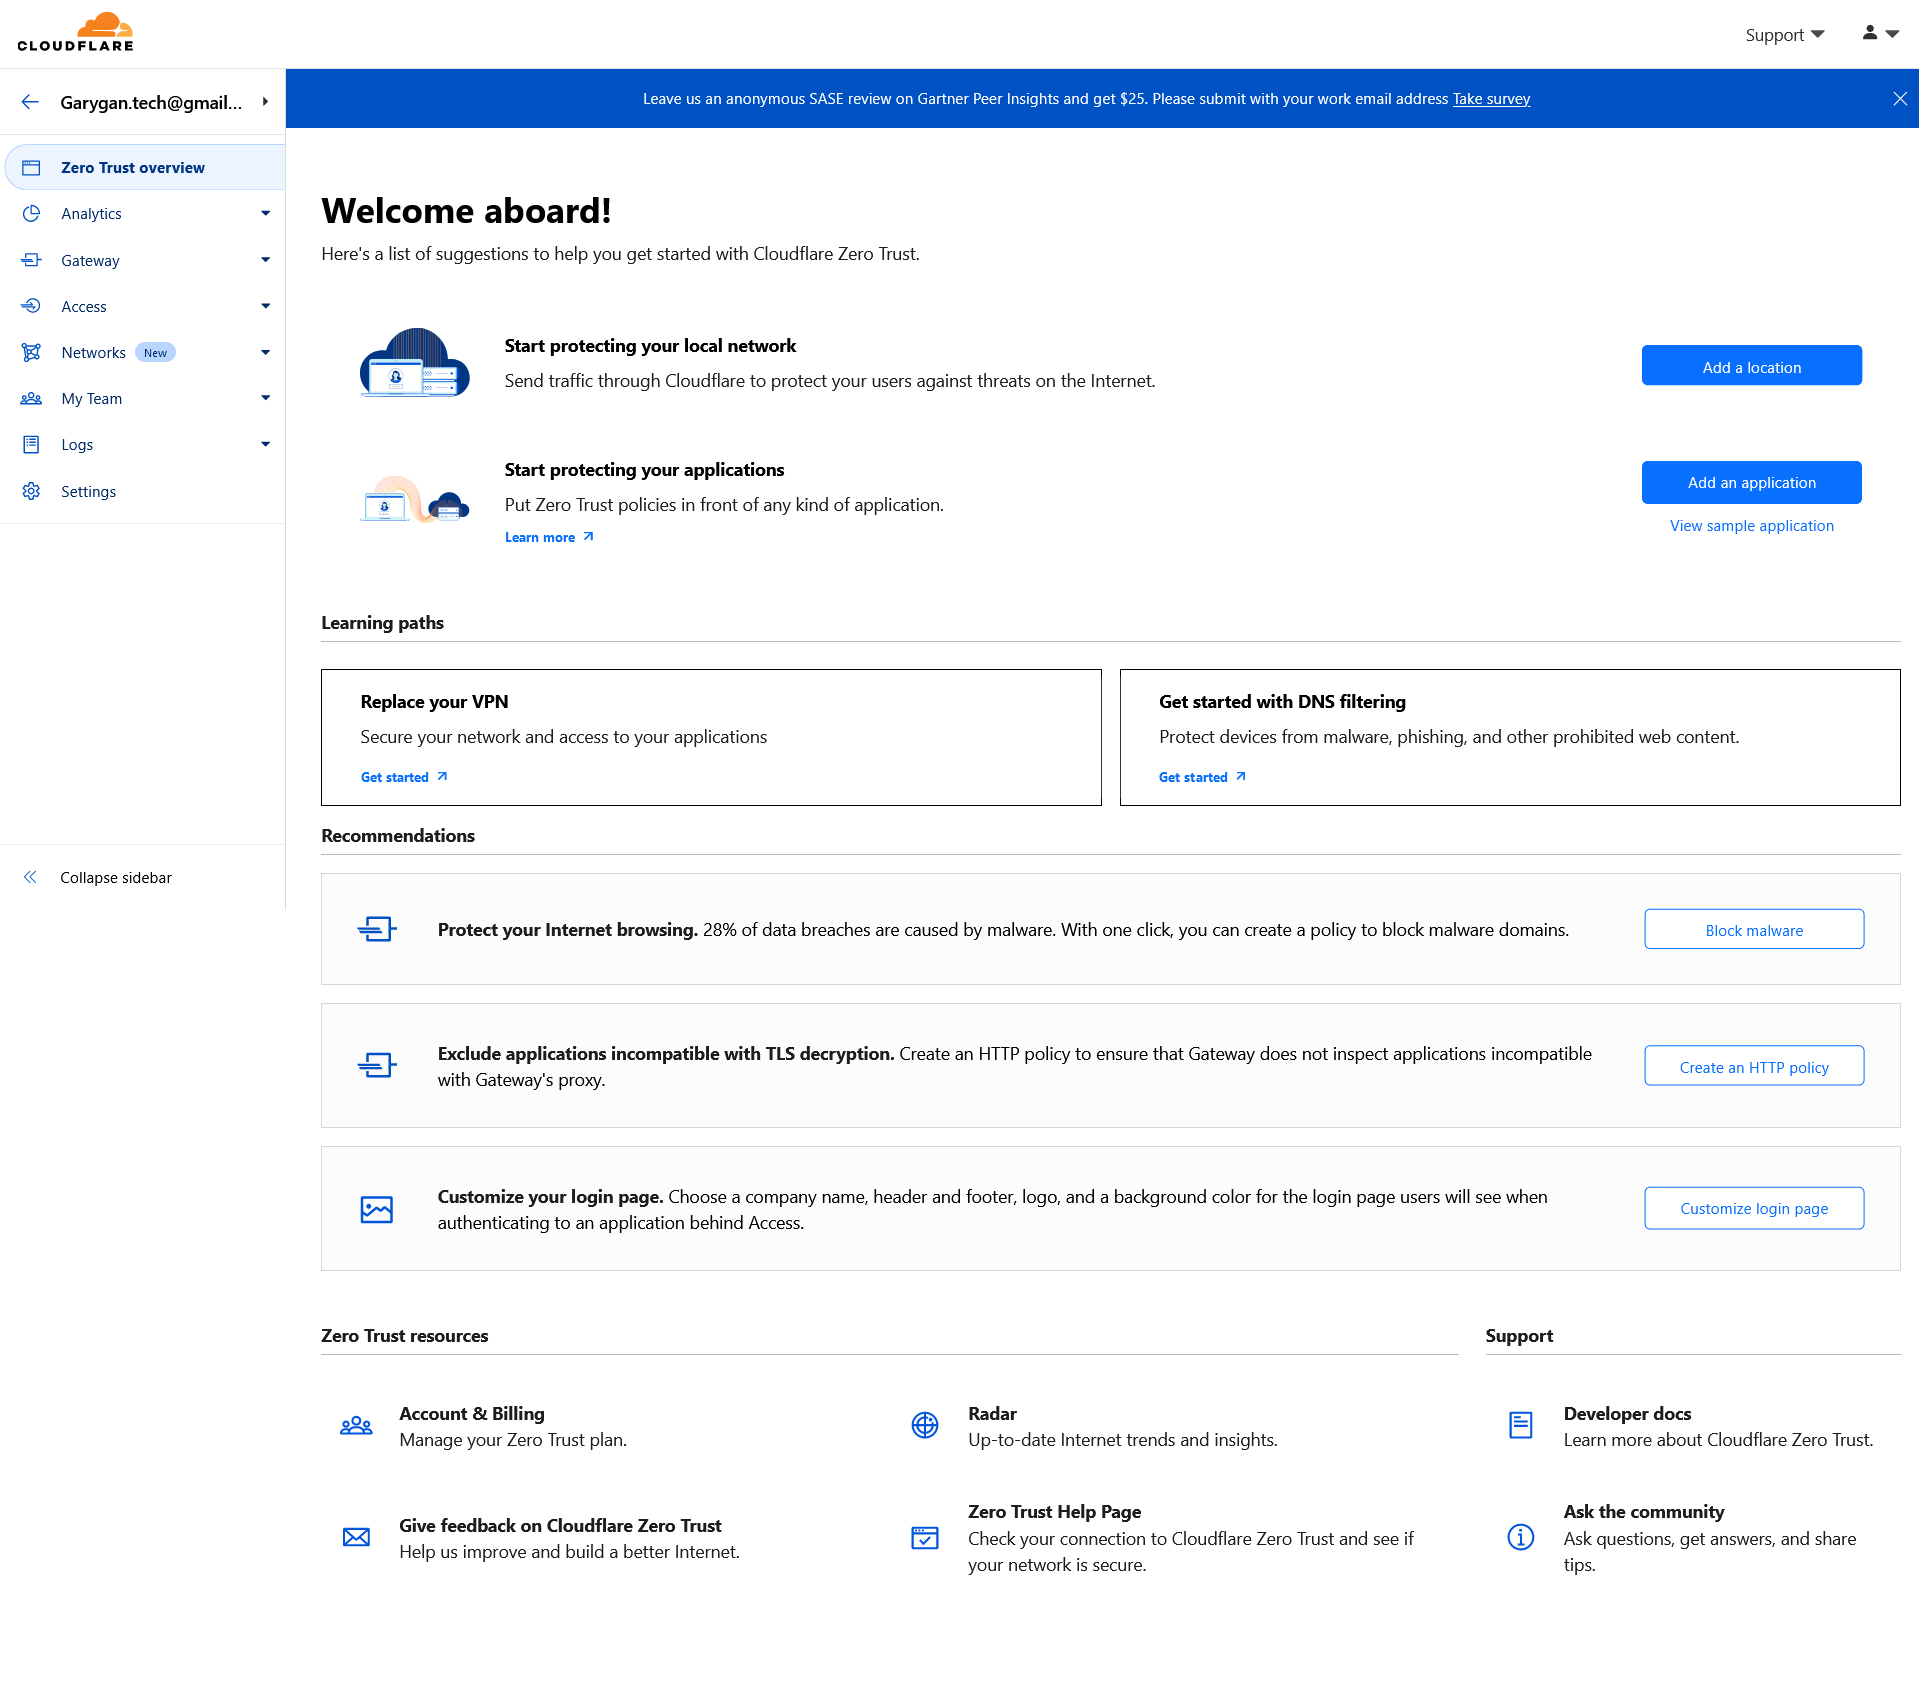
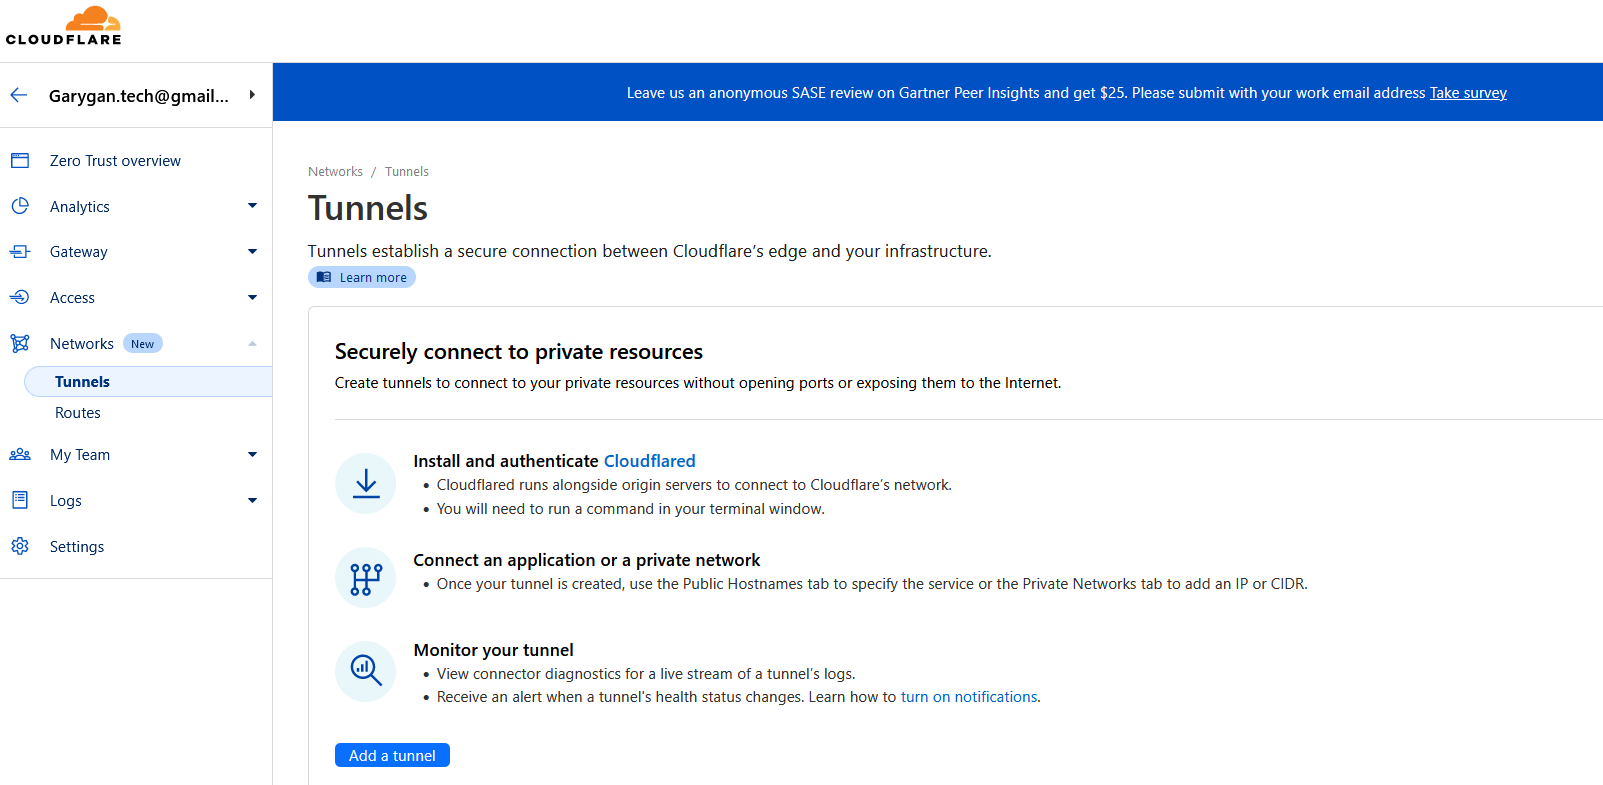
Go to Networks page in the sidebar, then select Add a Tunnel
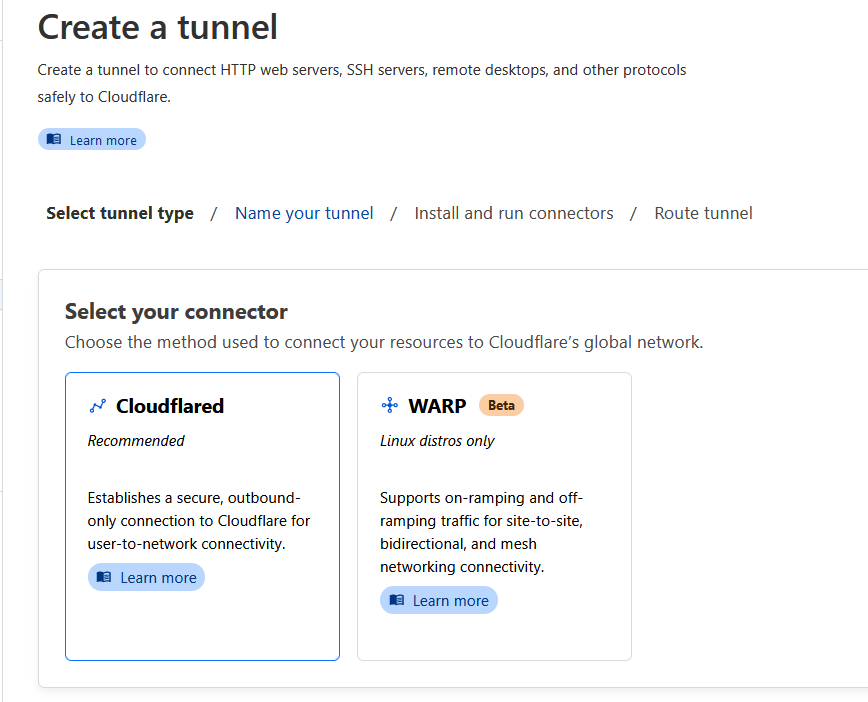
Select Docker
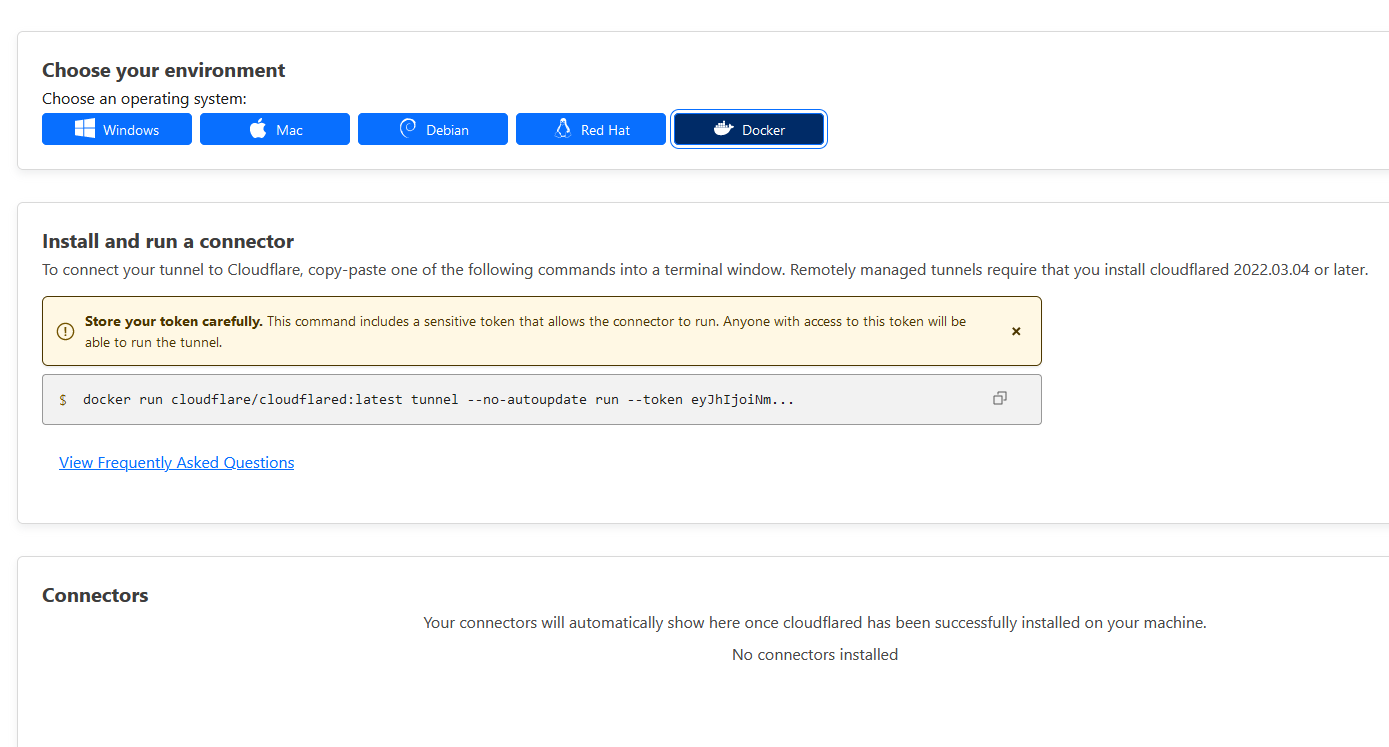
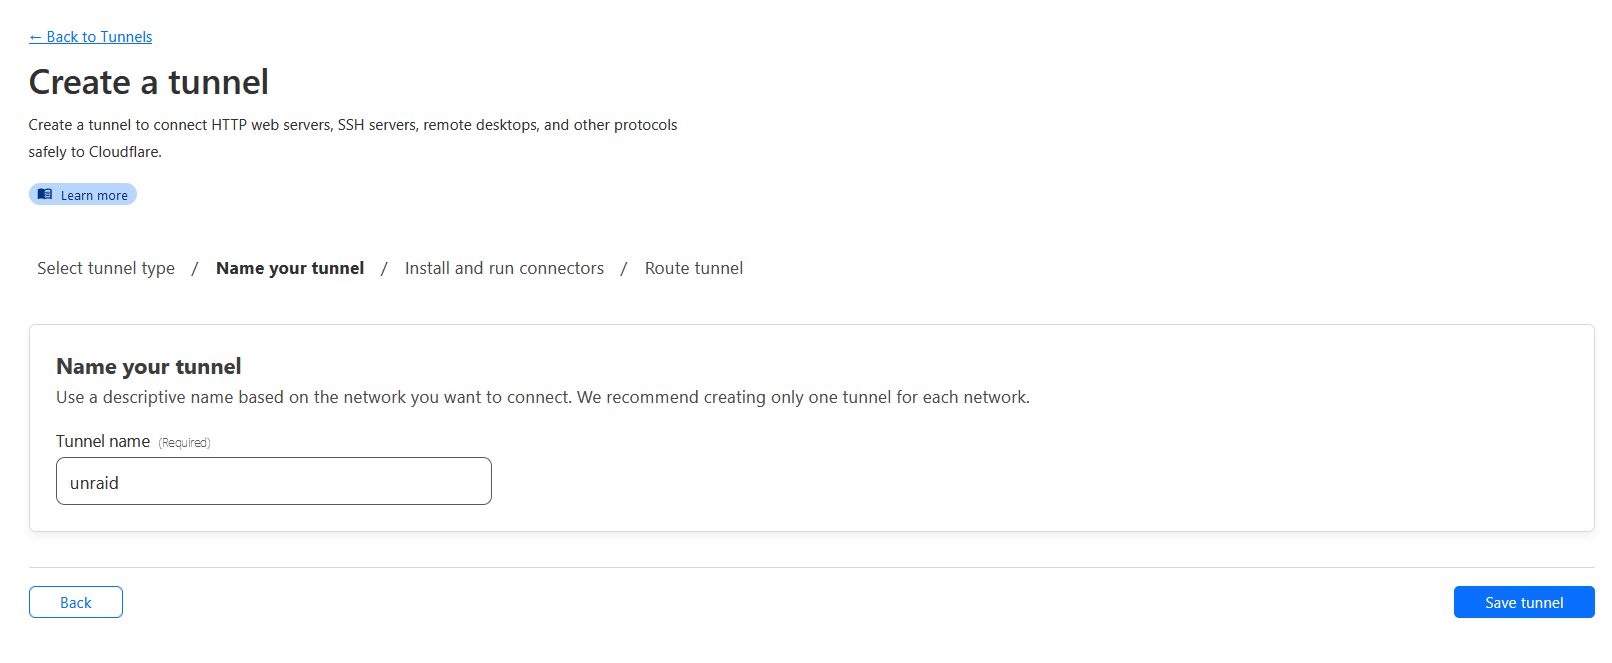
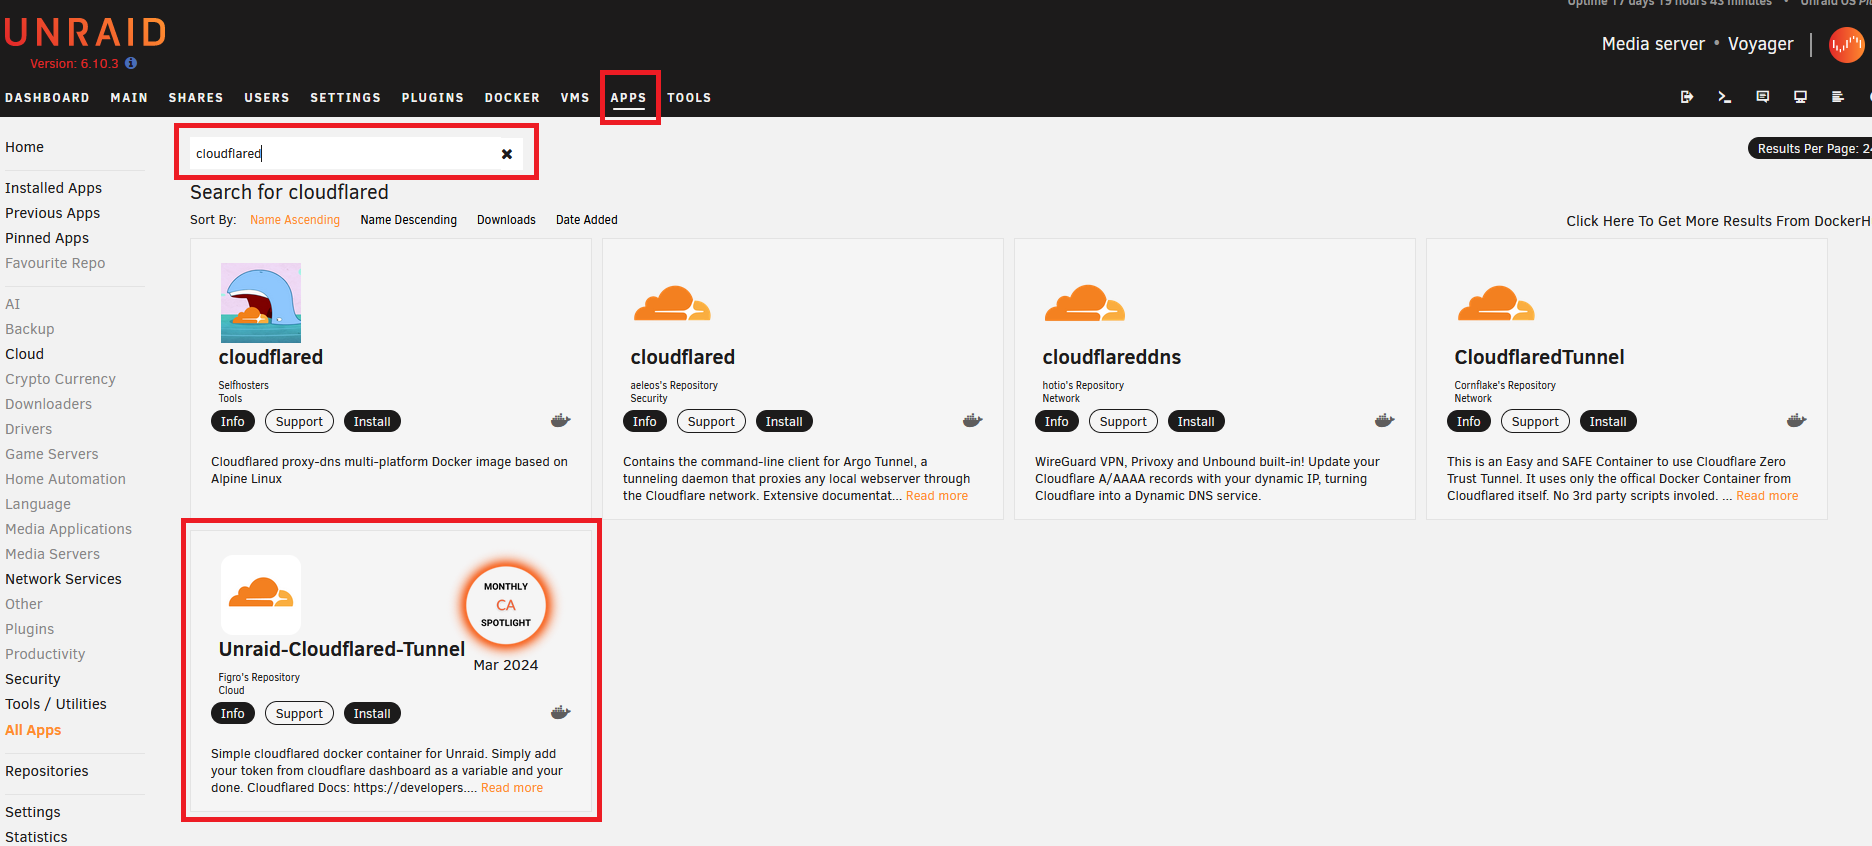
Install Unraid-Cloudflared-Tunnel Docker Container
Paste the whole docker run ... command from CloudFlare connector setup page earlier. Delete all except the part after --token.
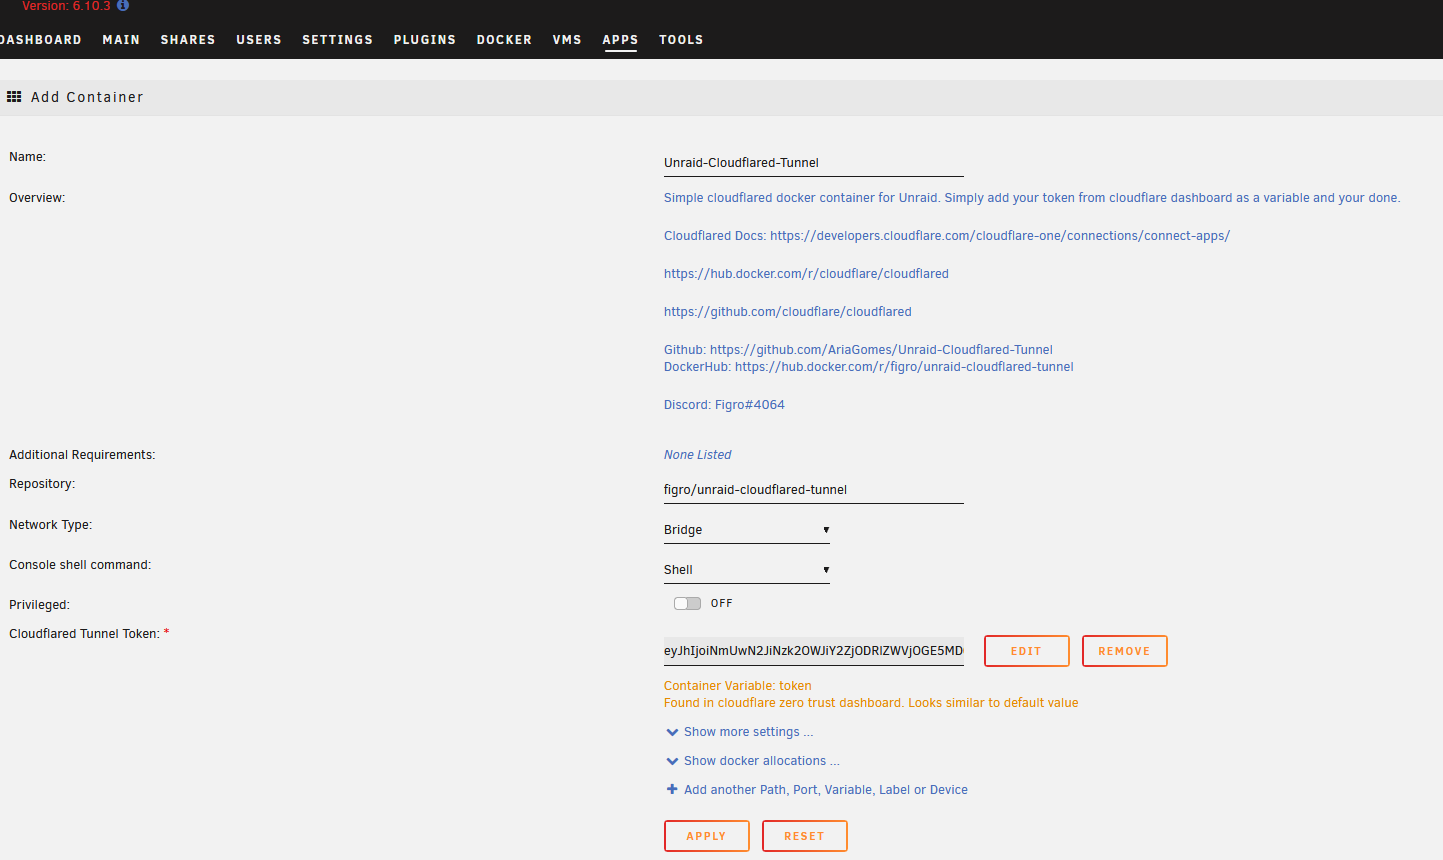
Click Apply to start the container.
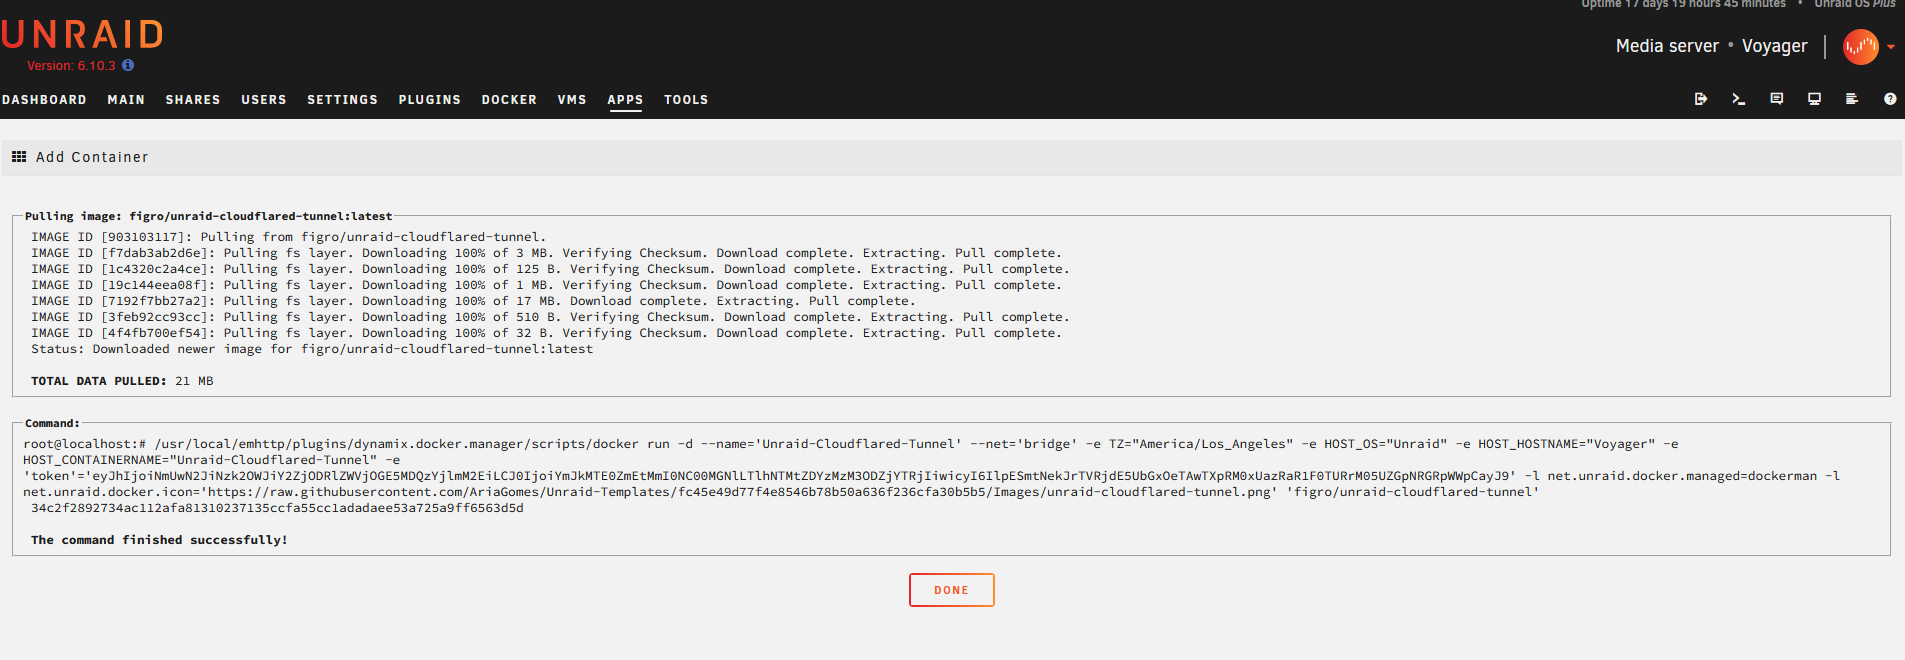
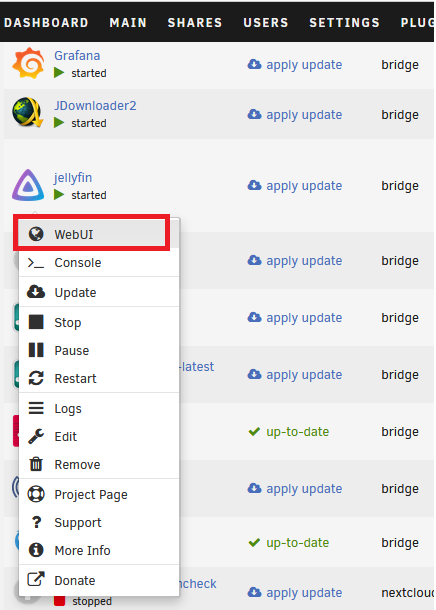
Go to Unraid Docker page and make sure the container is running.

Inspect container logs.
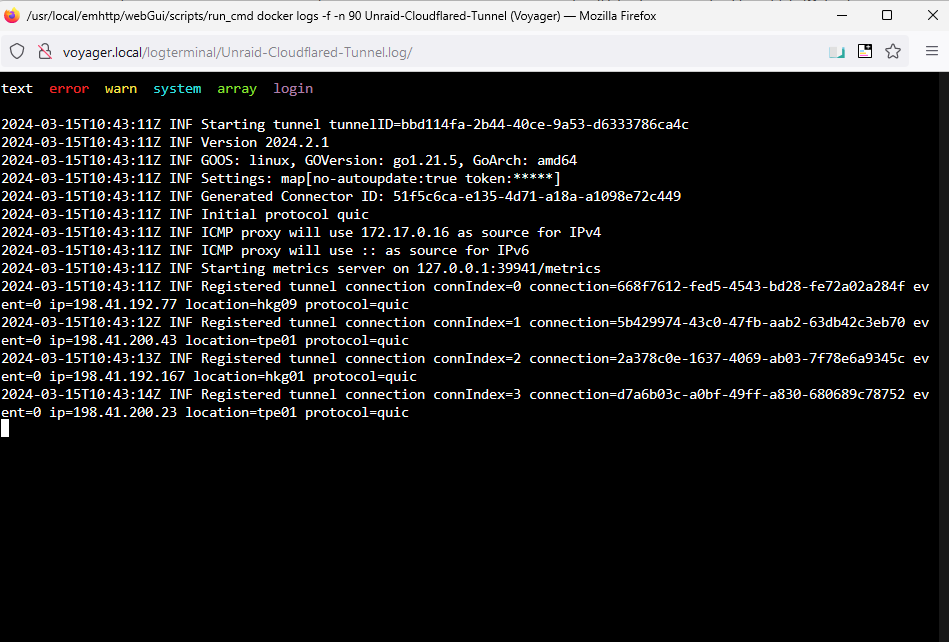
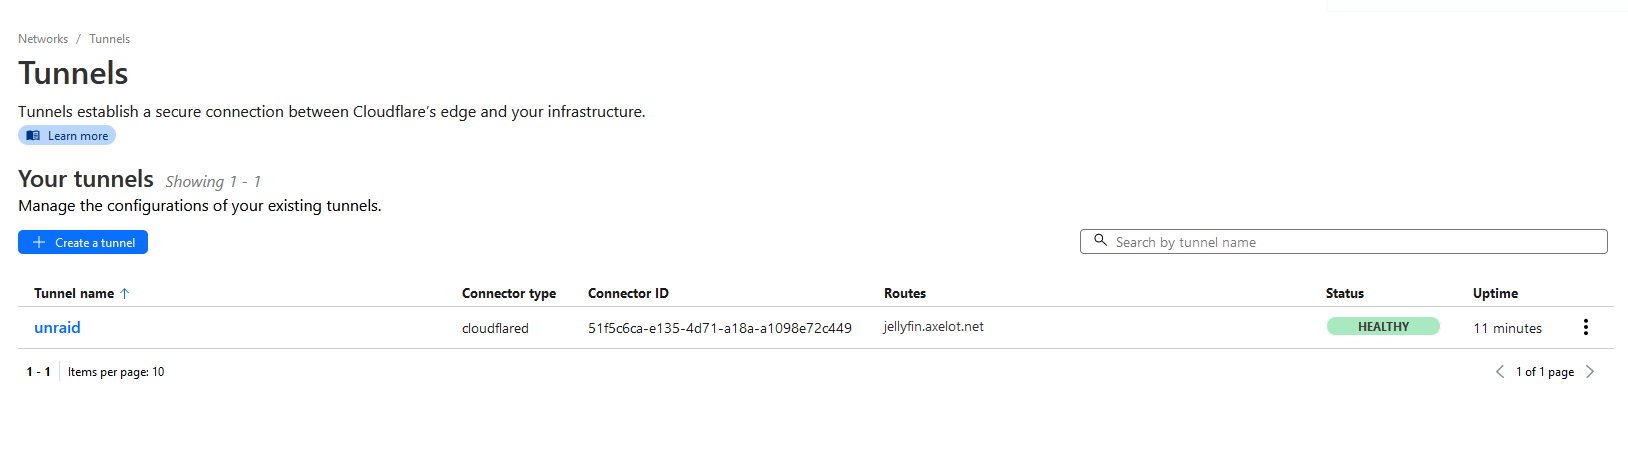
Go back to CloudFlare page and you should see a new connector.
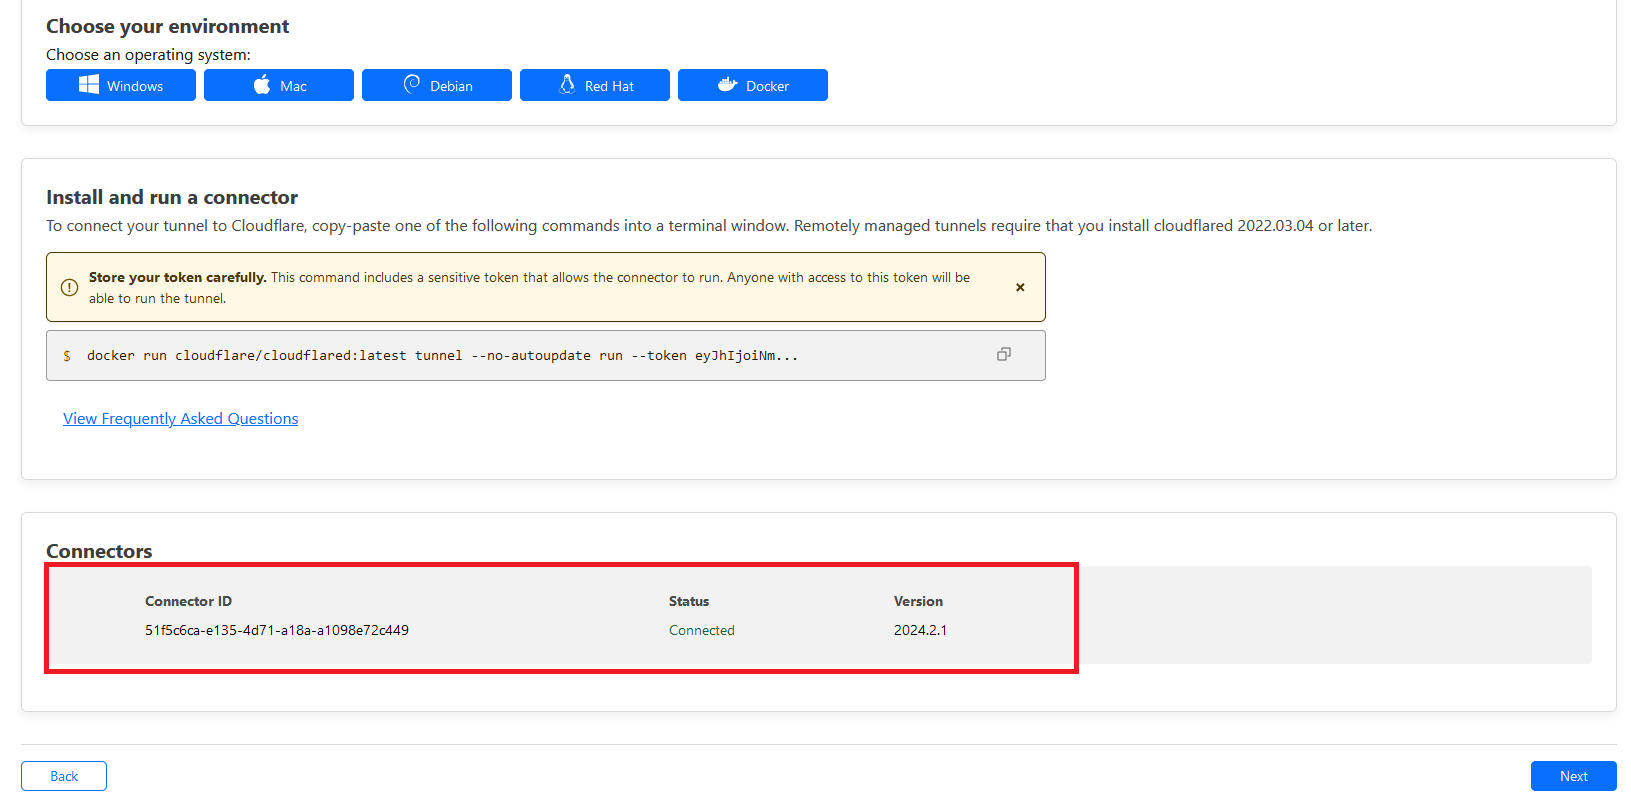
Clicking Next would allow you to add any services running in Unraid host or docker to a subdomain that we registered earlier.
Add Unraid services to tunnel
Let’s say we want to expose only the UI of Jellyfin service. I know it is 8096. If you’re unsure, click on the container icon then select Web UI. It should open a new page, then you can just copy the IP address and port.

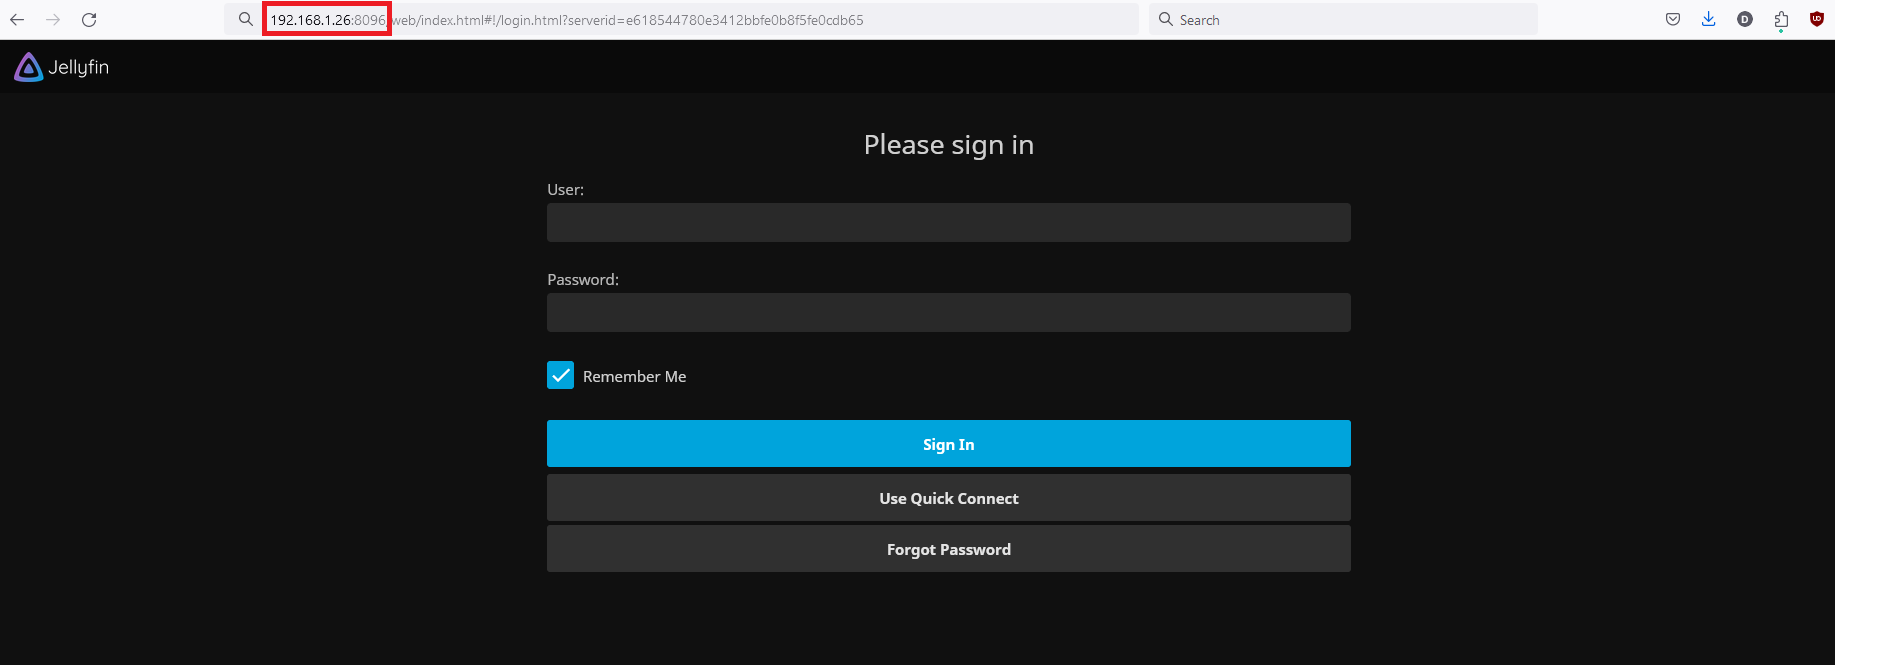
Copy the IP address and port to CloudFlare web. CloudFlare will handle all the routing using its reverse proxy. That saves us from having to run our own!
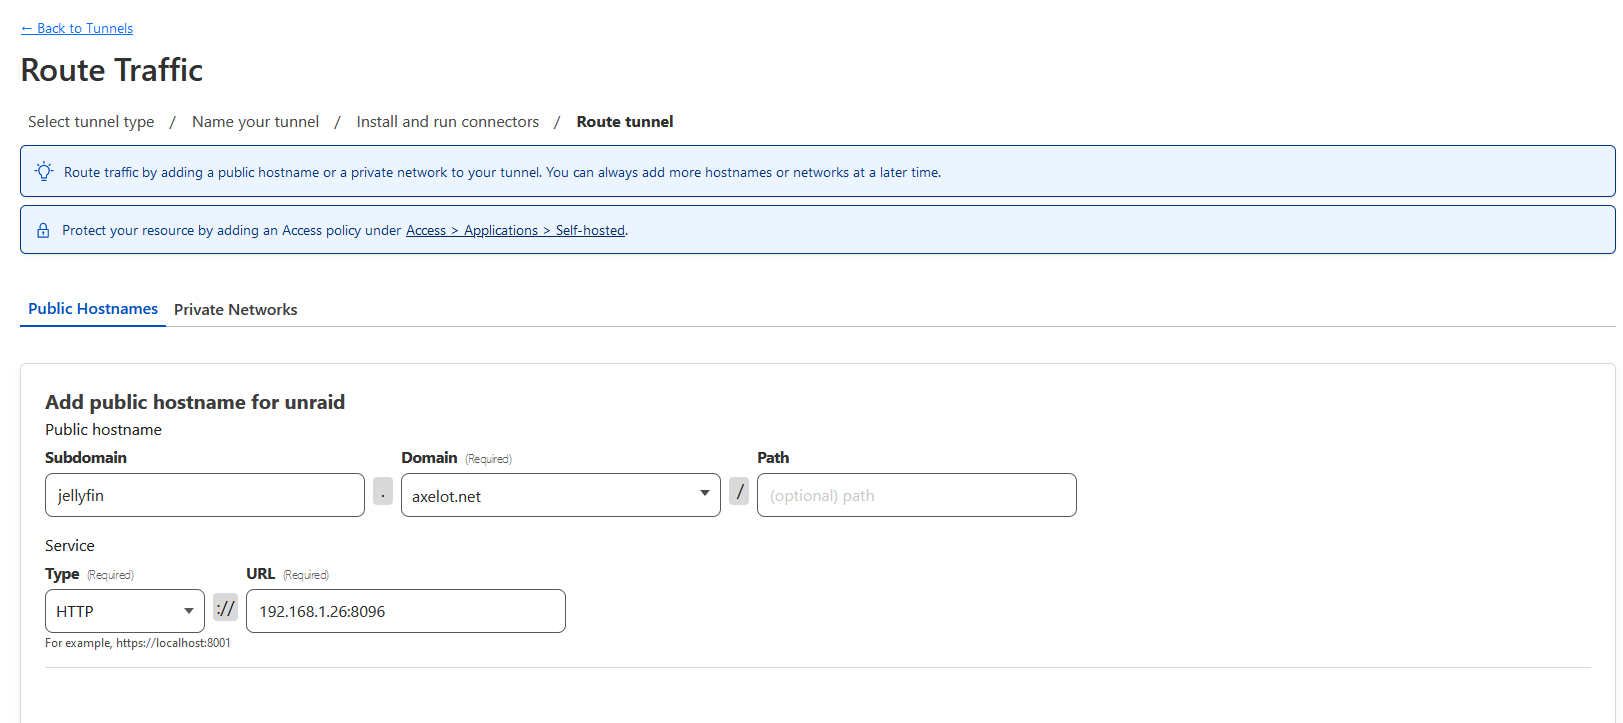
Click Next to finalize.
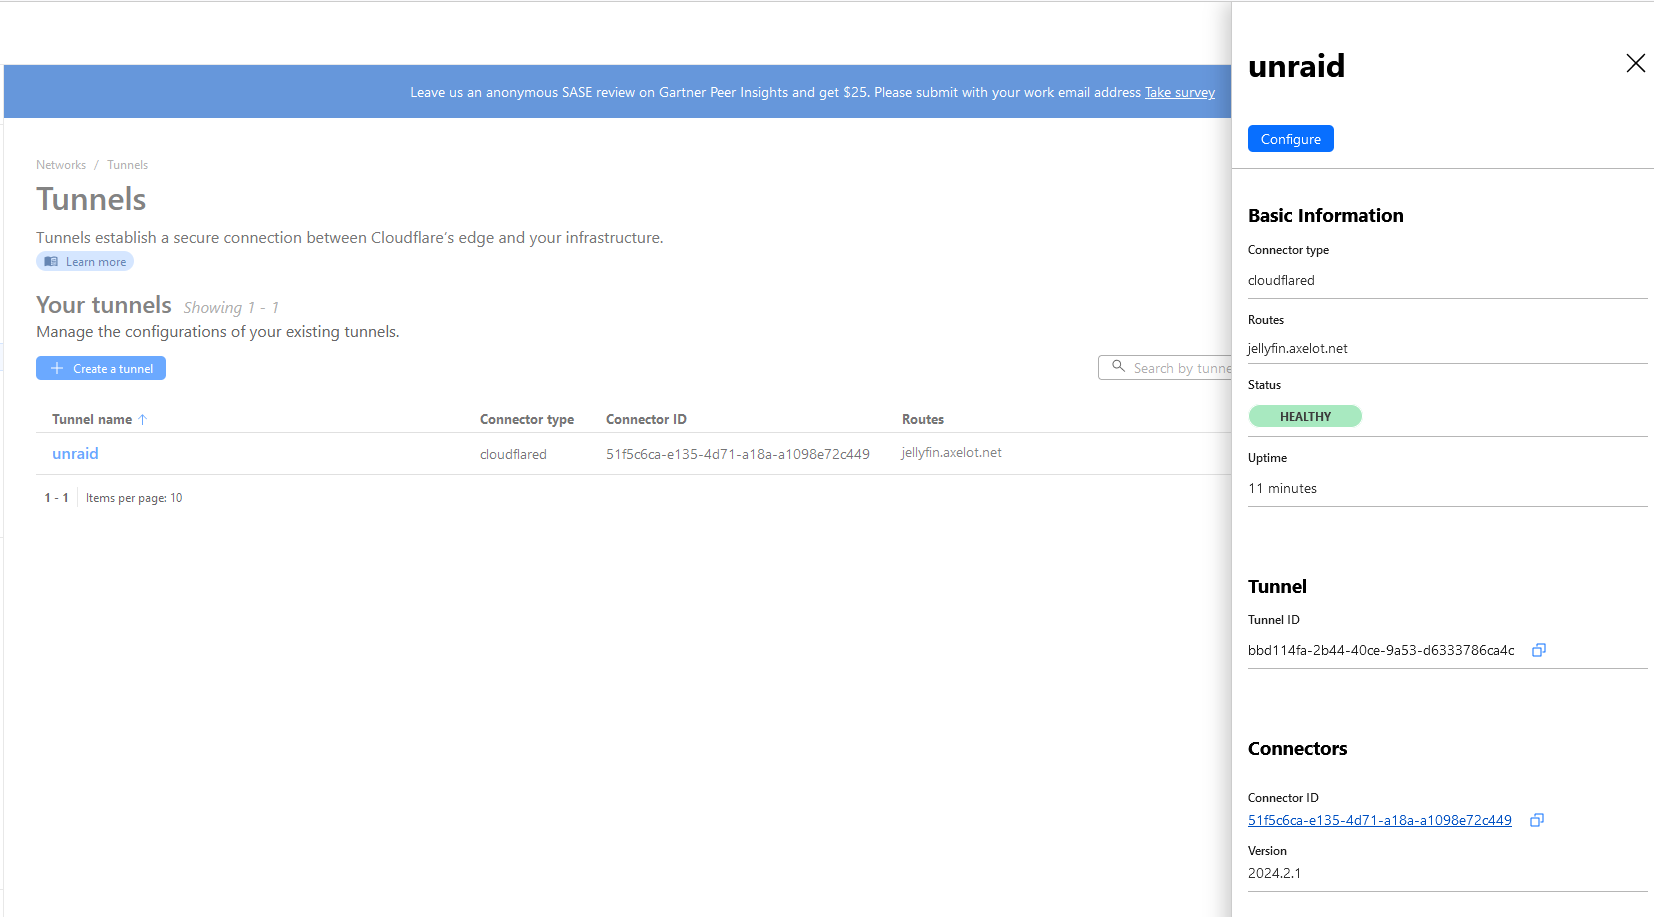
Click the tunnel name to see more info.
Secure Access to Application
You can specify certain condition (policy) that allow only selected user that login through certain Identity Provider such as Google, and that signed in email are the one you specified.
Add Identity Provider
Google
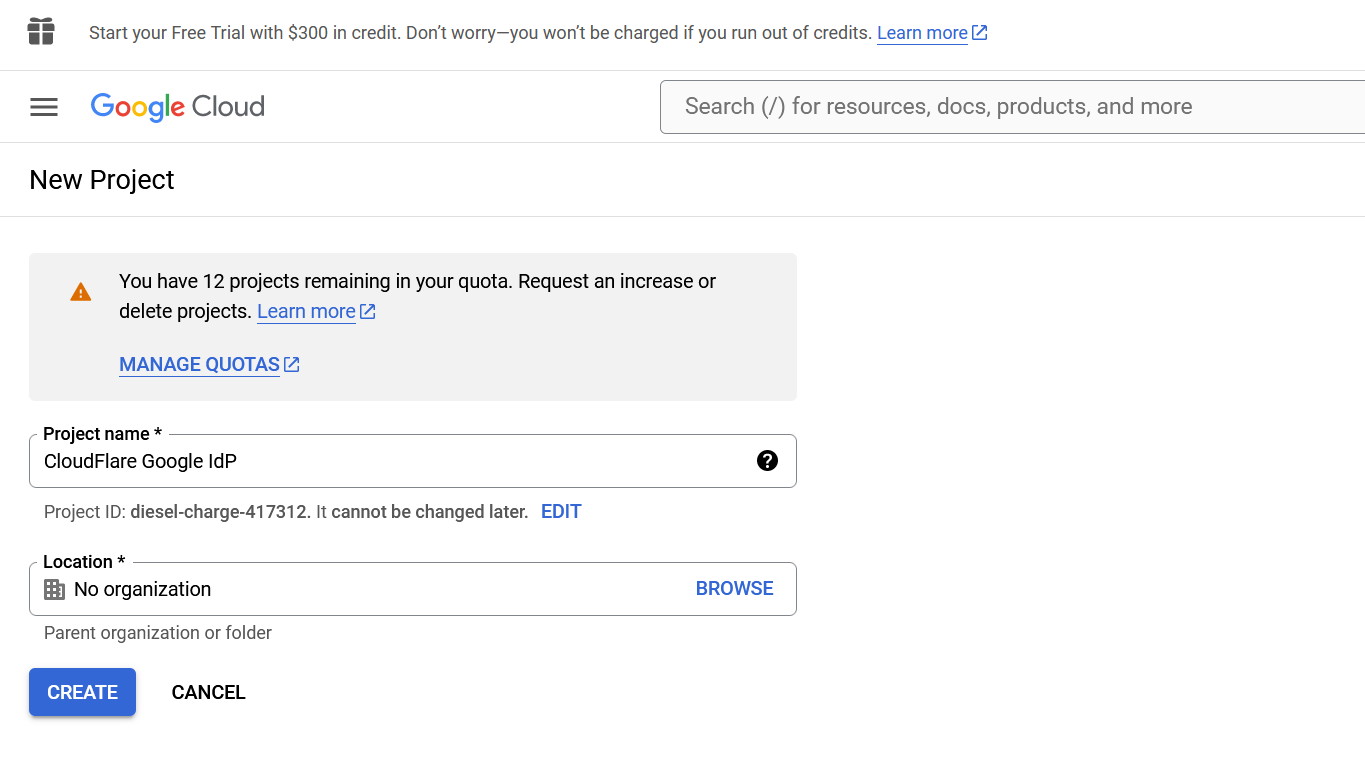
Go to Google Cloud Console, then create new project.
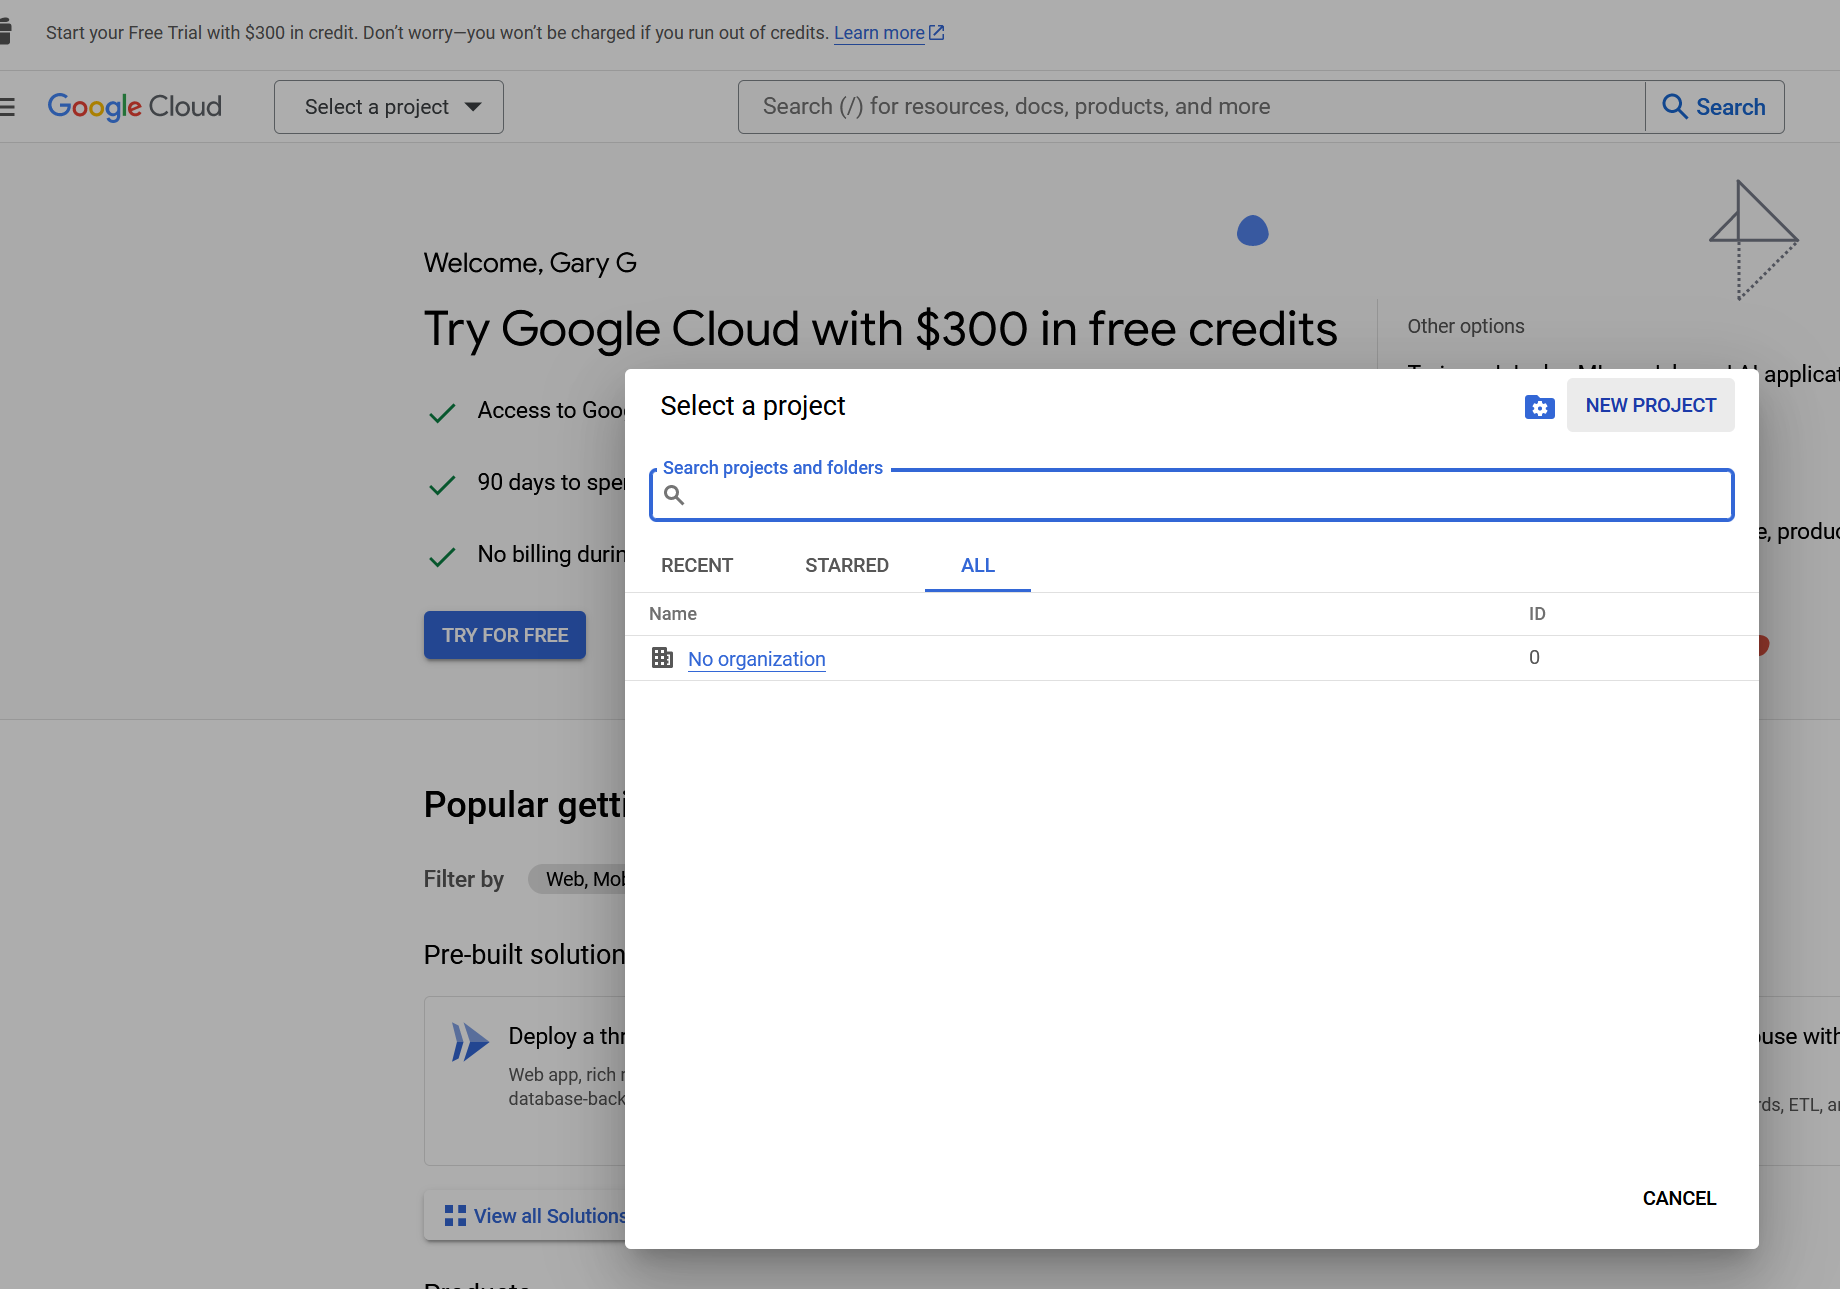
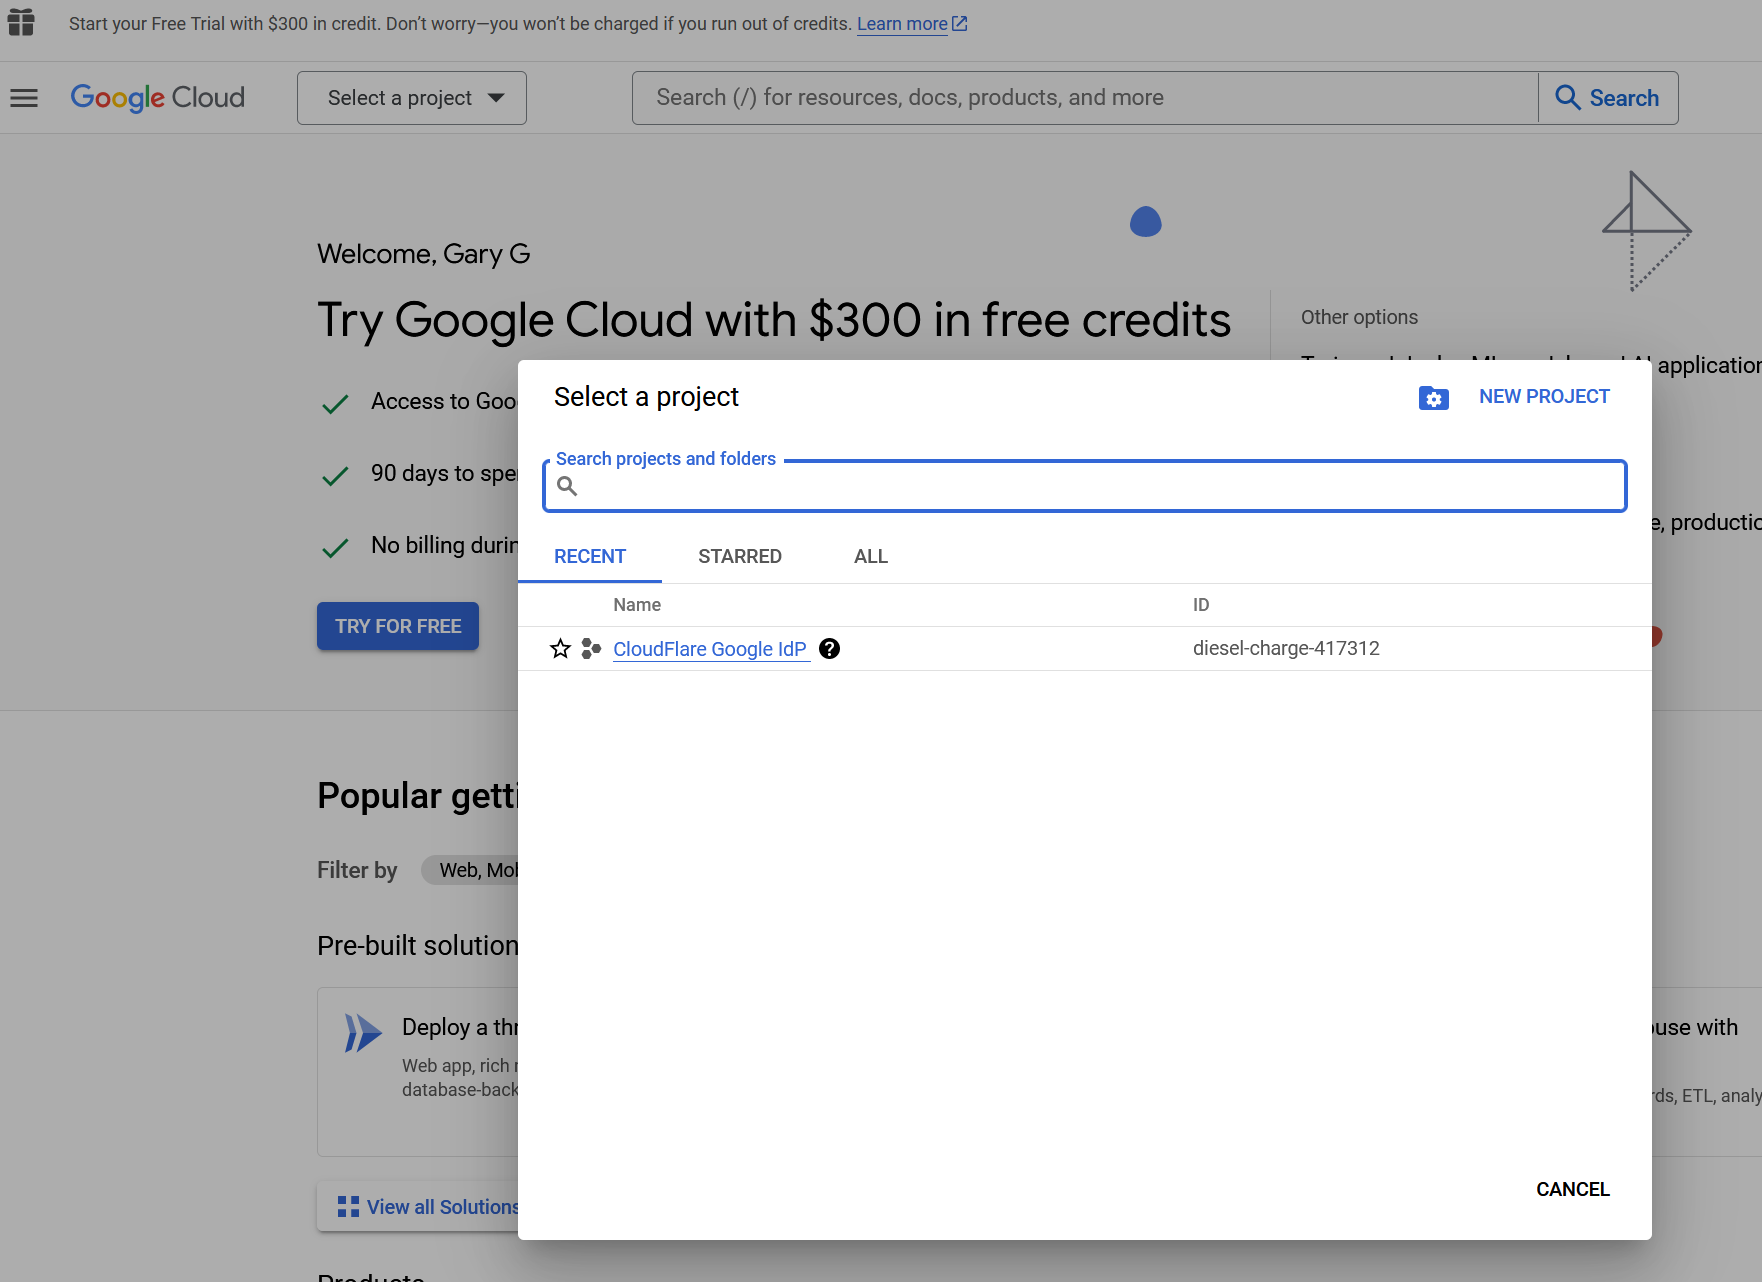
Select the newly created project.
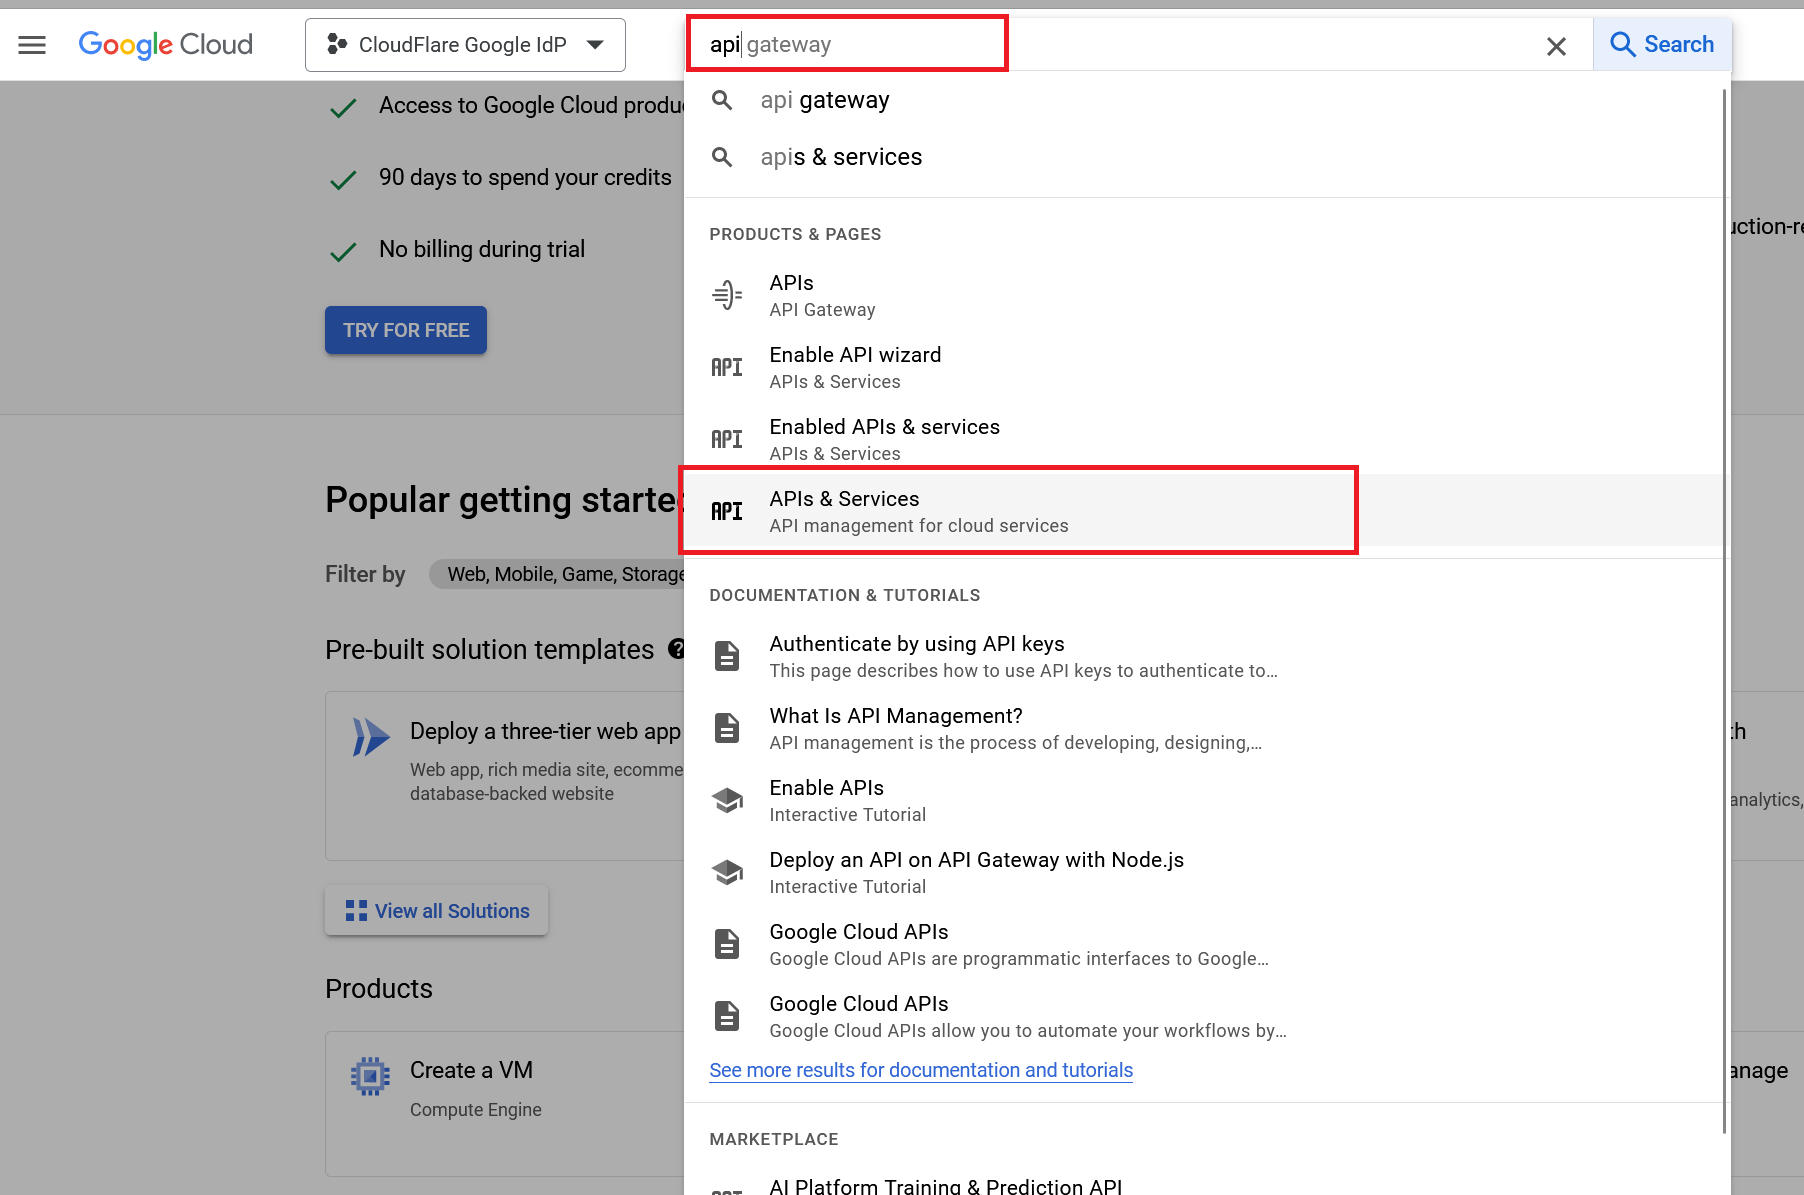
Search for APIs and Services.
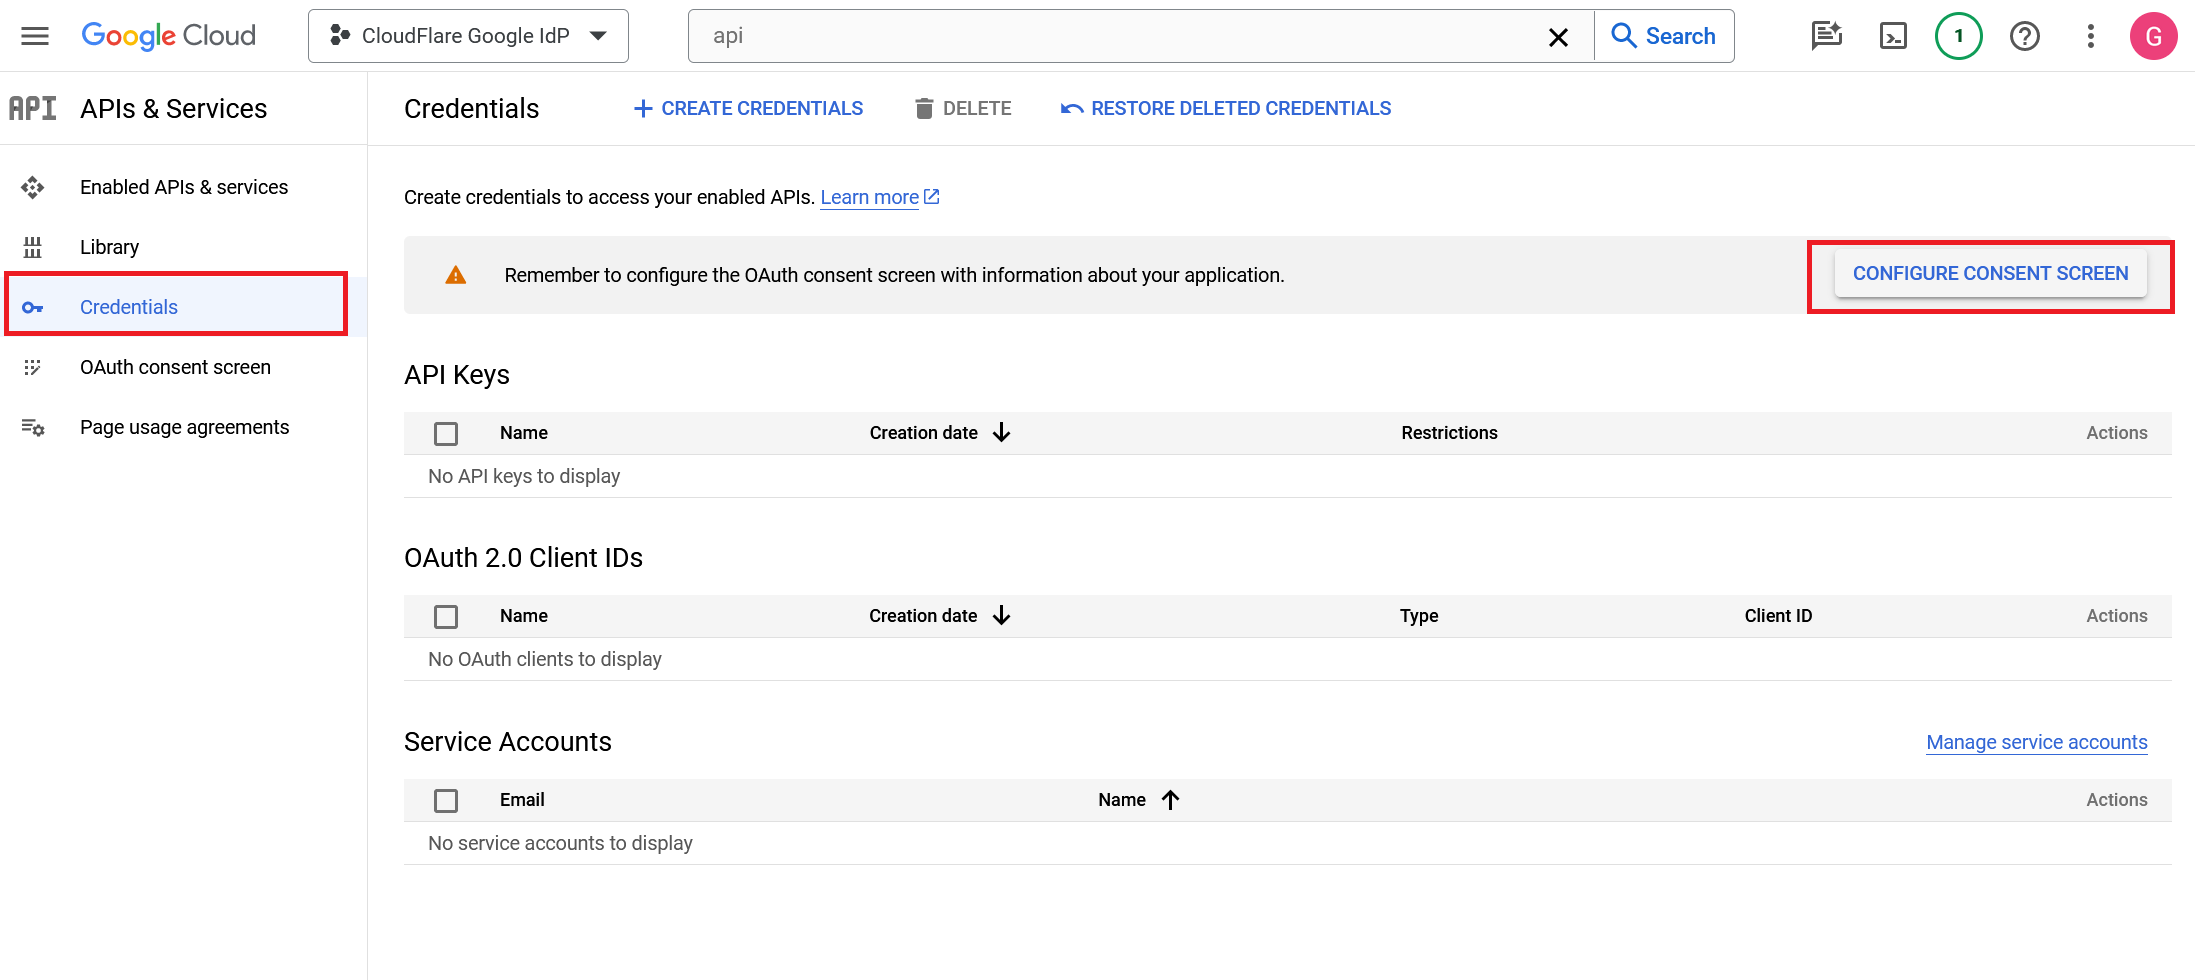
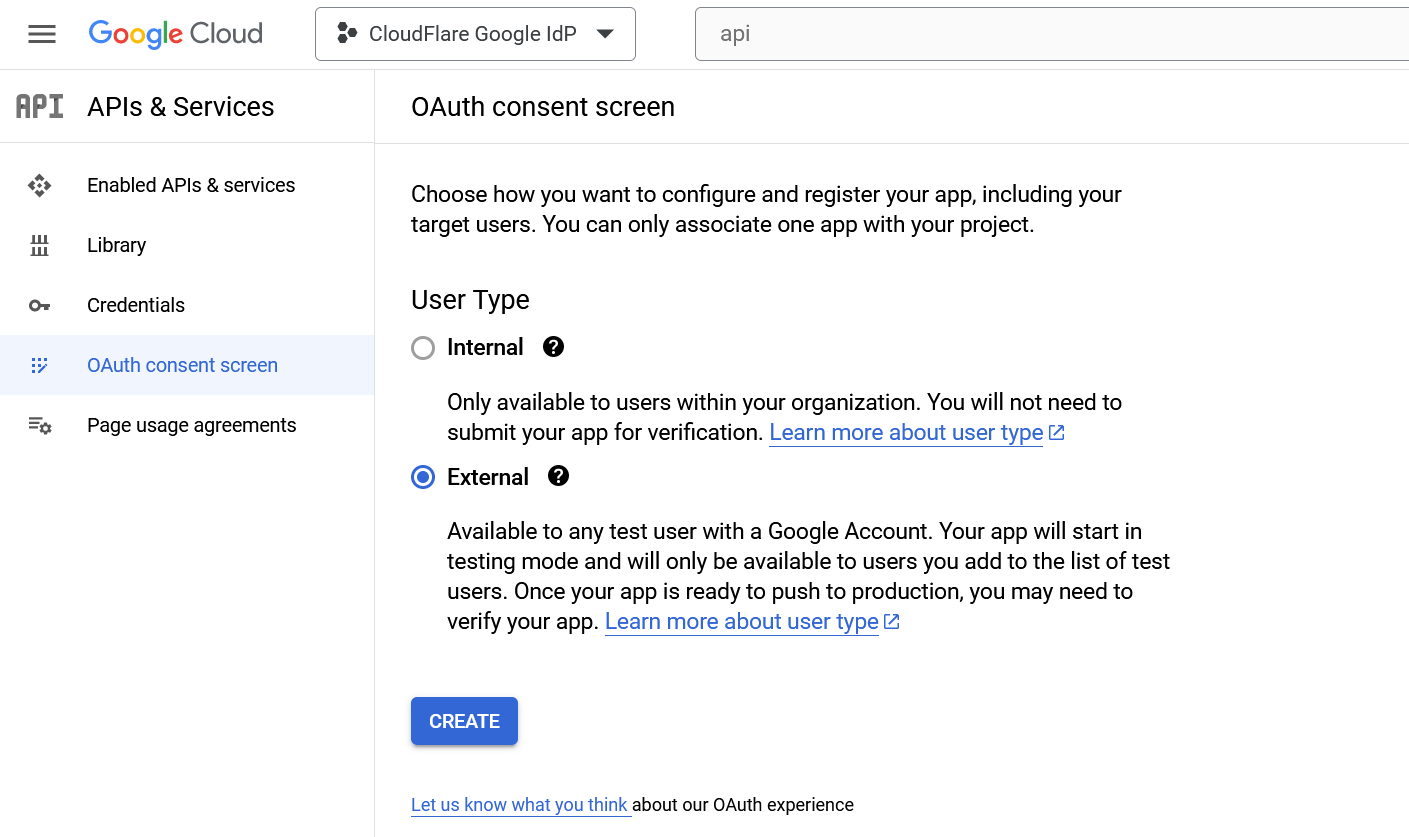
On the sidebar, go to Credentials and select Configure Consent Screen at the top of the page.
Choose External as the User Type. Since this application is not being created in a Google Workspace account, any user with a Gmail address can login.
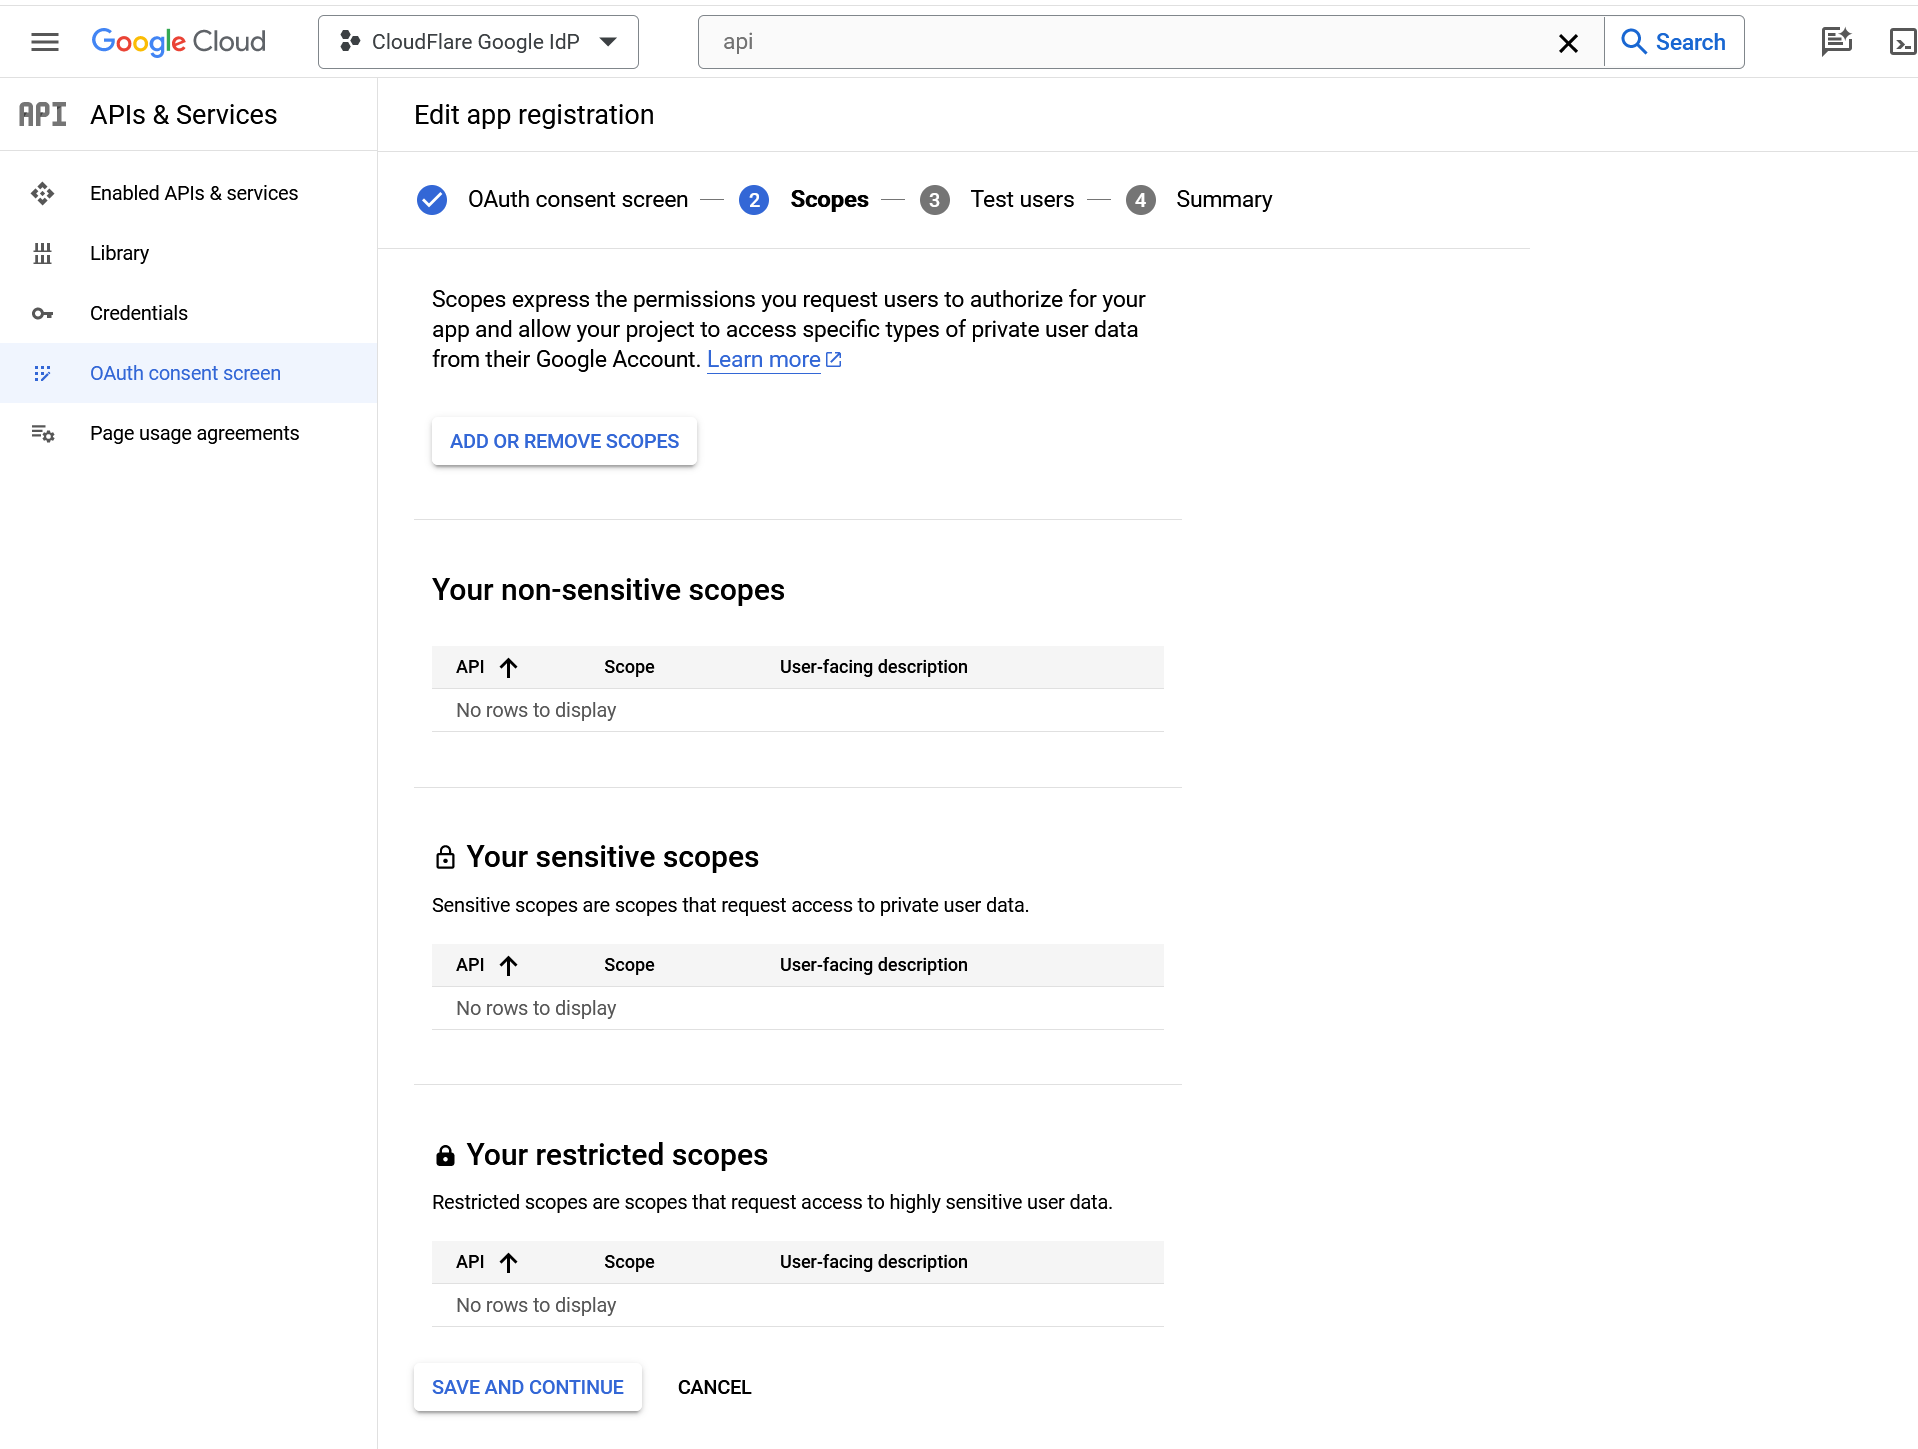
Name the application, add a support email, and input contact fields. Google Cloud Platform requires an email in your account. Note: In the Scopes section, we recommend adding the userinfo.email scope. This is not required for the integration, but shows authenticating users what information is being gathered. You do not need to add test users.
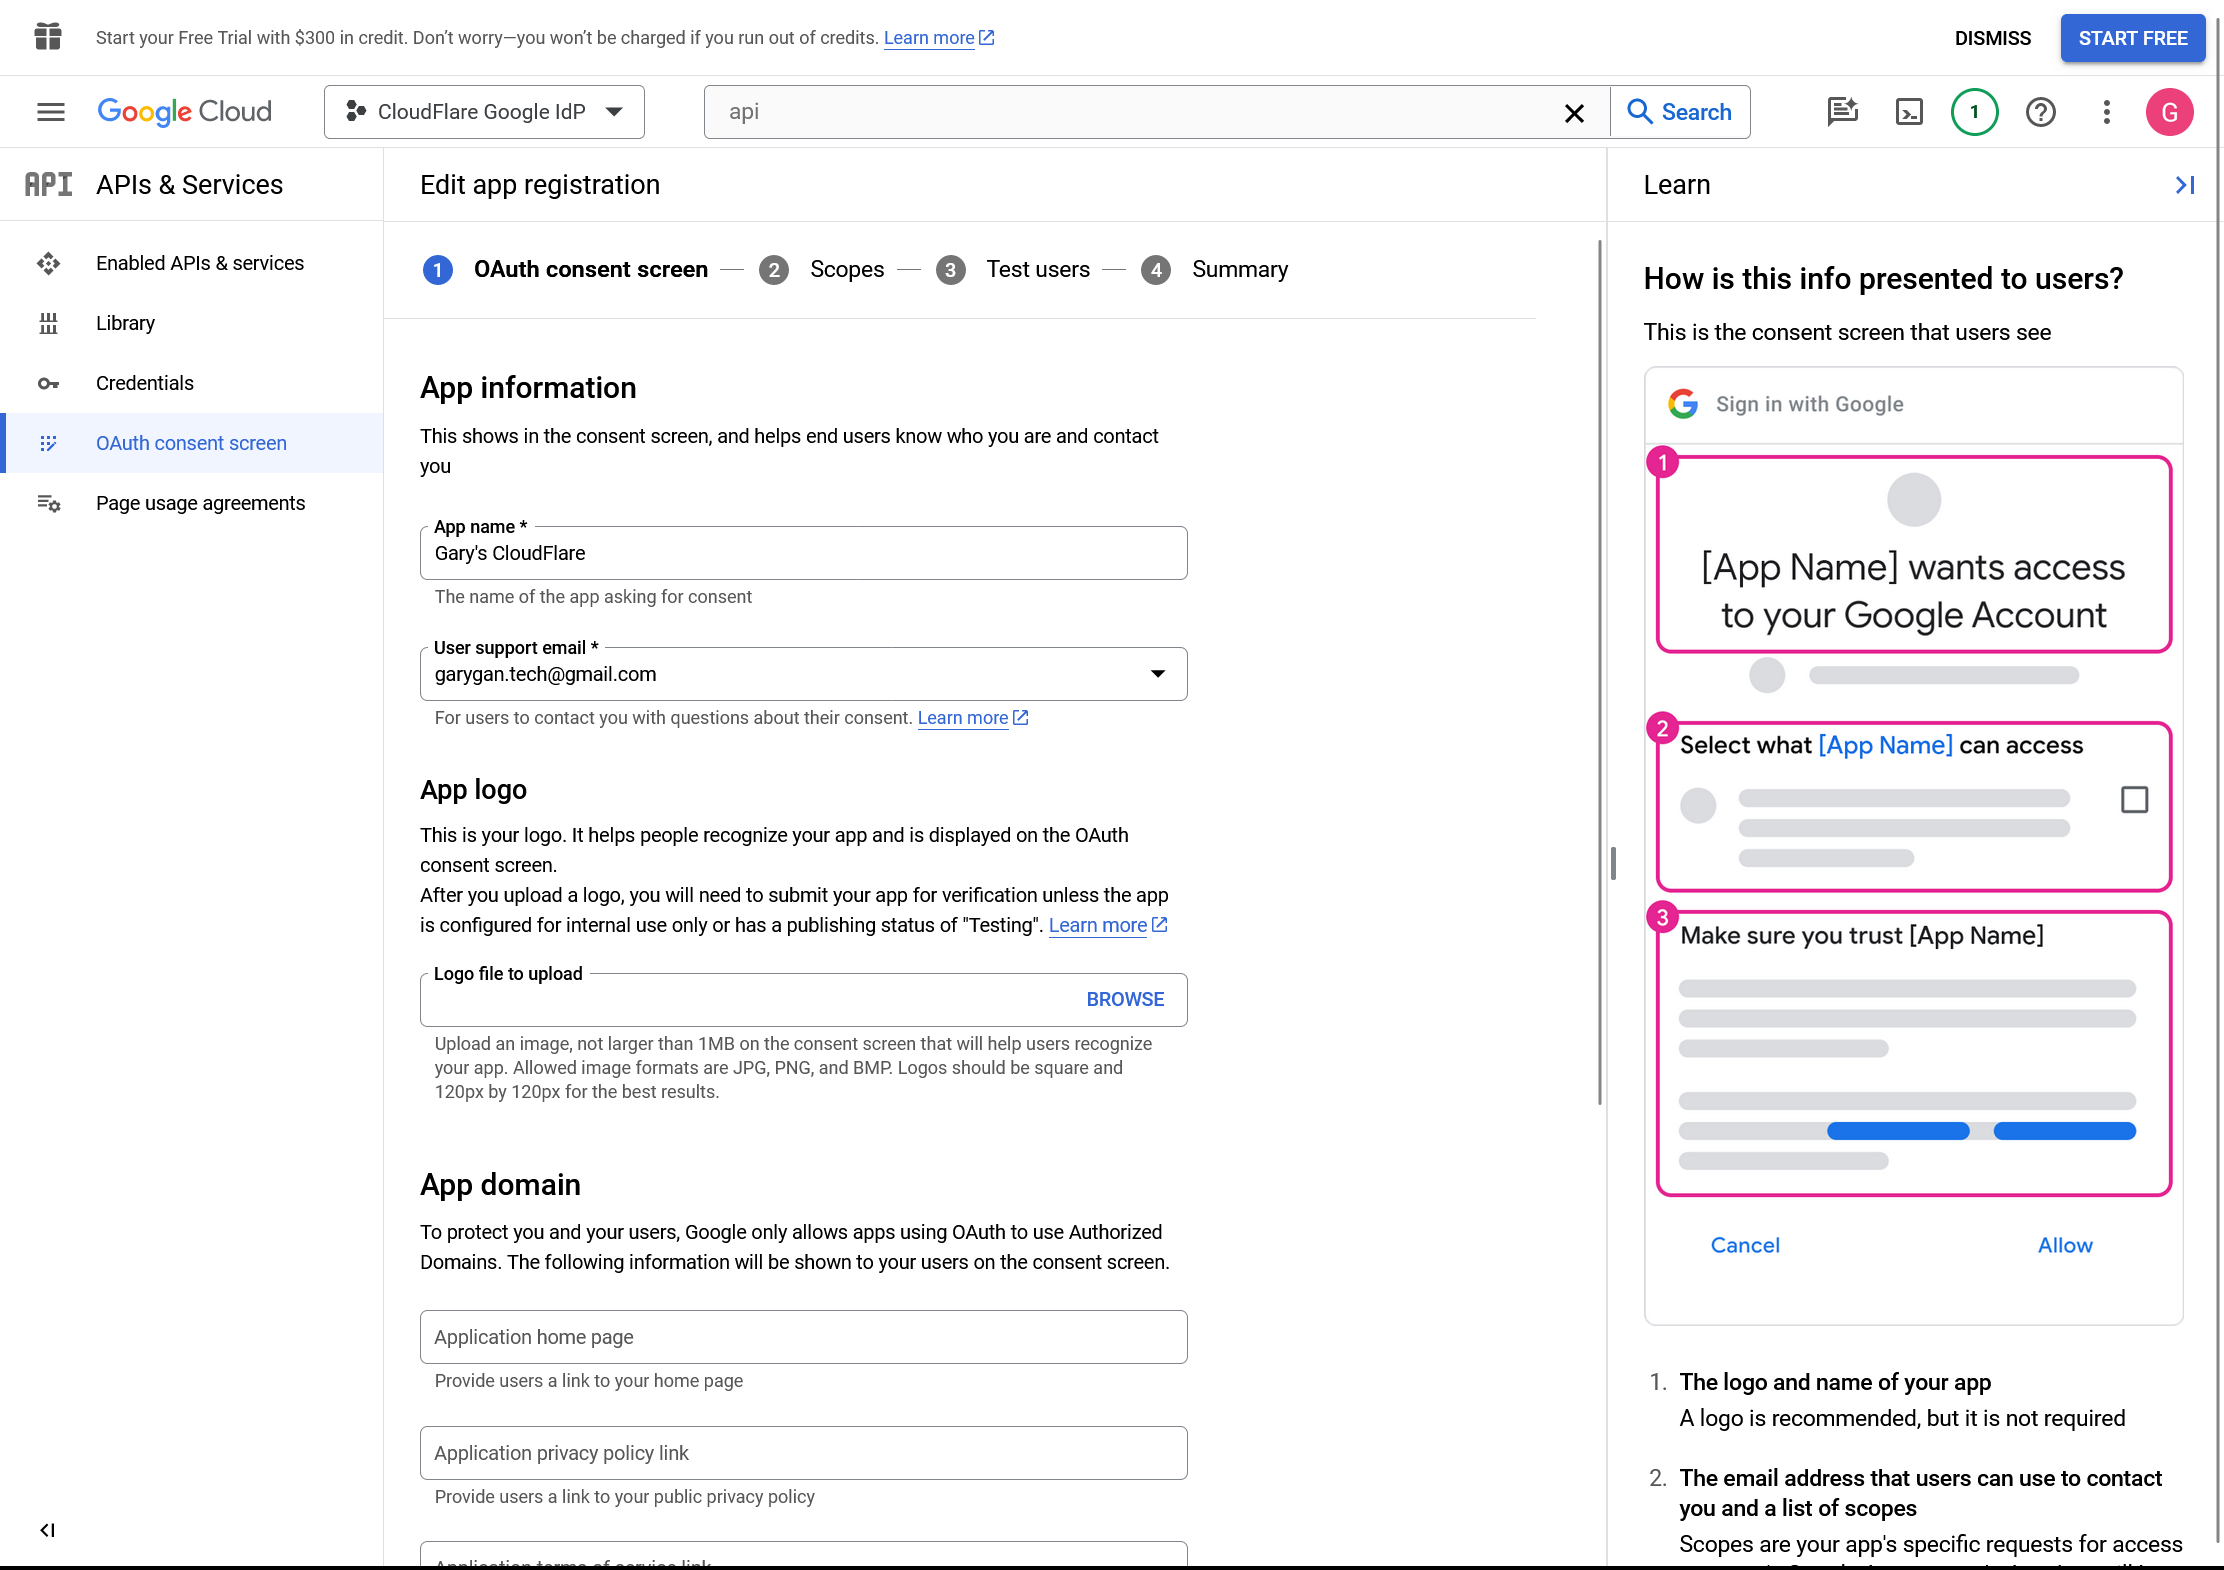
Click Save and Continue
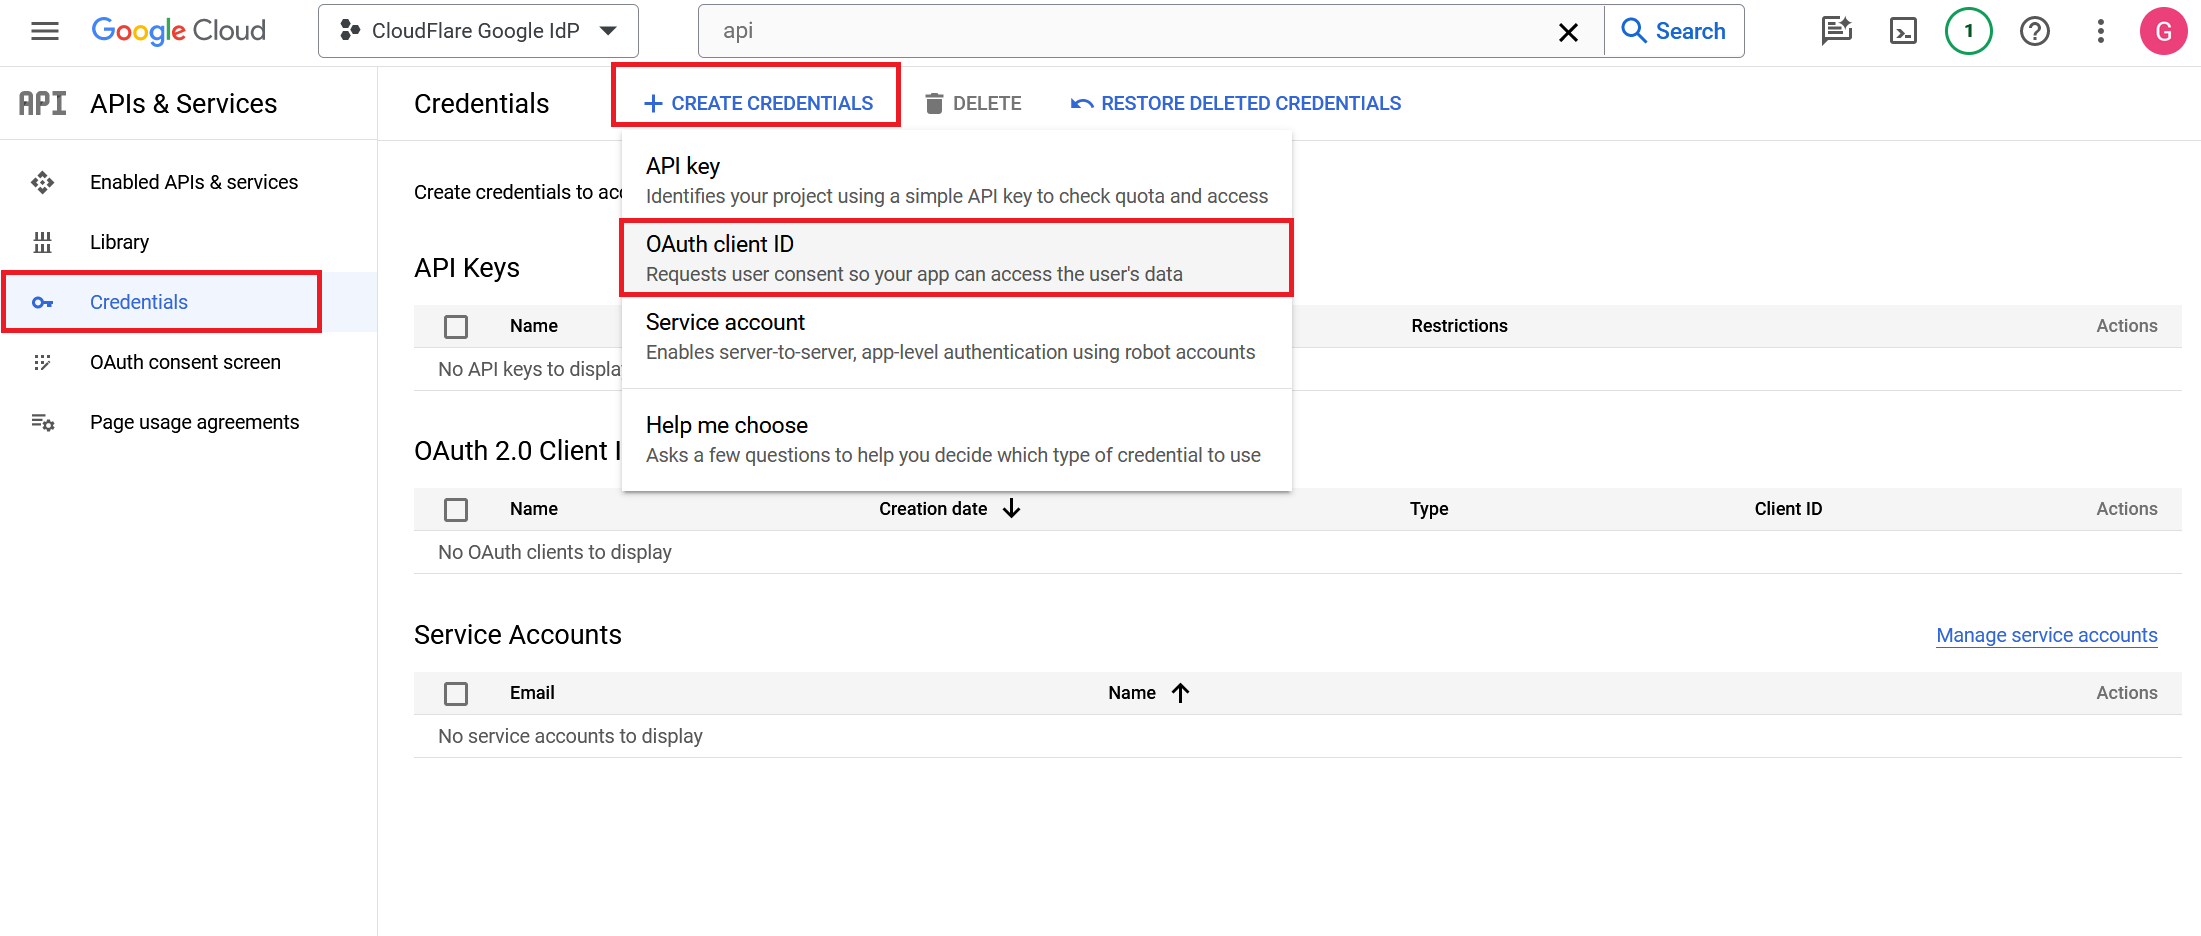
Return to the APIs & Services page, select Create Credentials > OAuth client ID, and name the application.
Select Web application as Application type.
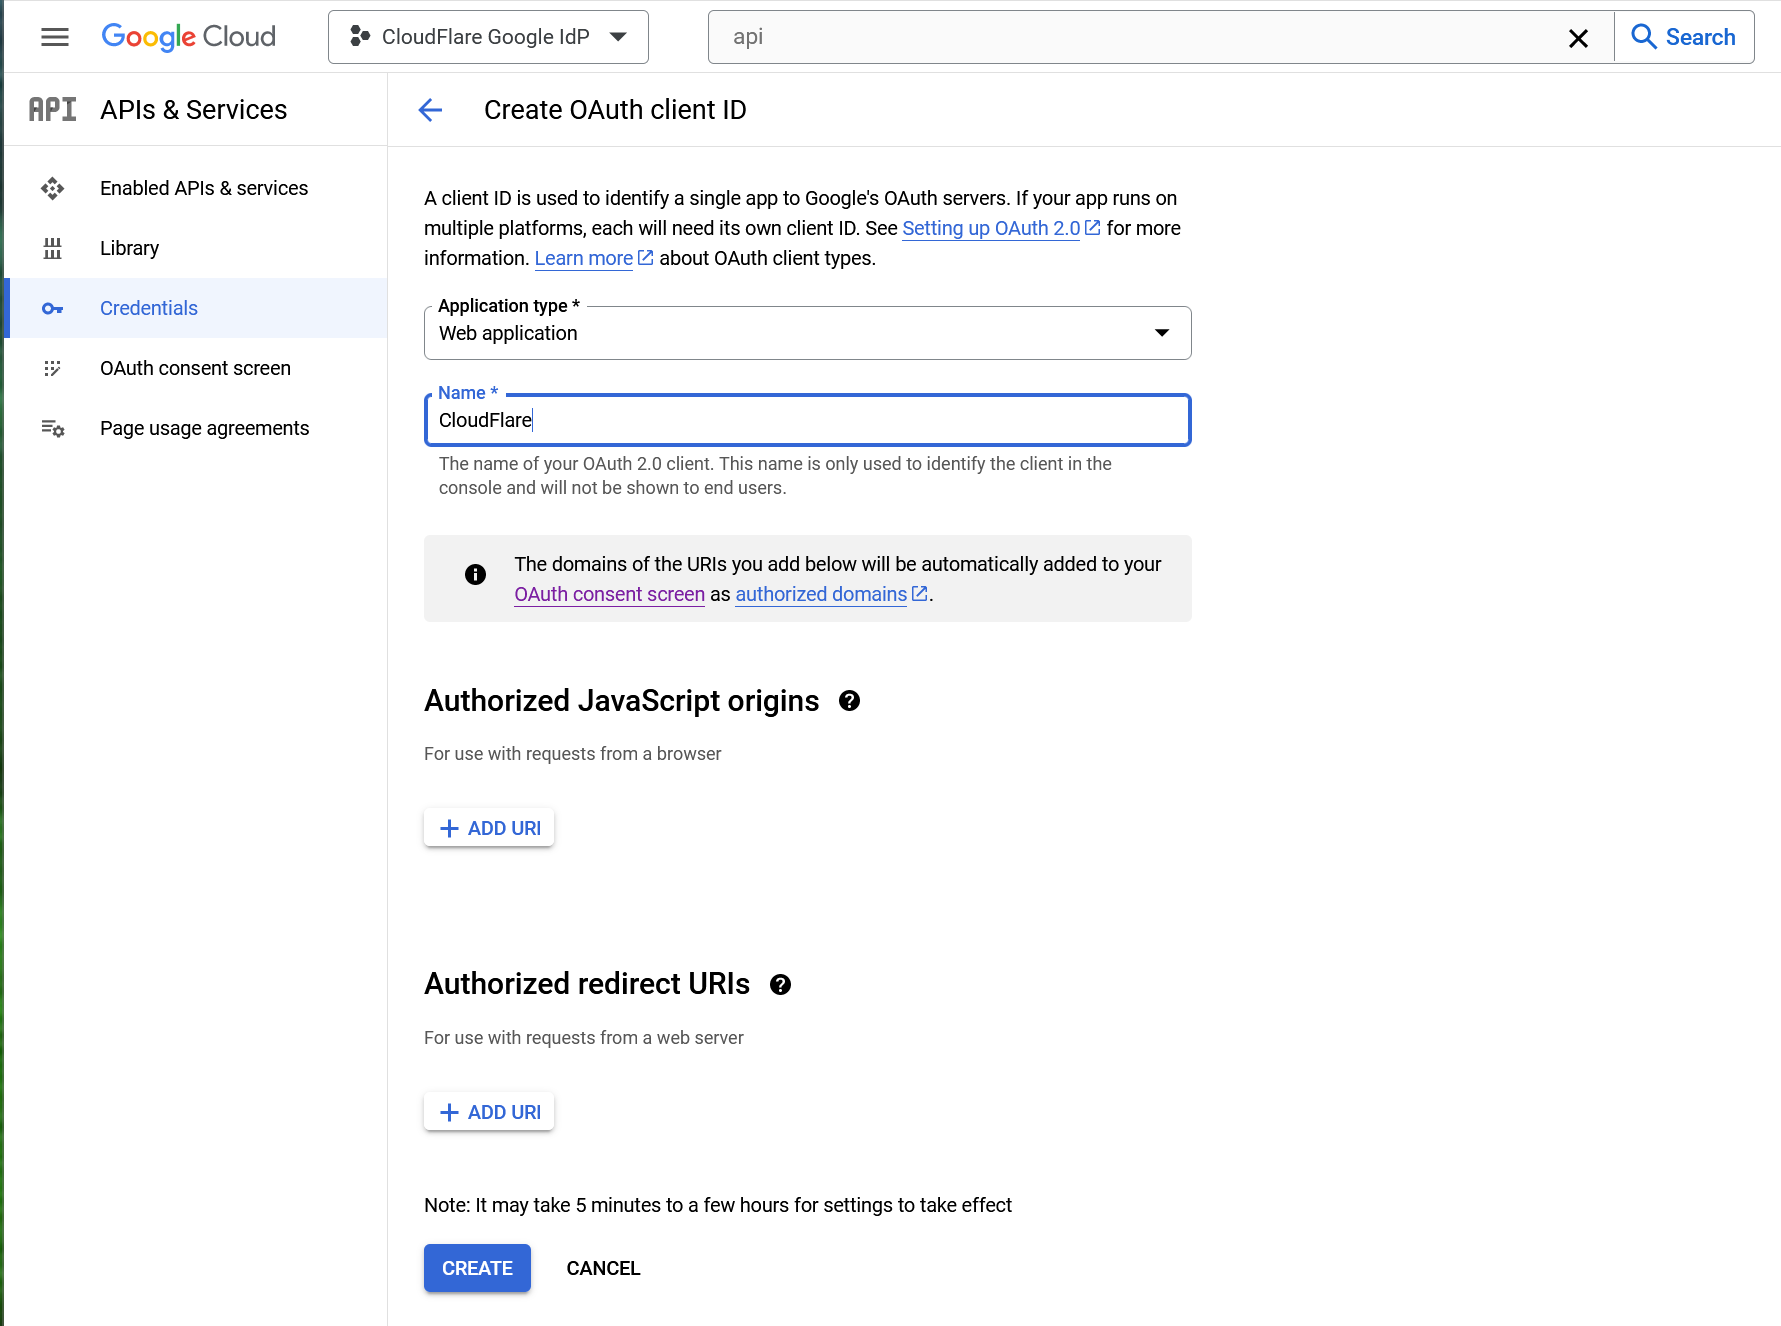
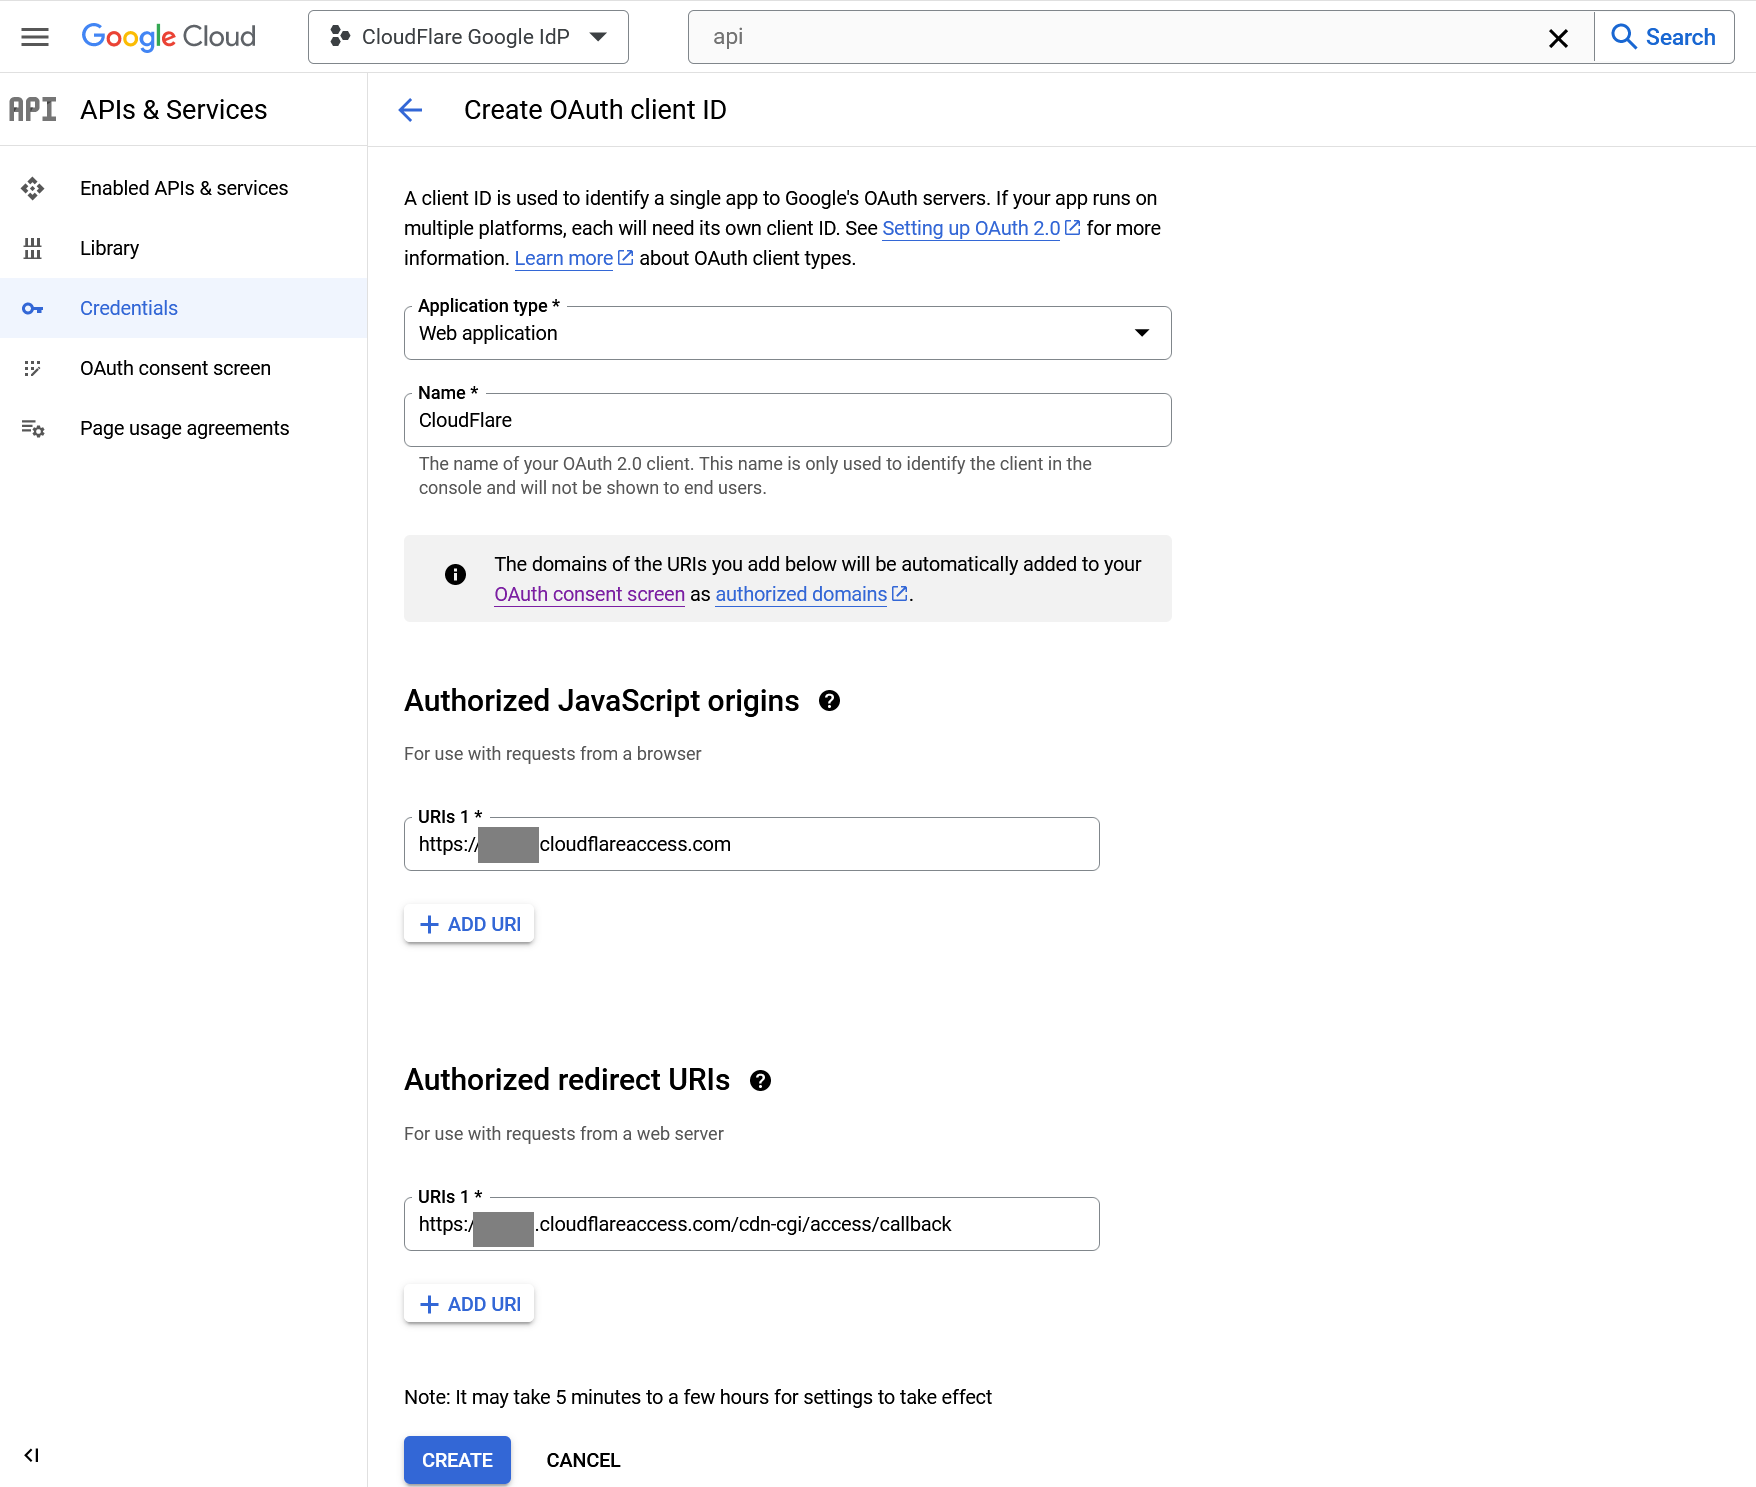
Under Authorized JavaScript origins, in the URIs field, enter your team domain. E.g.
https://<your-team-name>.cloudflareaccess.comUnder Authorized redirect URIs, in the URIs field, enter the following URL:
https://<your-team-name>.cloudflareaccess.com/cdn-cgi/access/callbackClick Create when done.
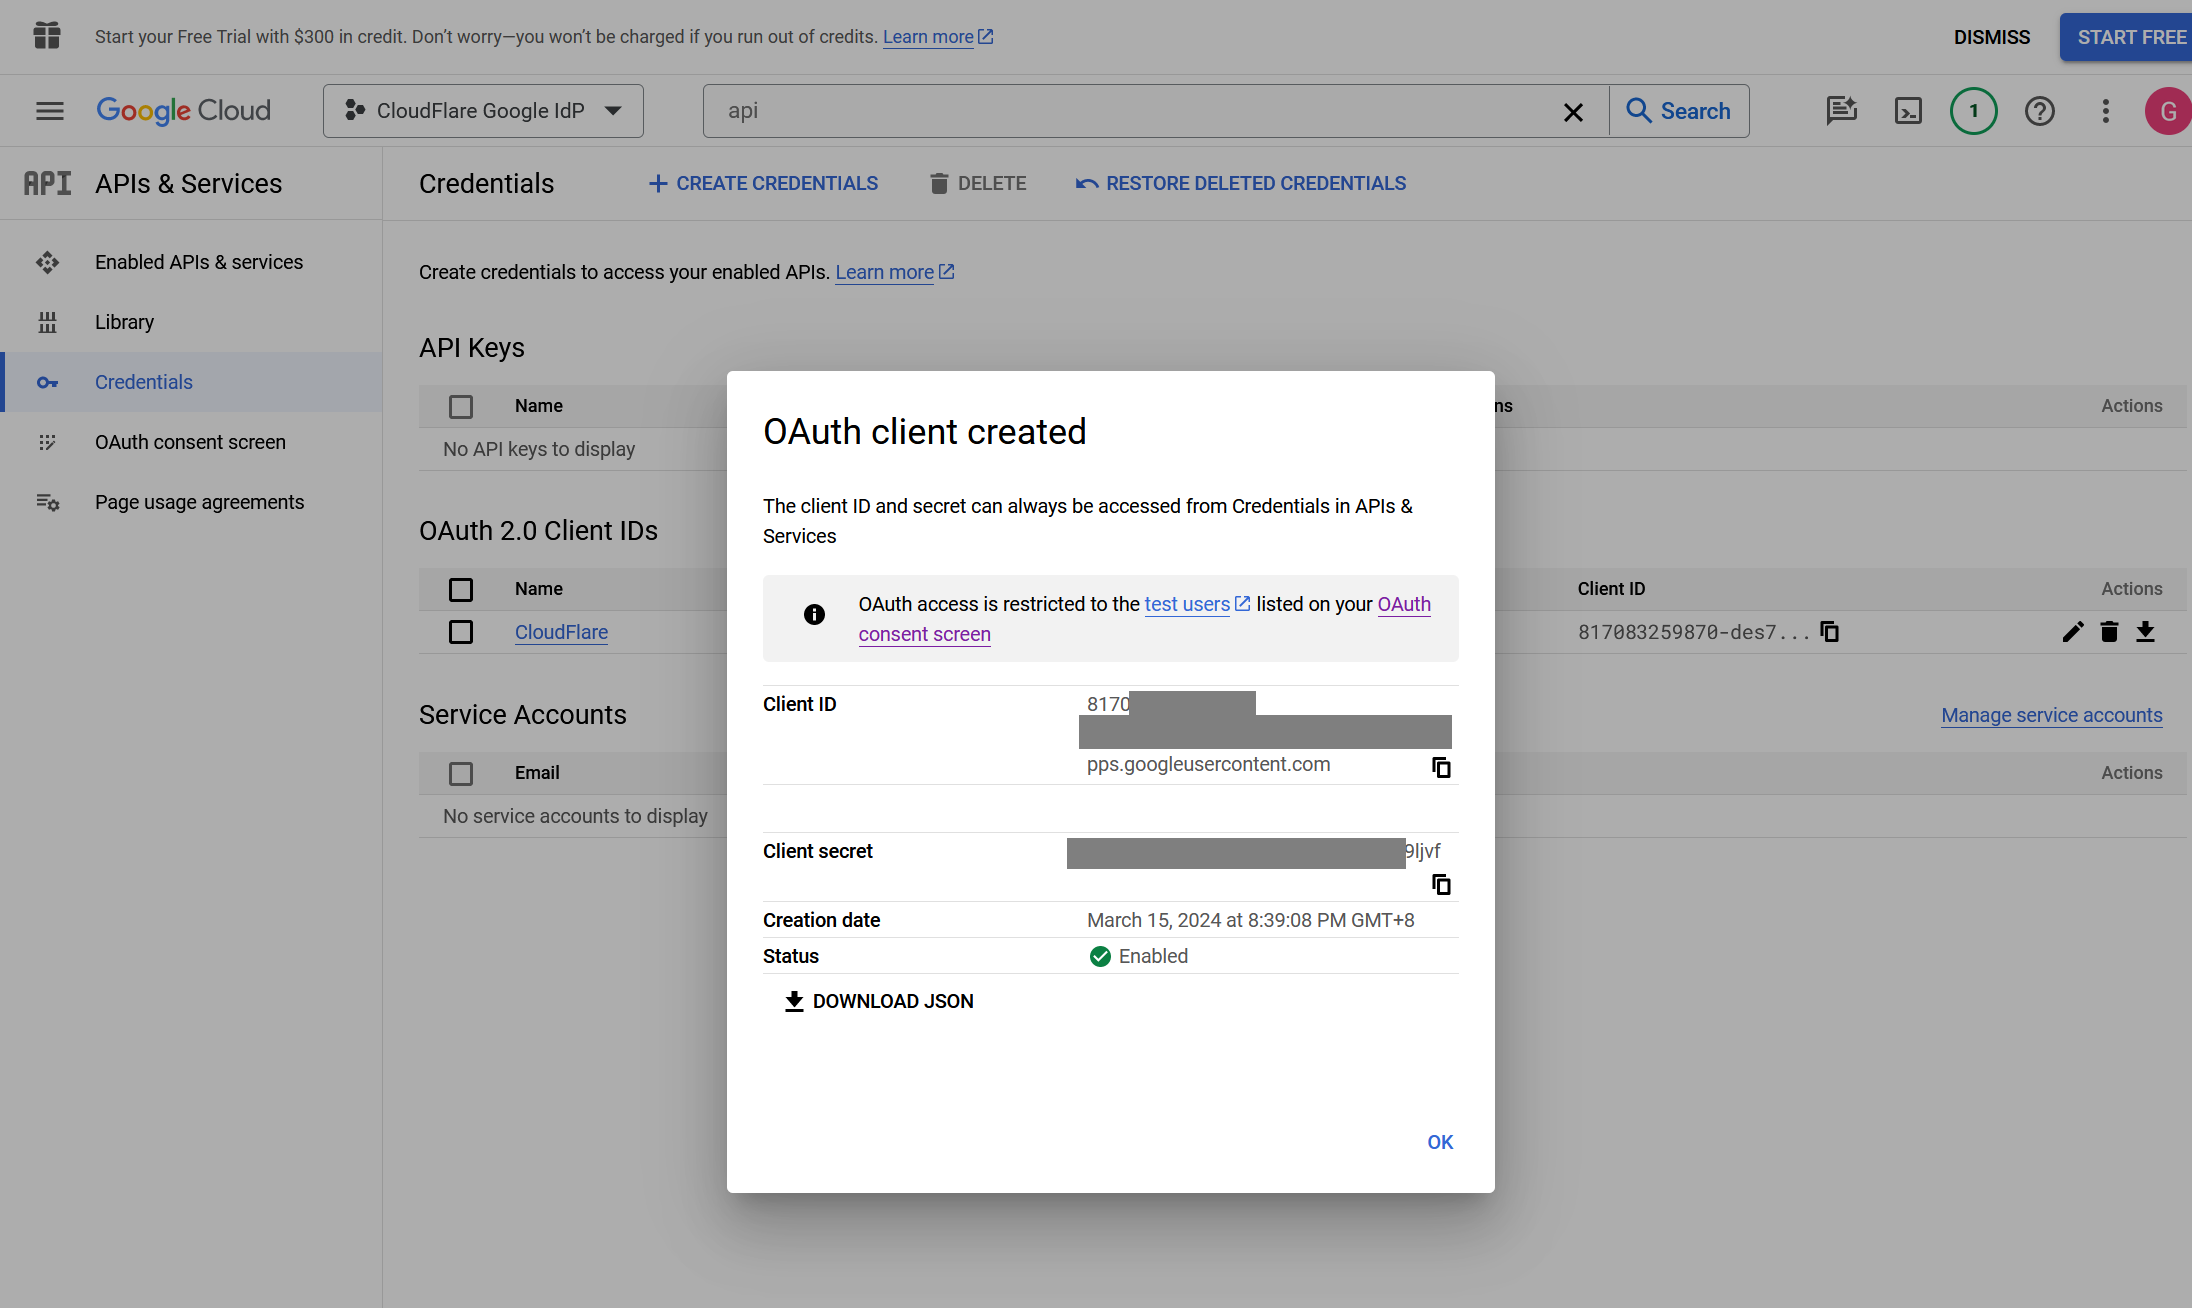
Google will present the OAuth Client ID and Secret values. The secret field functions like a password and should not be shared. Copy both values.
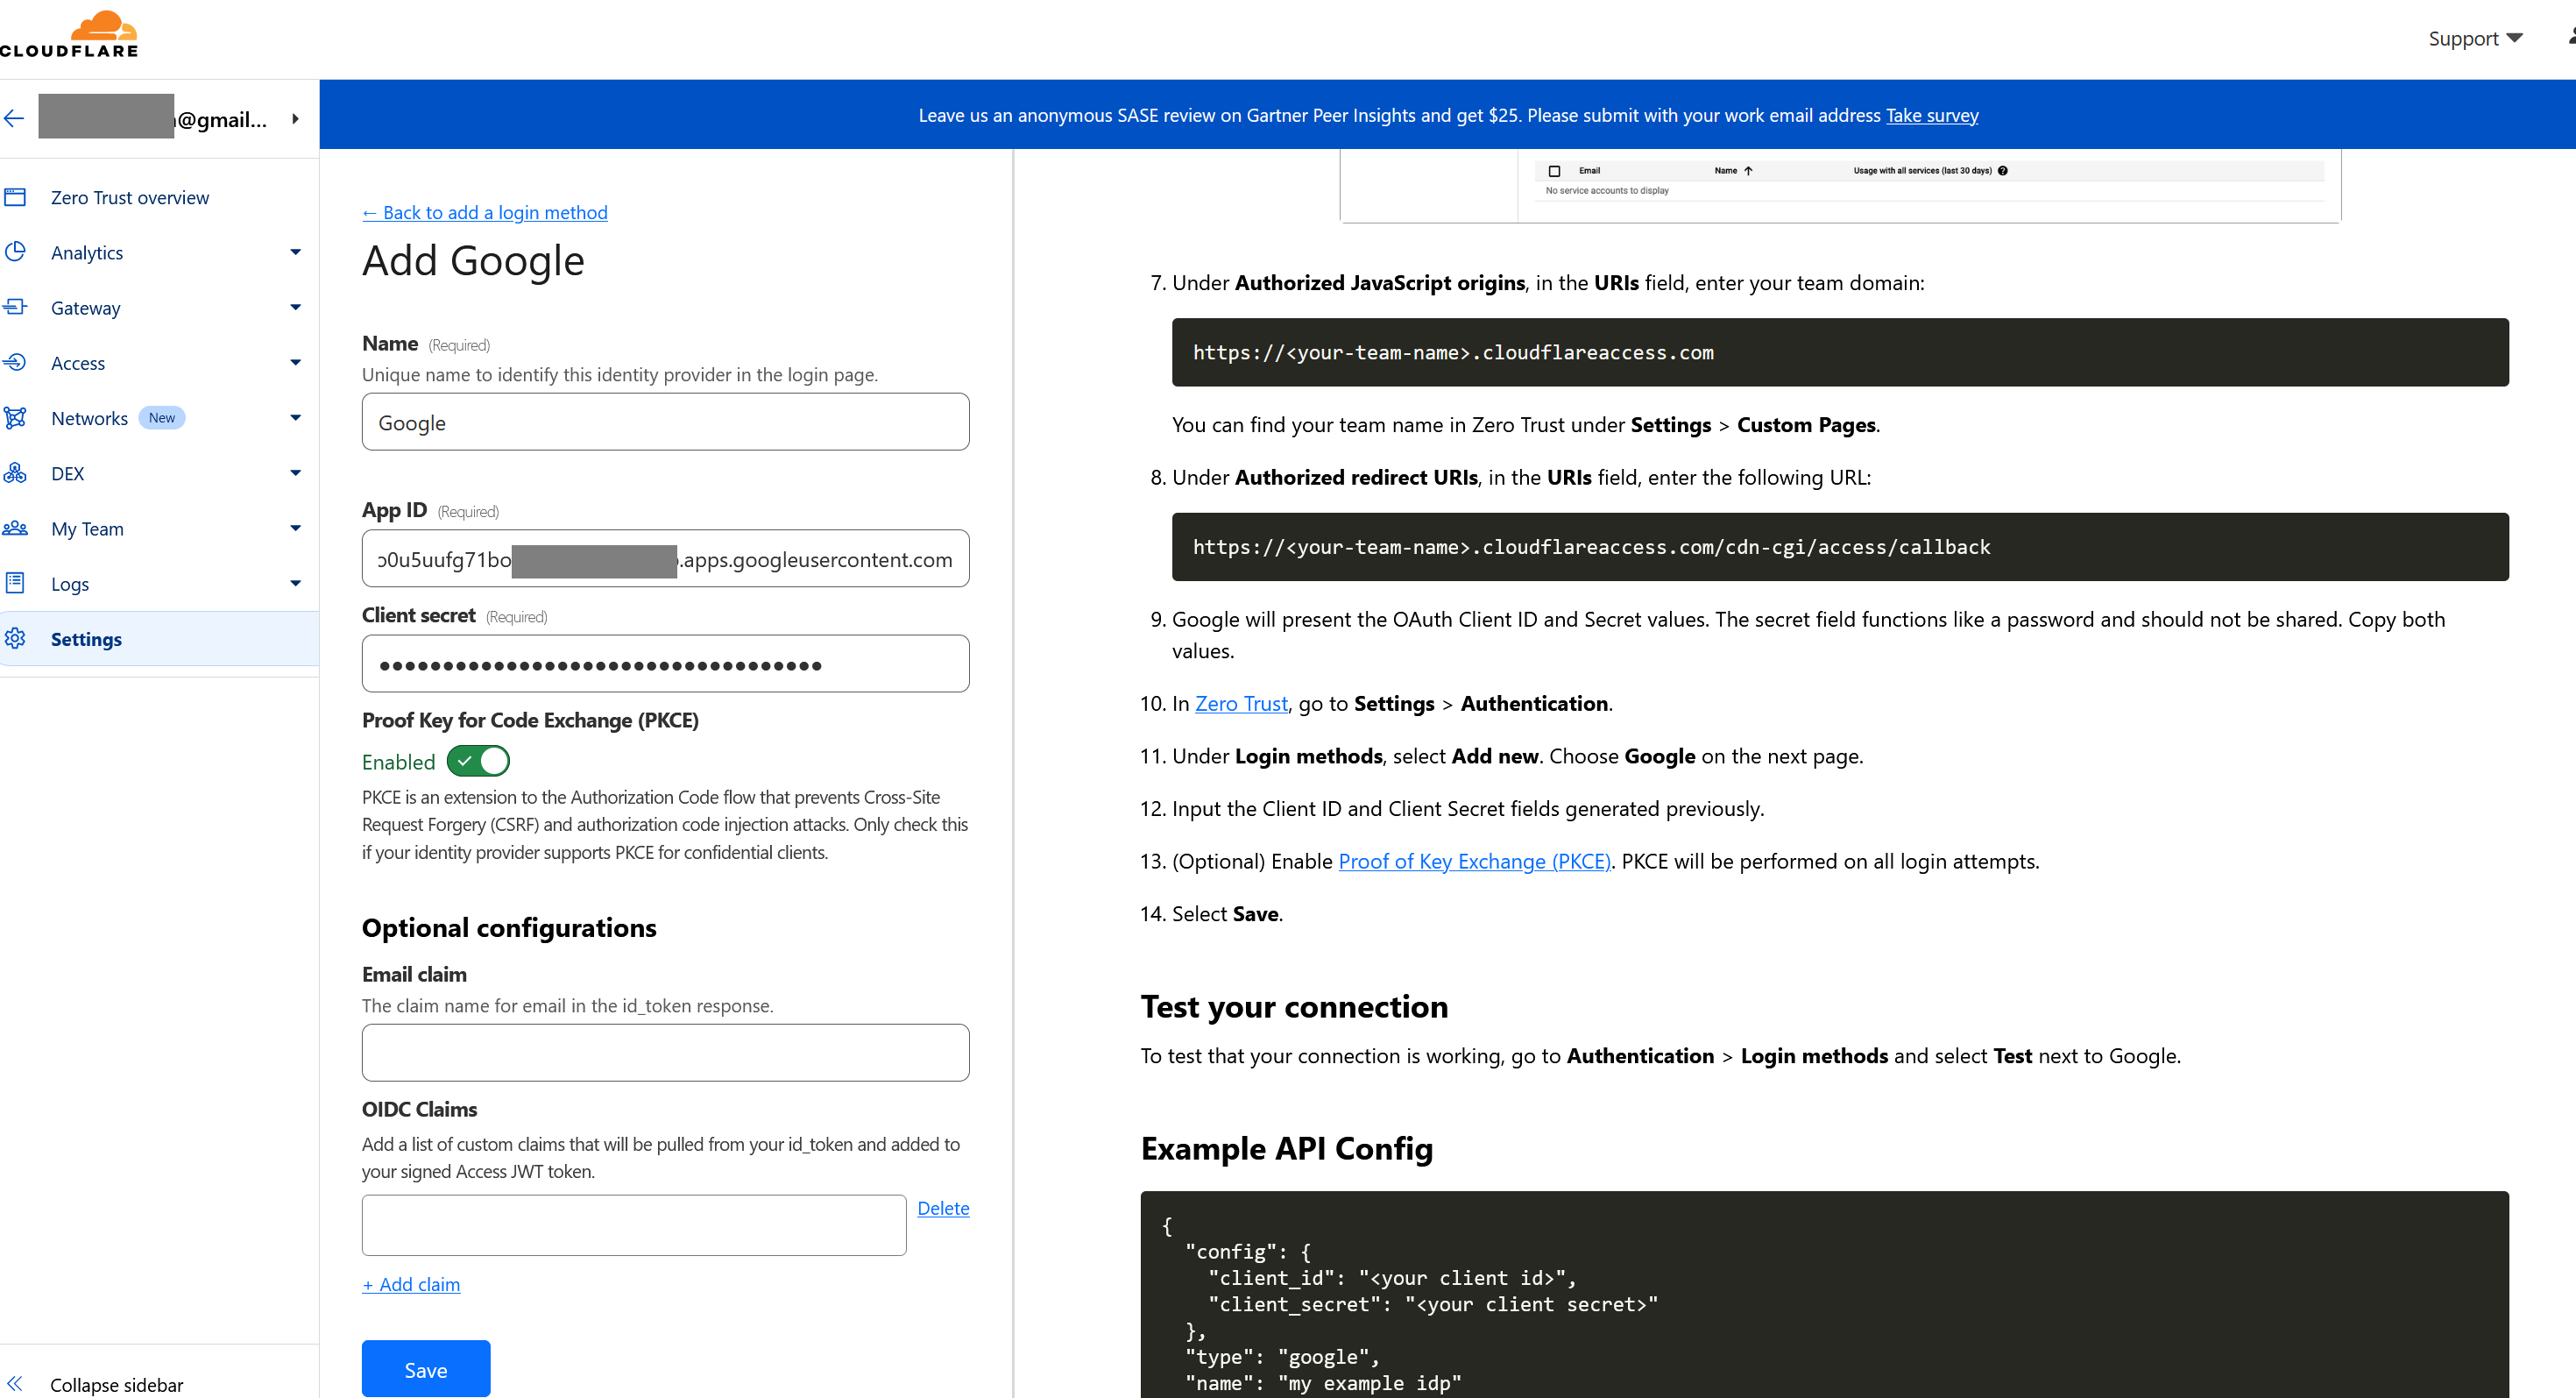
Go back to CloudFlare.
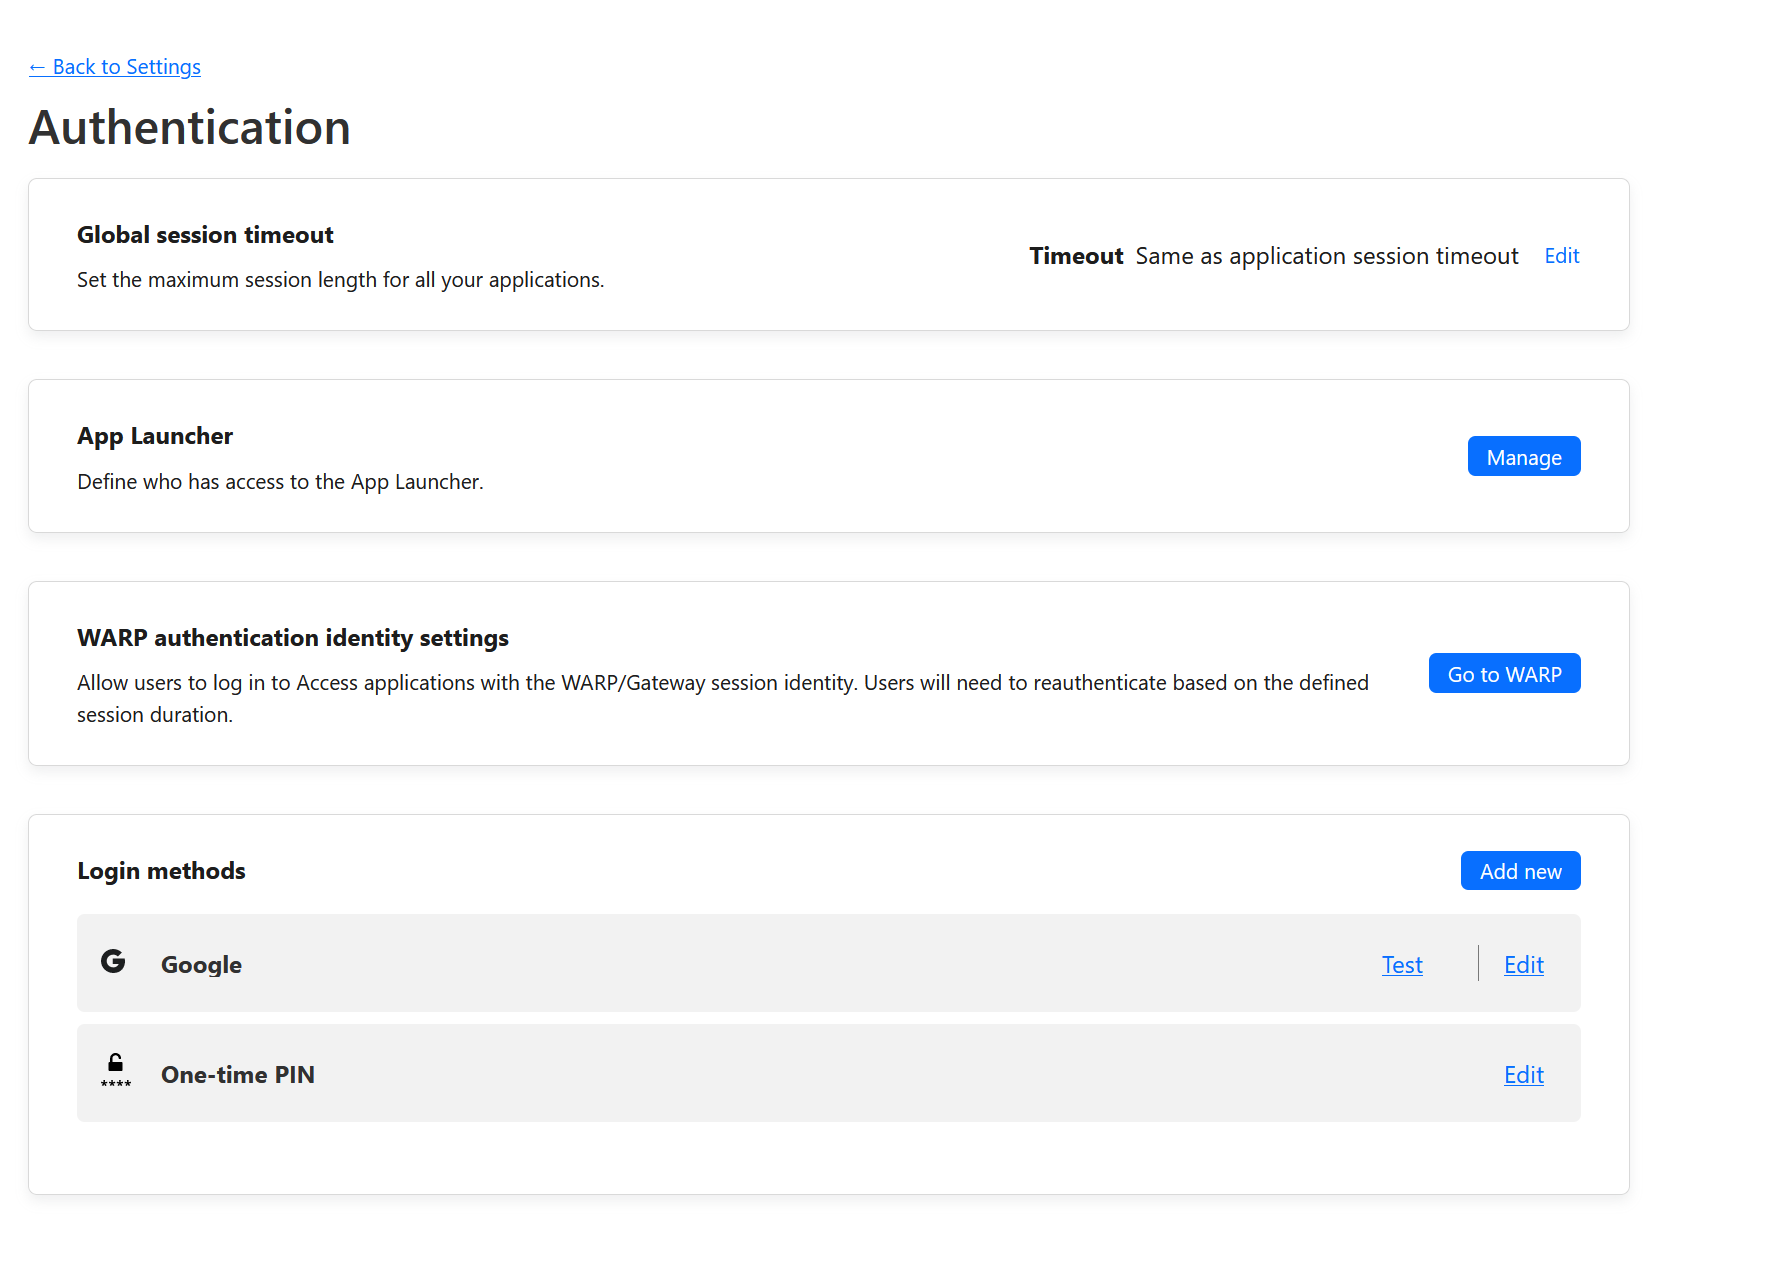
- In Zero Trust, go to Settings > Authentication.
- Under Login methods, select Add new. Choose Google on the next page.
- Input the Client ID and Client Secret fields generated previously.
Click Save button when done.
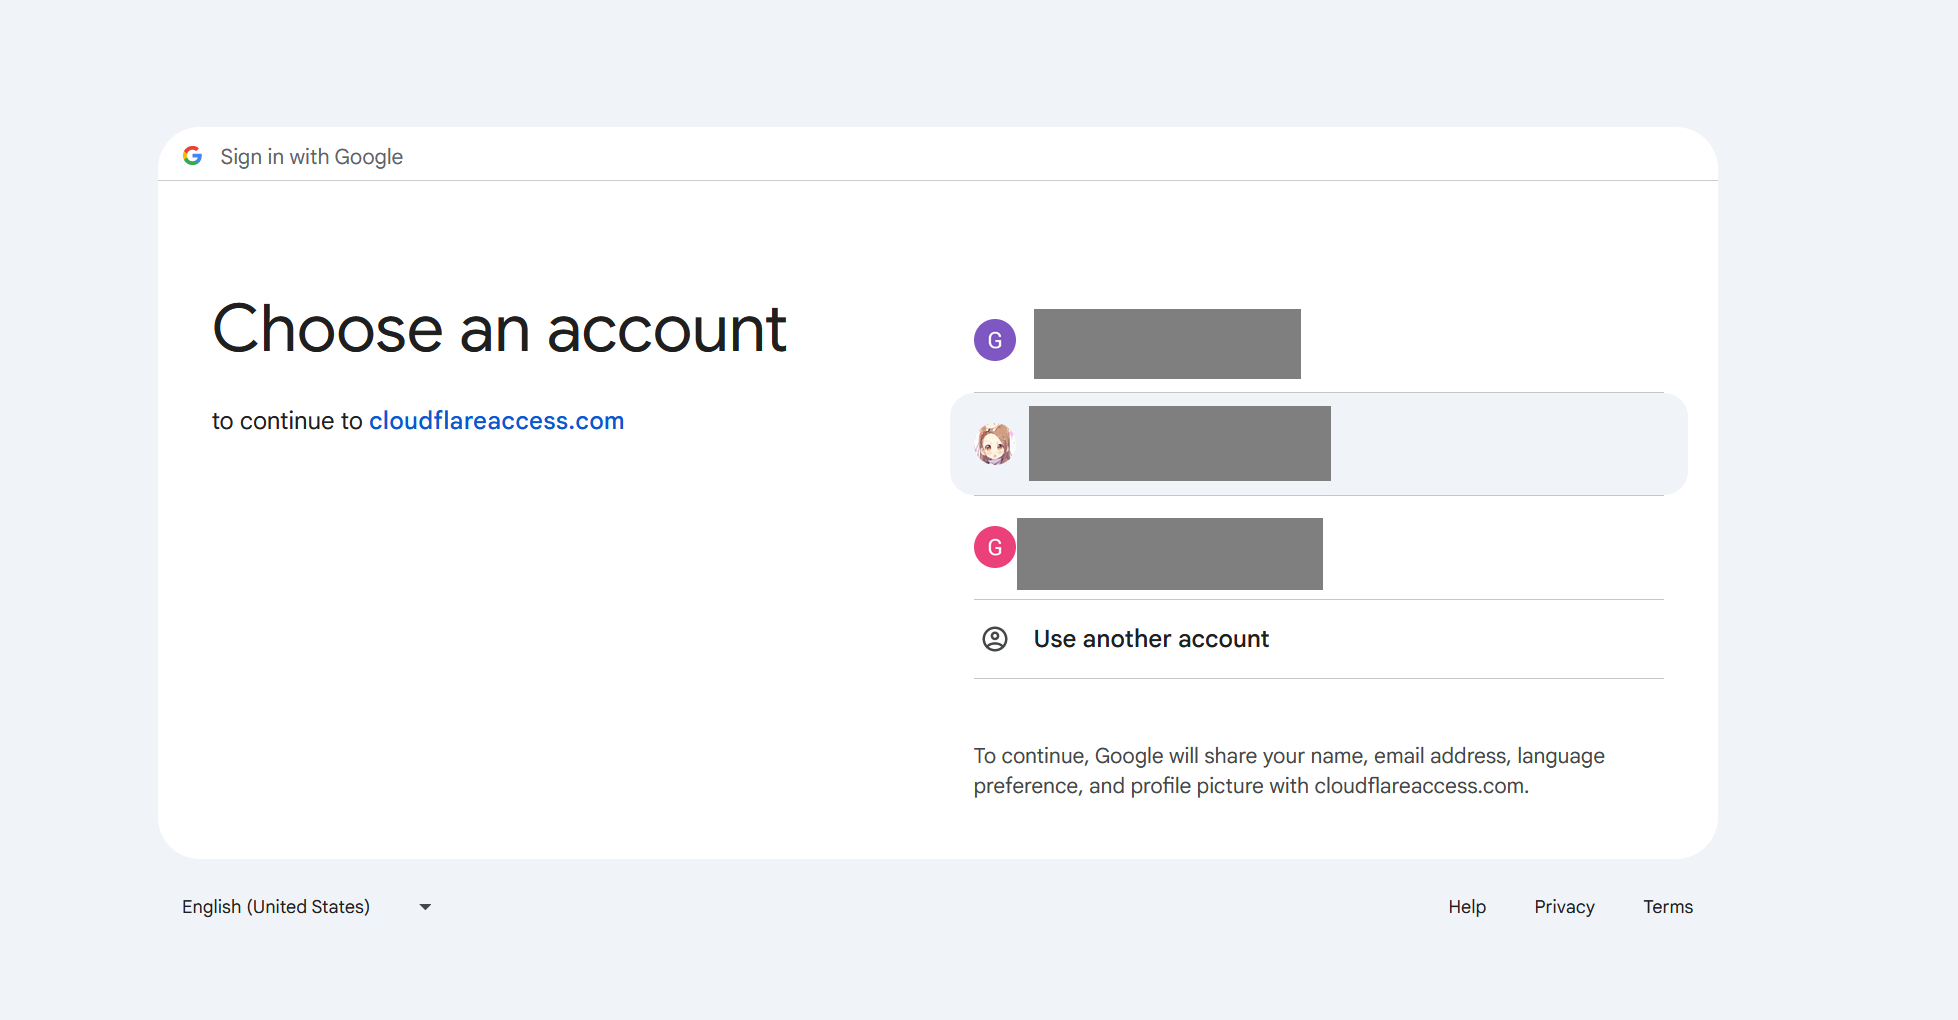
Click Test to confirm. You should see the familiar google sign in screen.
Select a Google account to login.
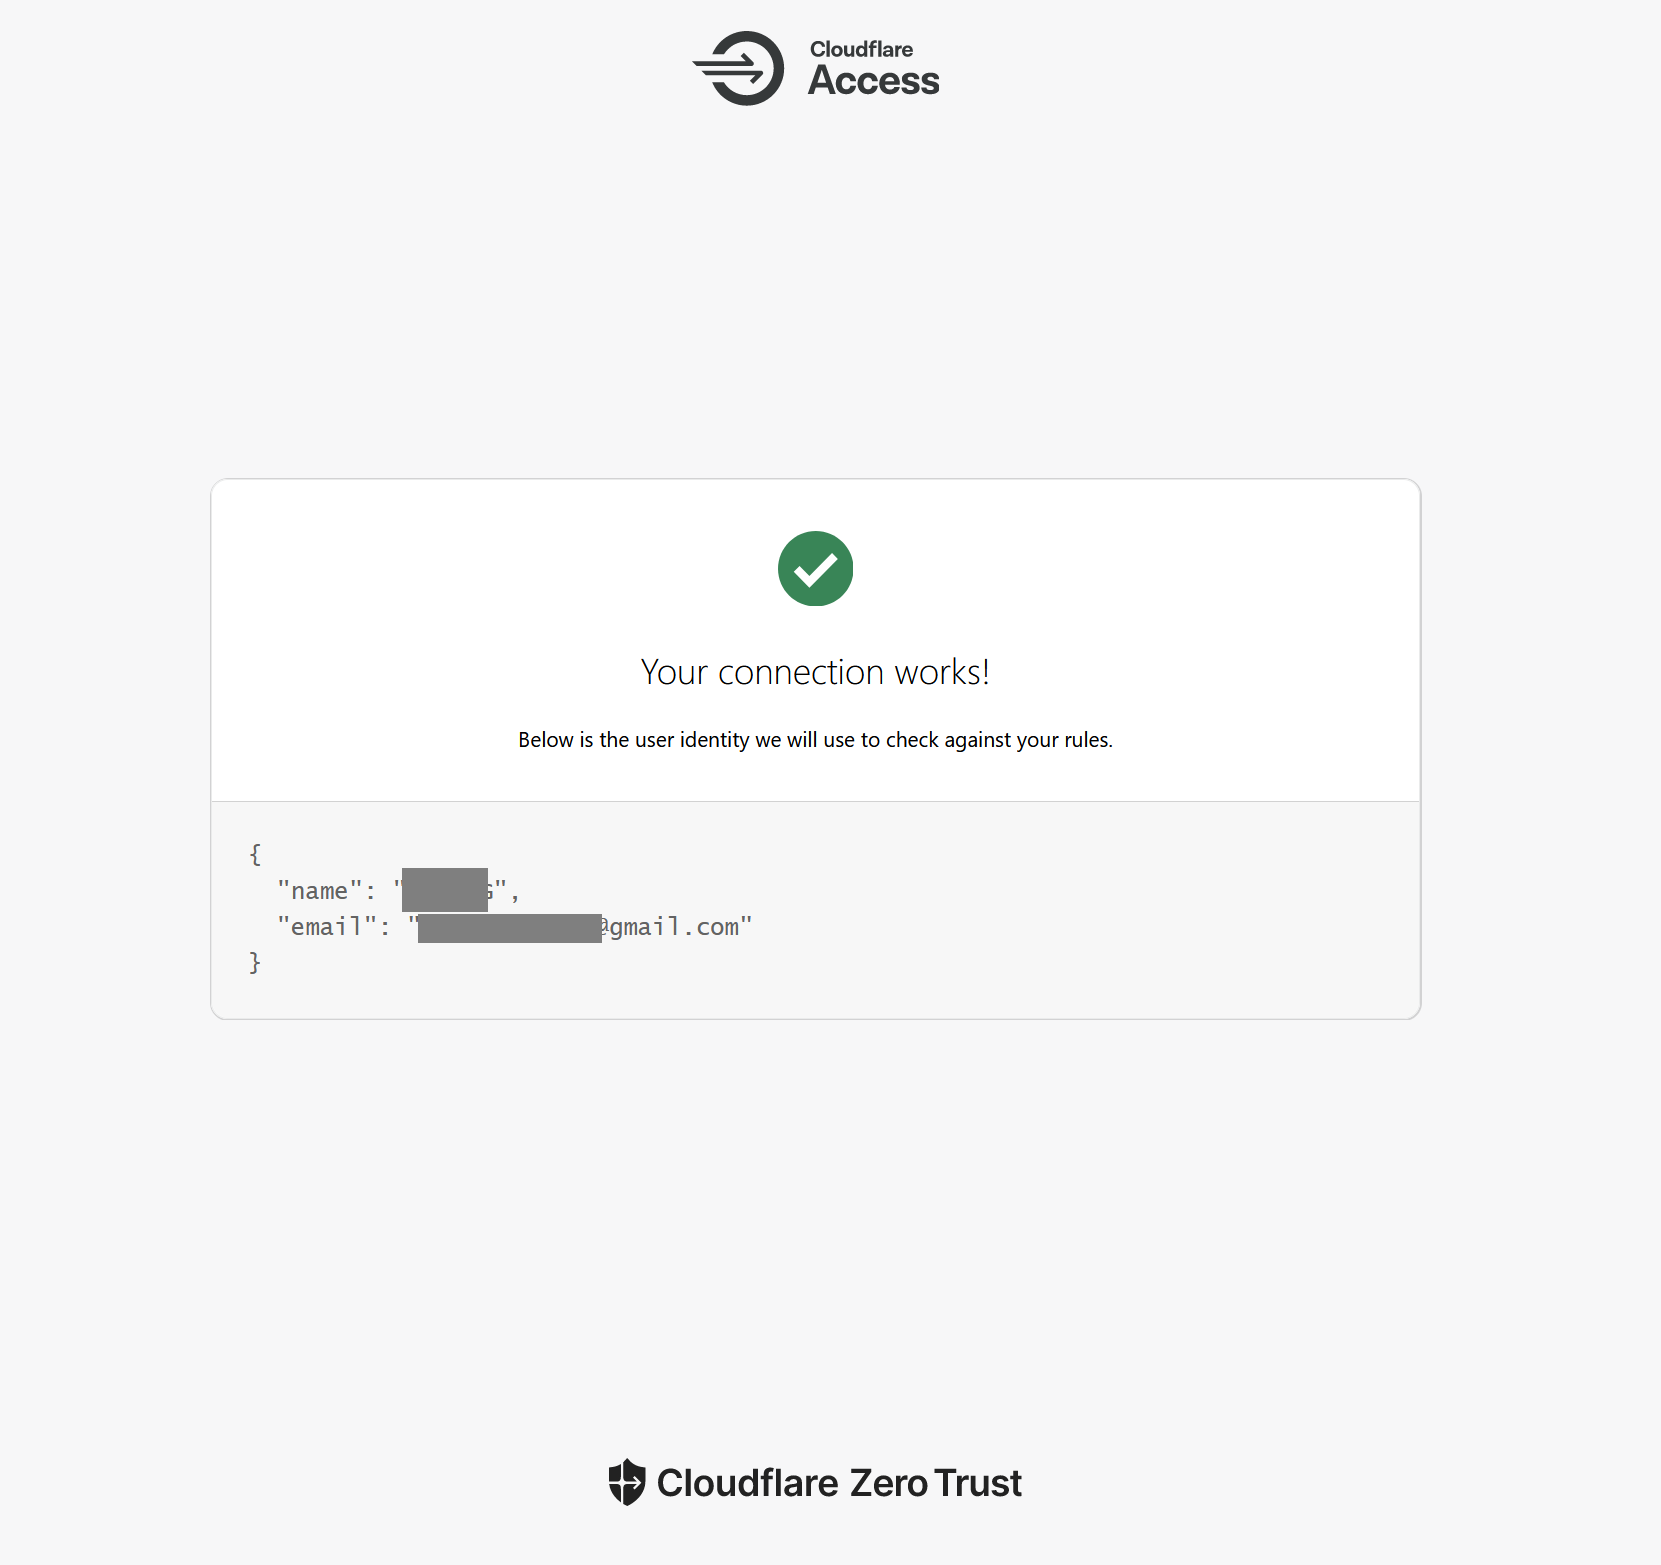
Test result
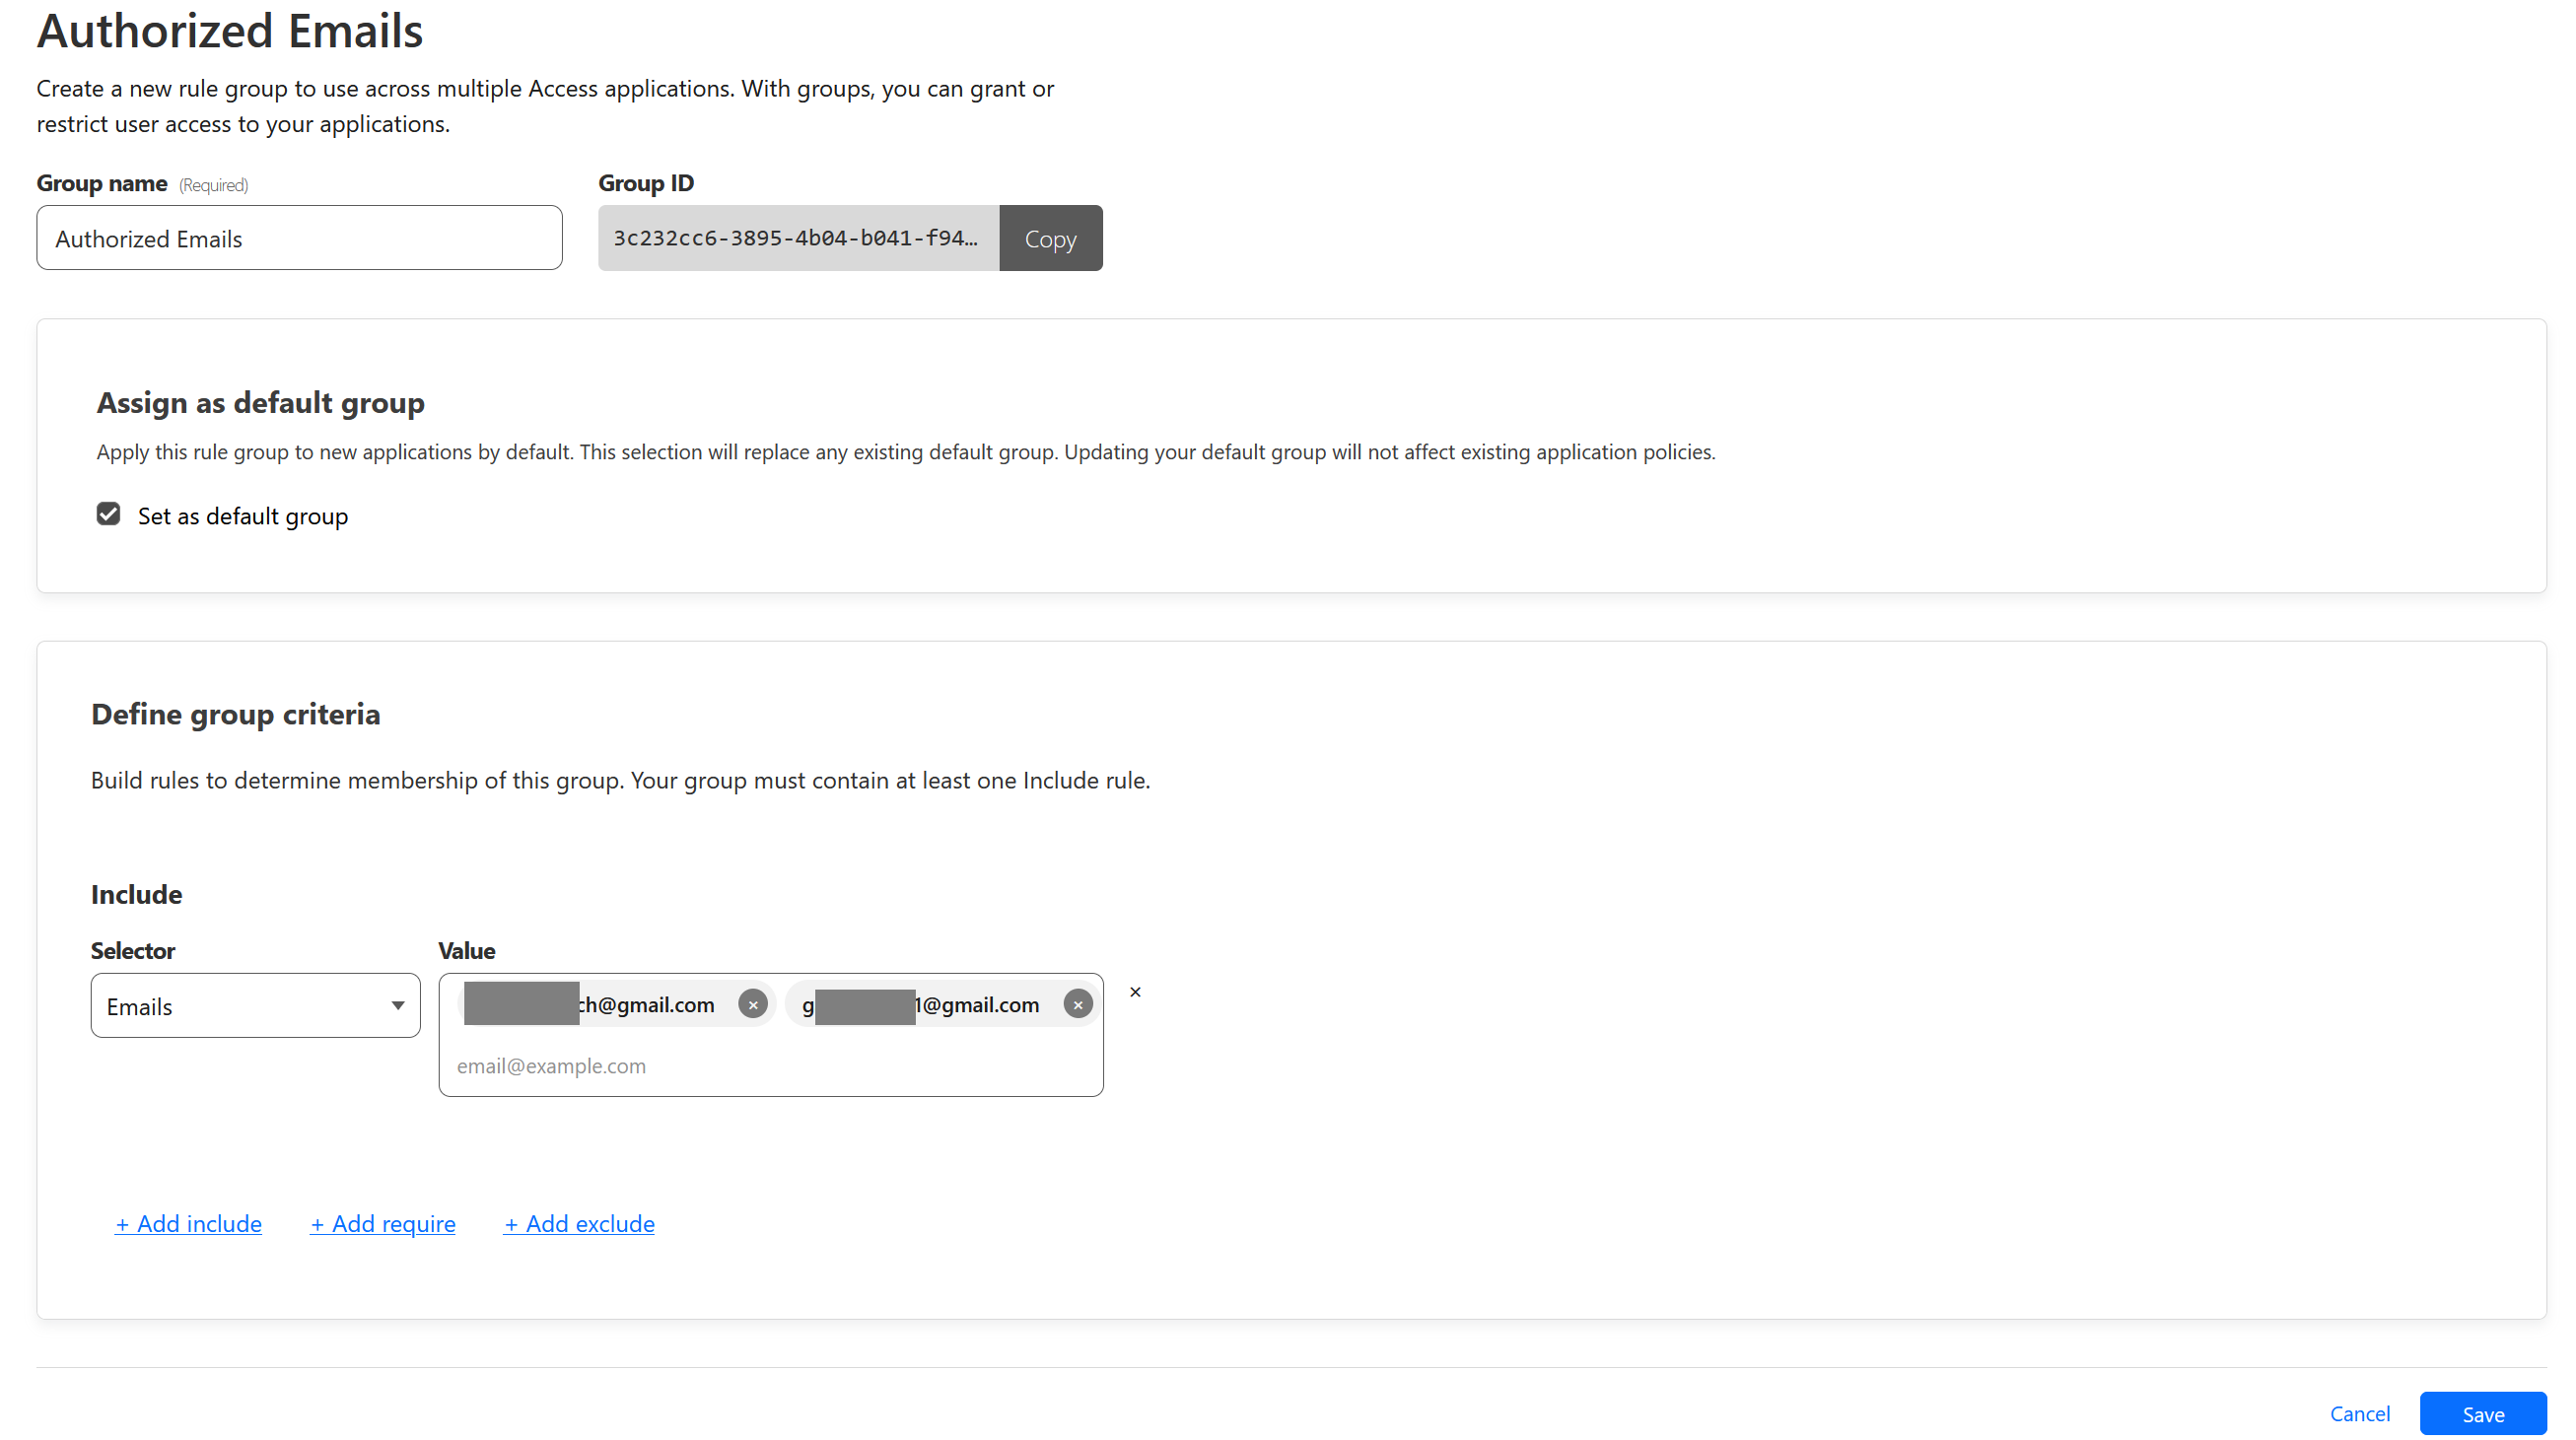
Add Access Group
We will now create an Access Group containing Google email that we allowed to sign in to.
To do that, go to Access > Access Groups. Then click Add a Group
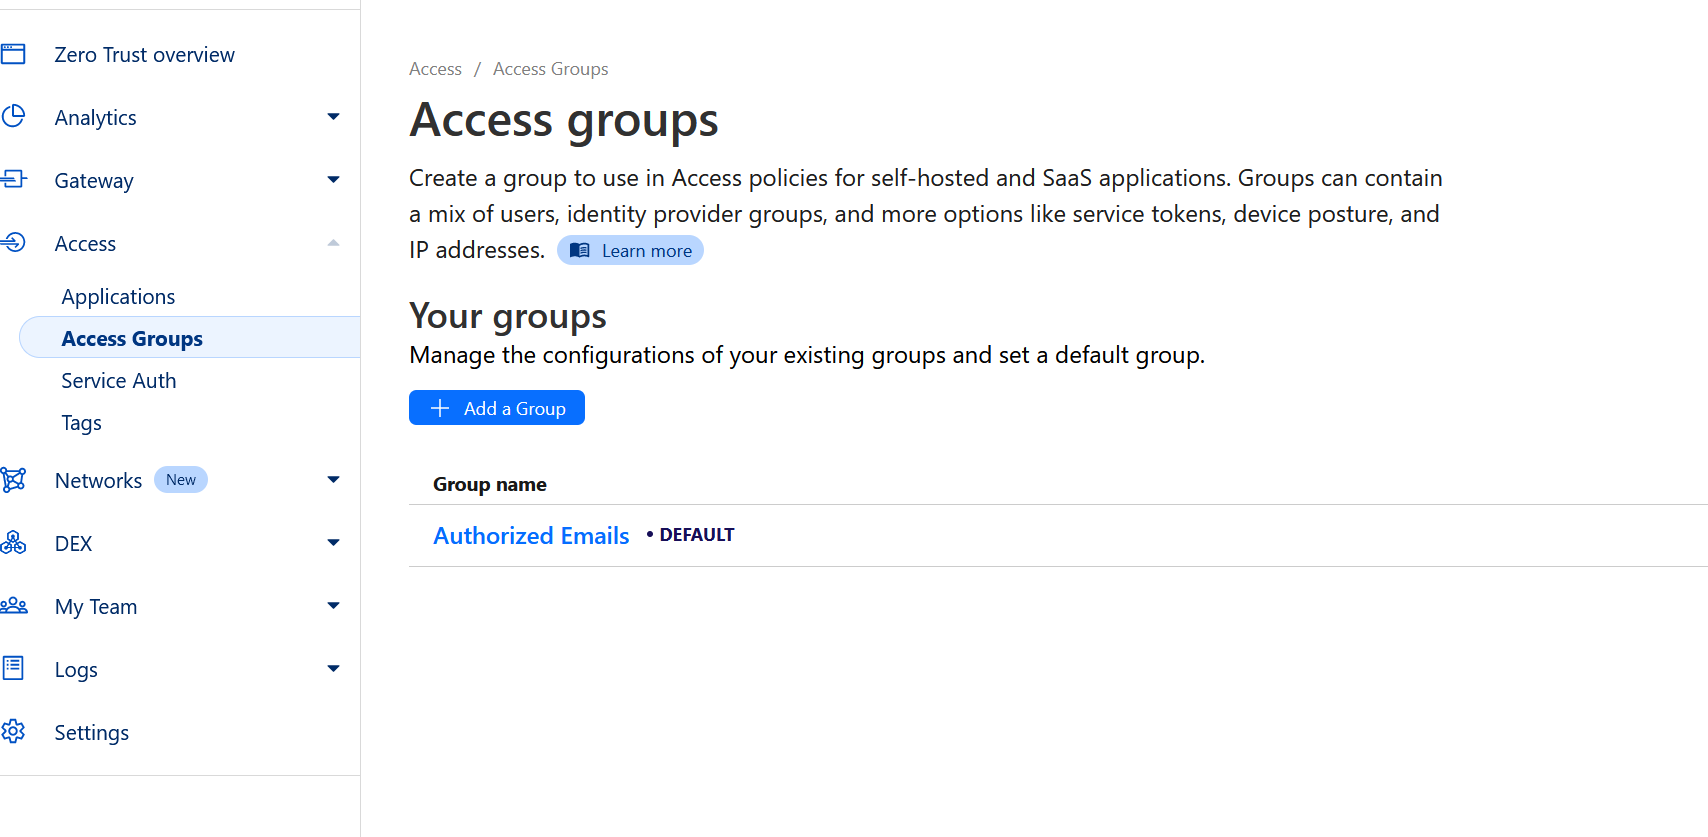
For example, I only allow two specific gmail account to login. Be sure to also click Set as default group to automatically select it when we create policy next. Click Save when done.
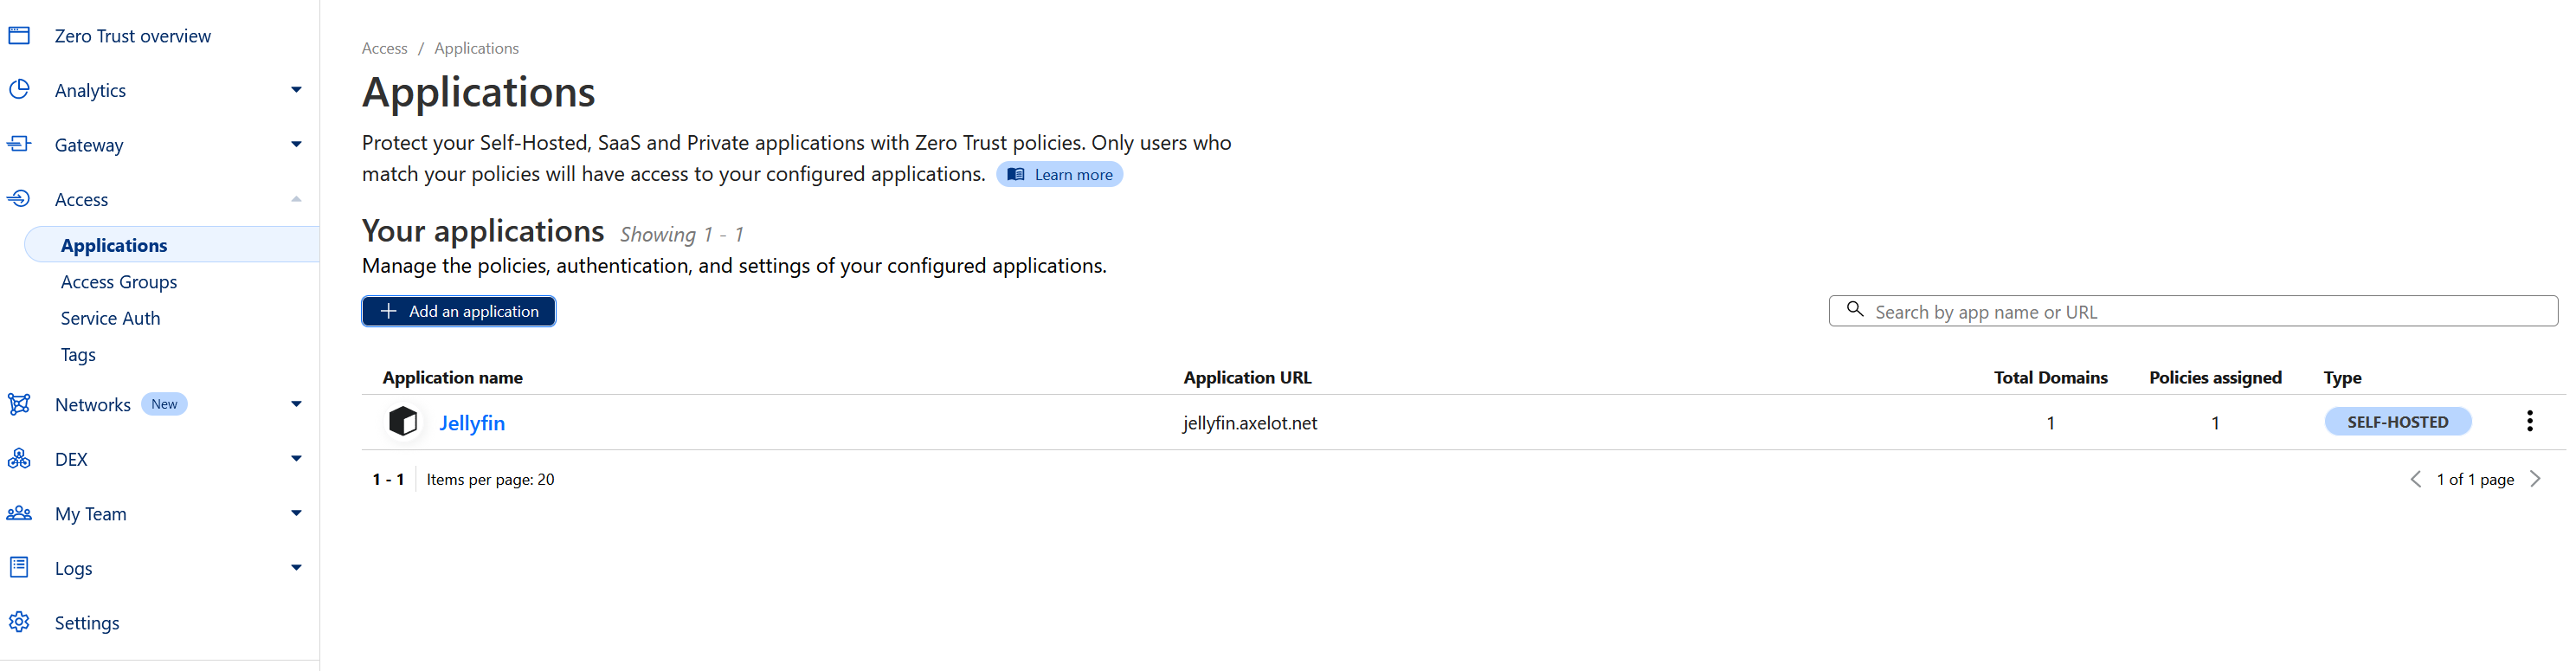
Add Application
So far we have created an Identity Provider and Access Group, next is to add a Application that used those.
Go to Access > Applications.
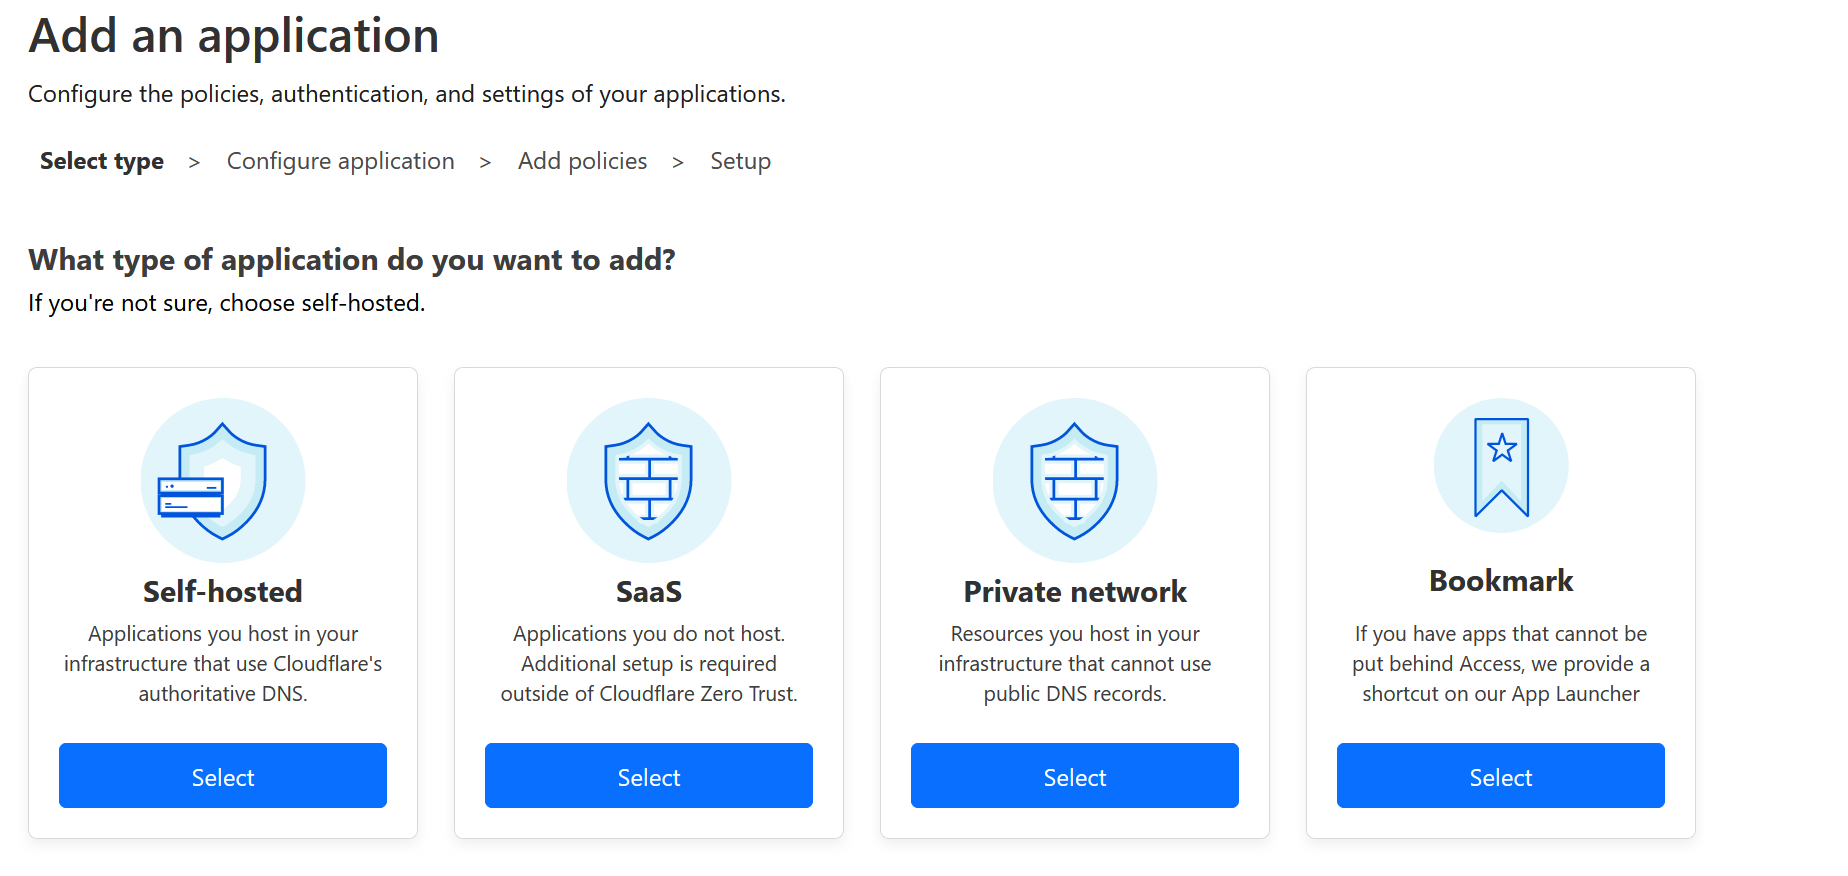
Select Self-hosted.
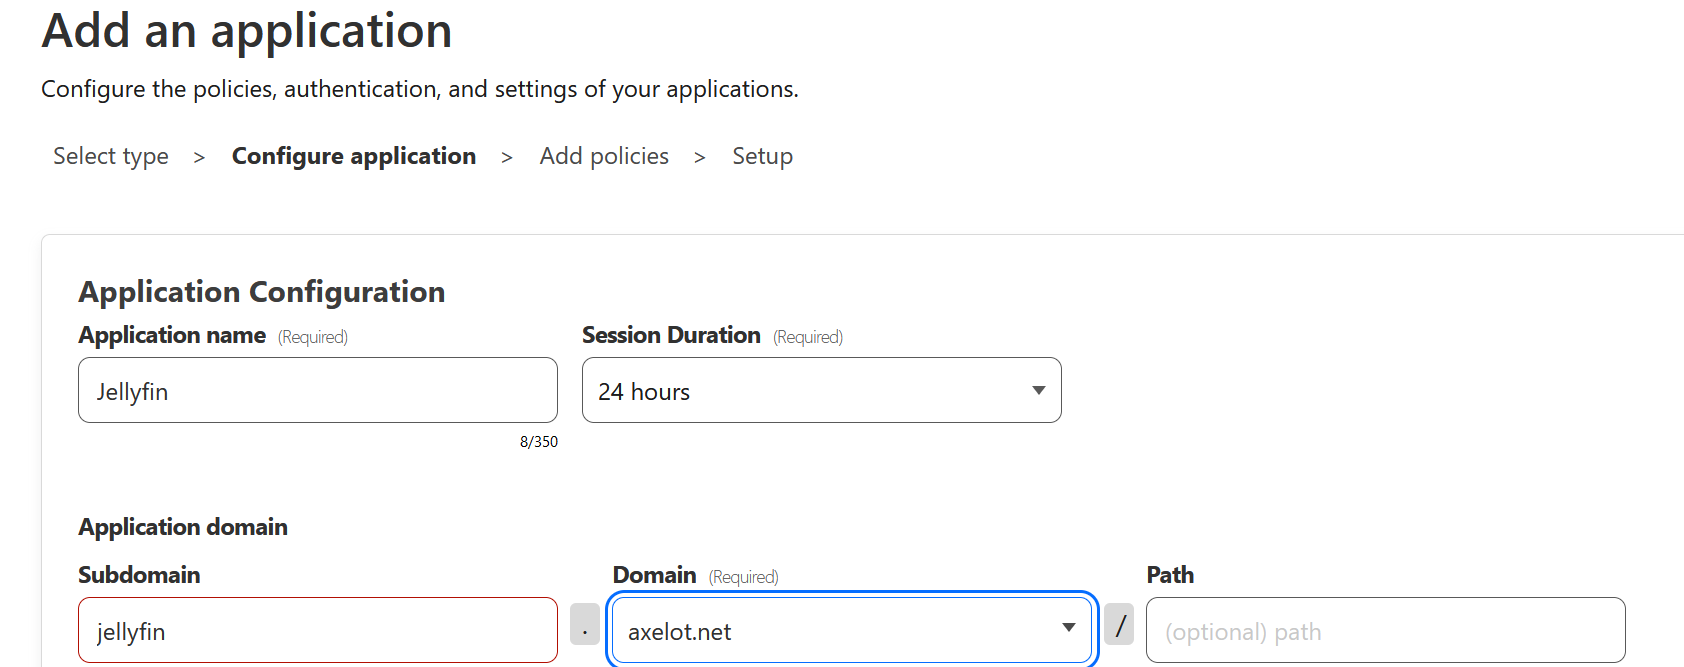
Set the subdomain we created earlier.
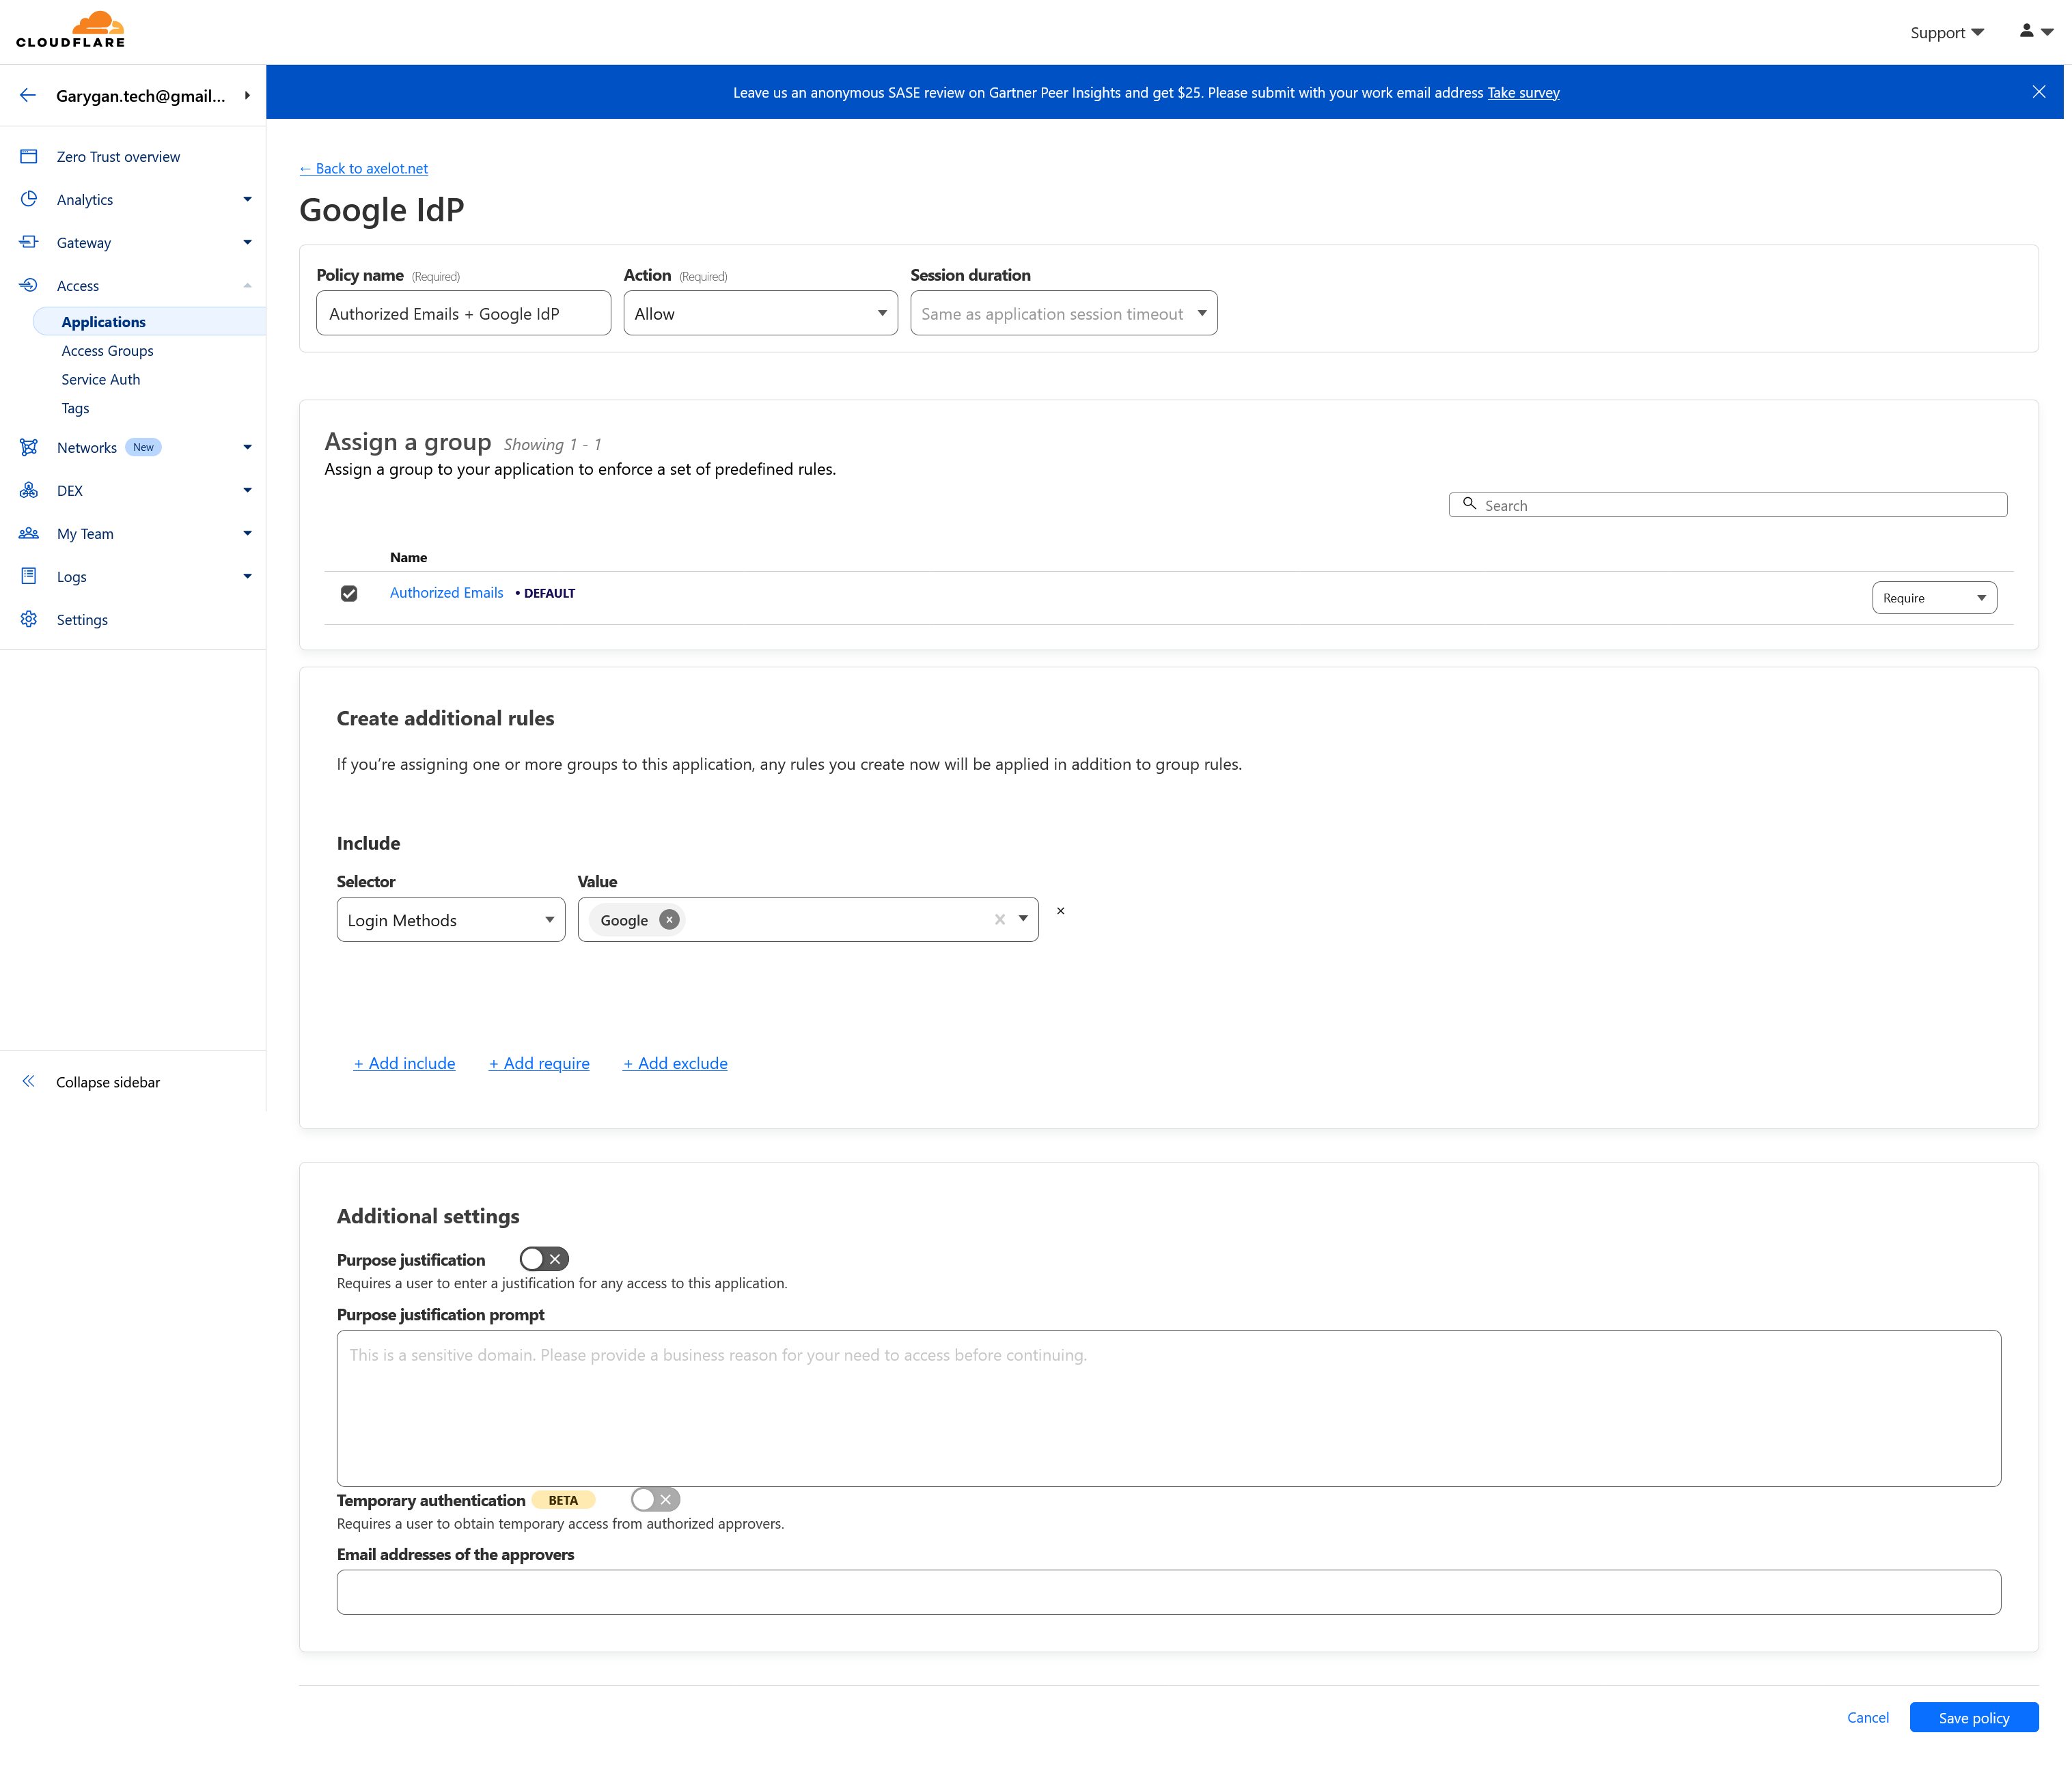
Add Policy to Application
Click Add a policy button.
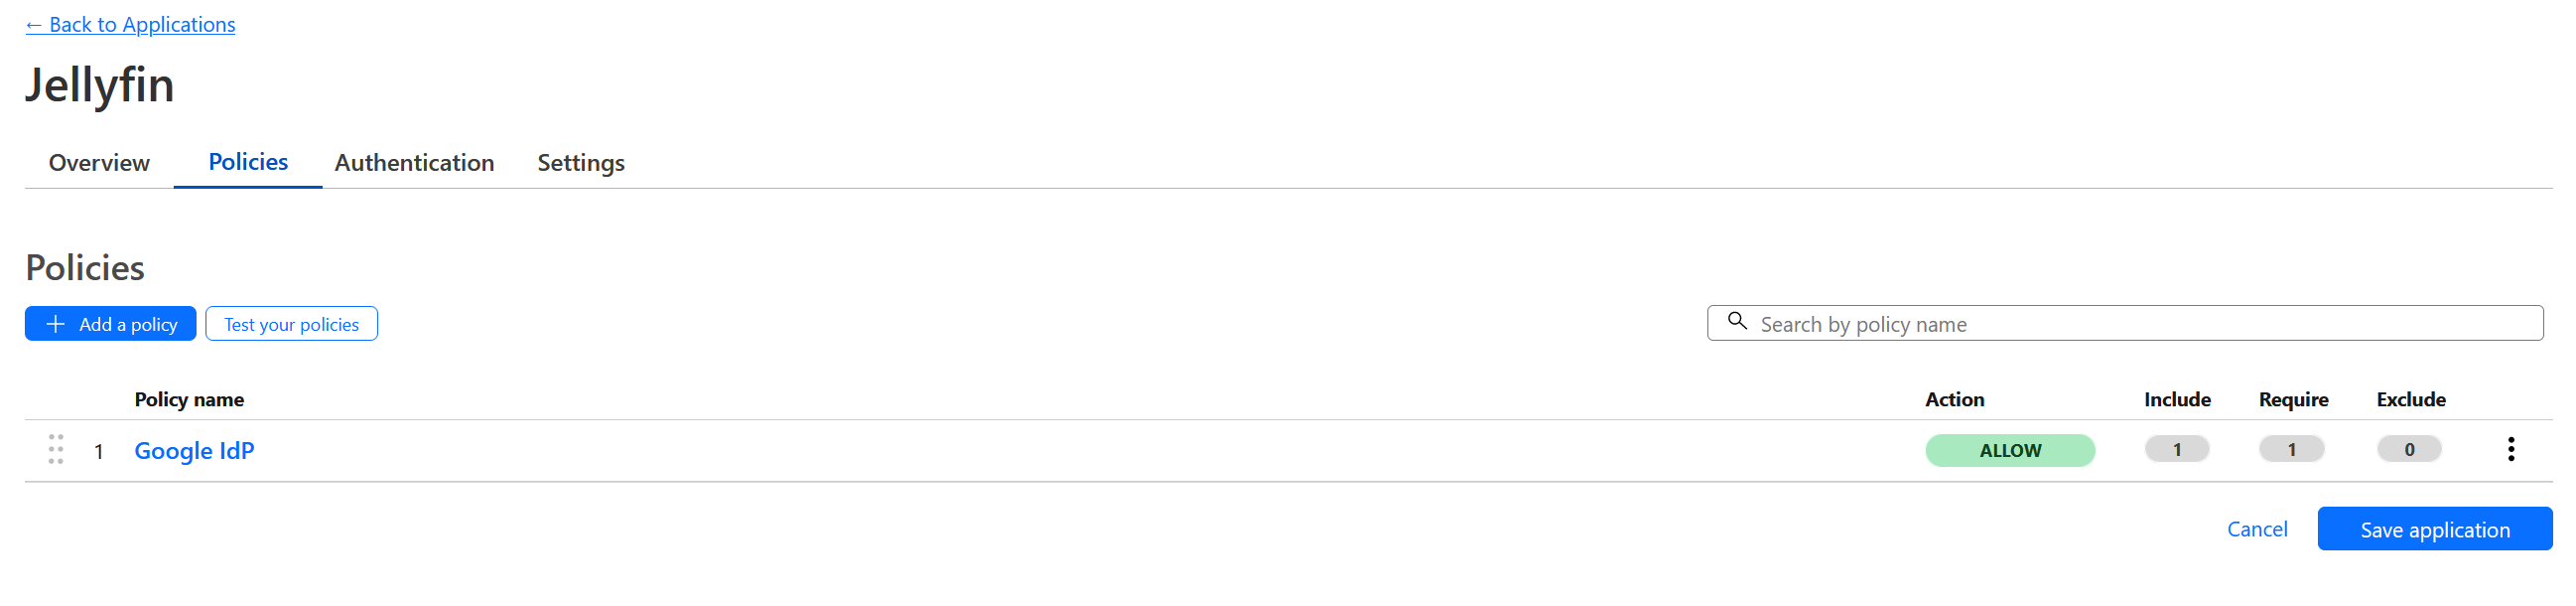
Make sure to select Require in the Assign a group section. Default is include
In Create additional ruels section, select Login Methods in Include, then select Google as the value.
This policy allow only user that login through Google with specific emails can access this application secured by CloudFlare zero trust.
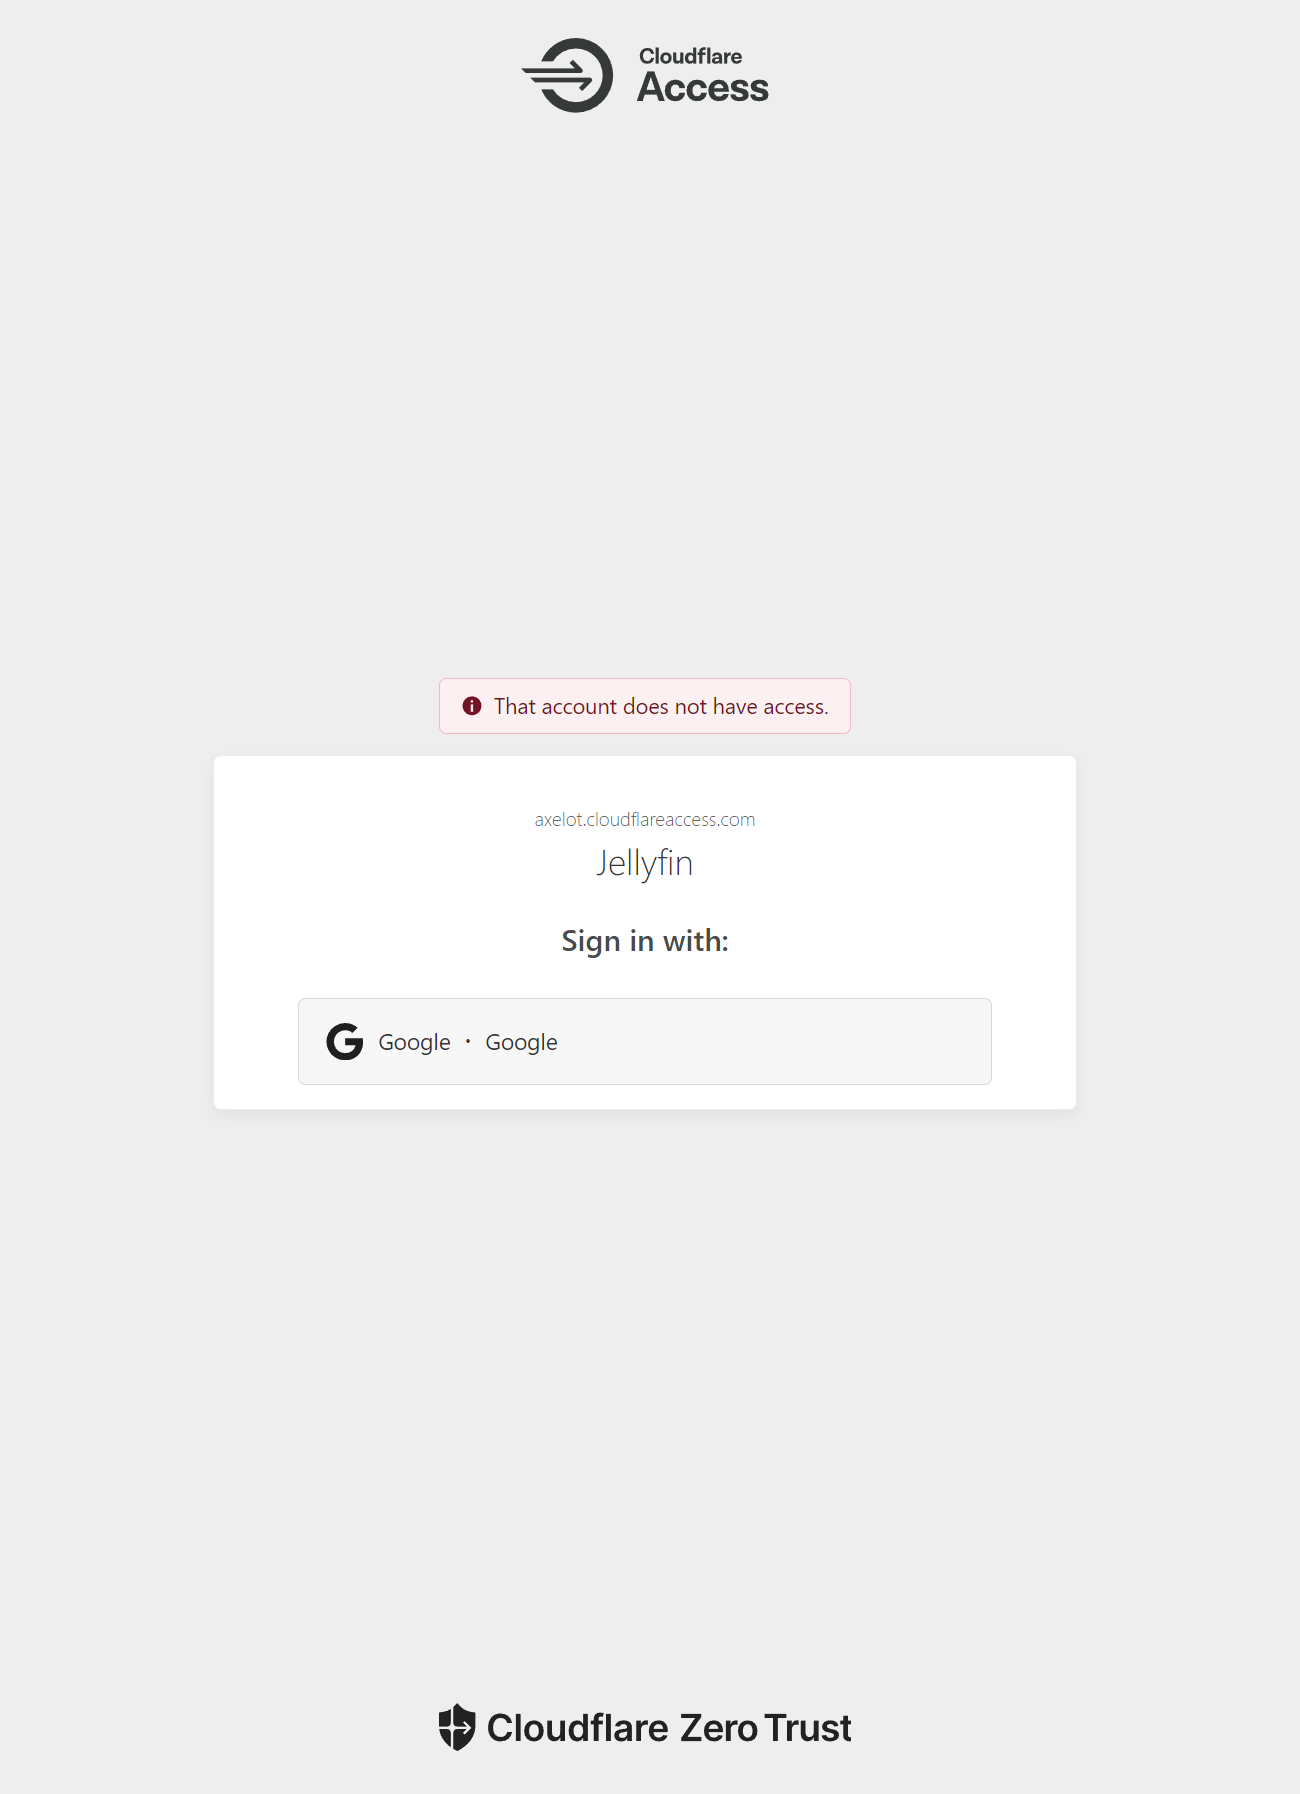
Test
Try login using email that is not in the access group, and you’ll see the following:
References
Access policies:
https://developers.cloudflare.com/cloudflare-one/policies/access/#requiring-multiple-conditions