Visual Pinball Setup
Visual Pinball program consist of two parts:
- VPinMAME: runs the rom from the original pinball machine. It render the backglass, DMD, etc.
- Visual Pinball (VP9, VPX…): render the visual part, show table, lighting, 3d models.
DISCLAIMER
Following writeup is based on the post I read from http://www.nailbuster.com/wikipinup/doku.php?id=install_guide#a_virtual_pinball_essentials_you_must_have_installed_first
Setup Visual Pinball
To make life easier, download the Visual Pinball AIO Installer from here , instead of the following standalone version. It includes aall the stuffs like DMDext, B2sServer, PinMAME, etc.
Method 1: AIO
Method 2: Standalone
NOT RECOMMENDED, kept for reference only!!!
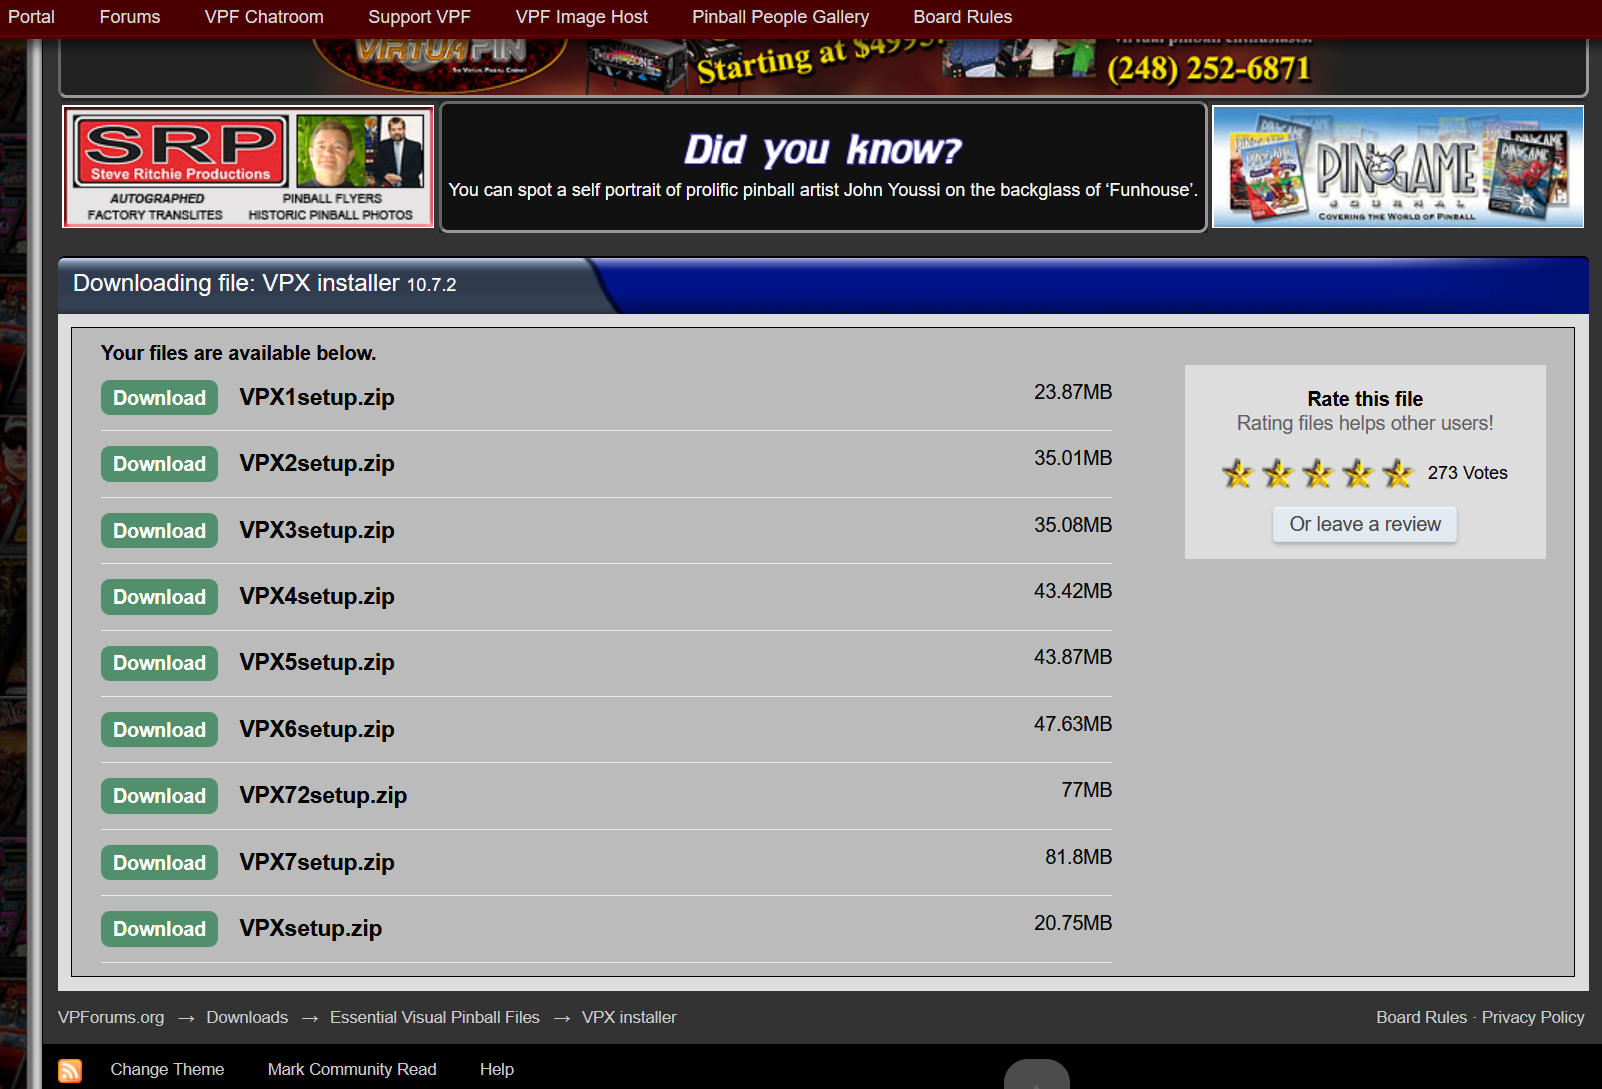
Latest version is 10.7.2. So download VPX72setup.zip from https://www.vpforums.org/index.php?app=downloads&module=display§ion=download&do=confirm_download&hash=83dee0e011cb21c6743c3a8fe04ff4d0
Setup VPinMAME
Download ROMs
Download the rom set from https://archive.org/details/vpinmame
Install VPinMAME
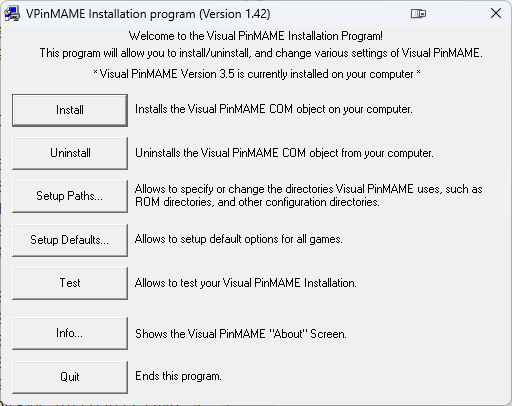
Run Setup.exe and Setup64.exe from Visual Pinball\VPinMAME folder.
Choose Install button on both.
You should see a text ... is currently installed on your computer if it is successfully installed.
Configure VPinMAME
Go to Visual Pinball\VPinMAME and run Setup64.exe
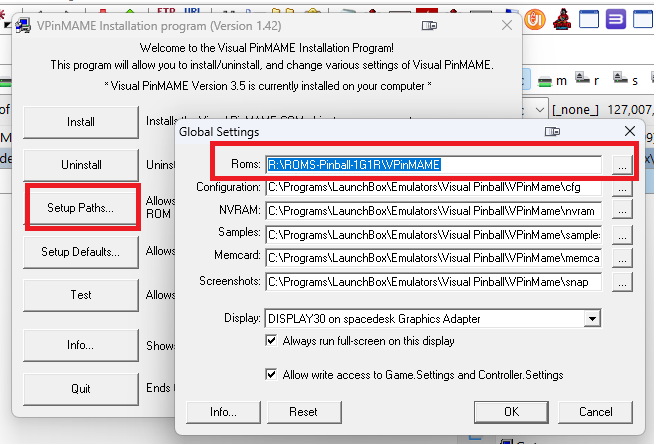
Configure ROM
Choose the folder where you extract the roms downloaded above.
Enable DMD
Click Setup Defaults... and make sure Show DMD/Display window and Use external DMD (dll) checkbox is ticked.
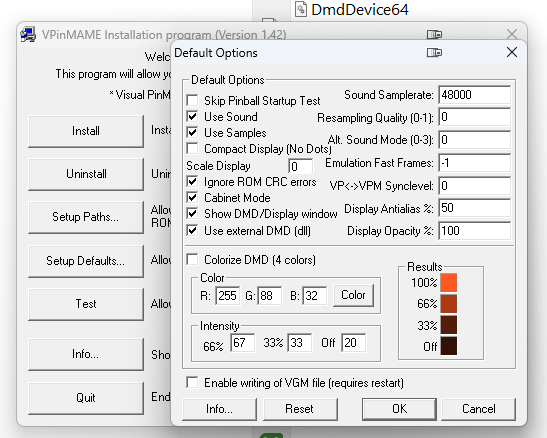
Press OK button to save the settings.
Next, setup the rom path to the extracted path in step 1.
Run some test…
B2SServer
B2SServer is the component that display a table backglass image, or FullDMD (if that b2s include that)
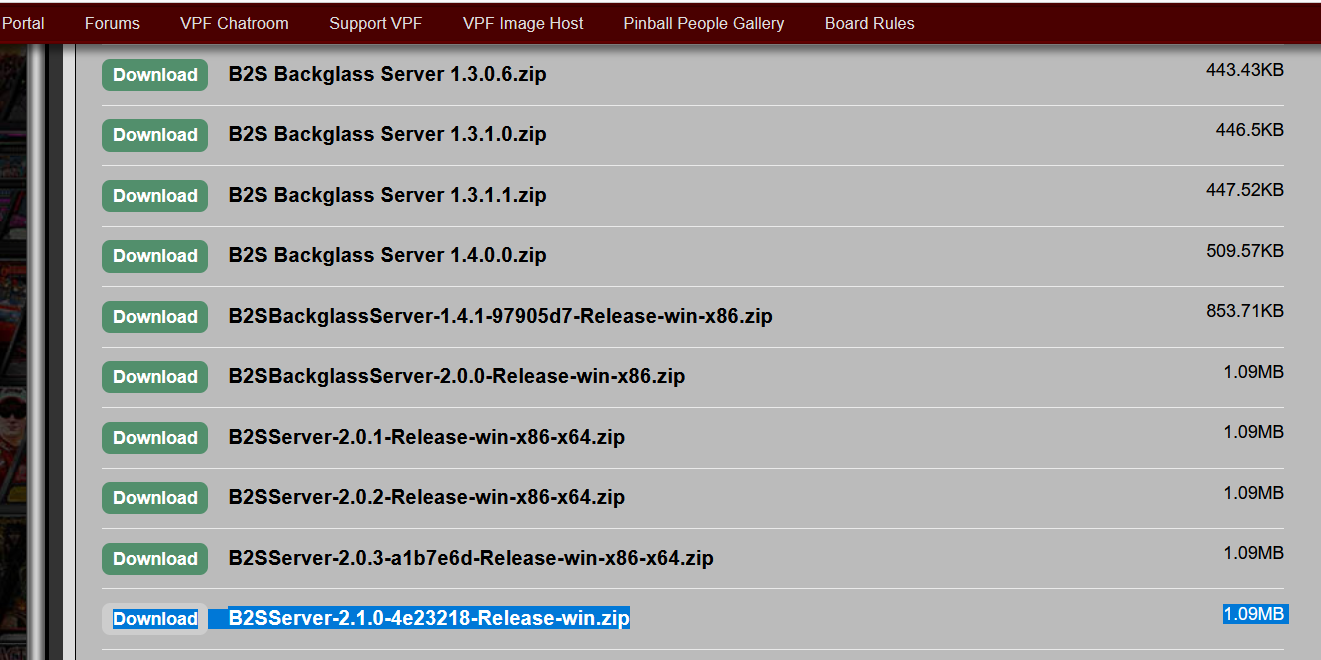
Update B2SServer
The B2SServer bundled with Visual Pinball AIO installer is old, so we need to update it.
Download the latest update from https://www.vpforums.org/index.php?app=downloads&module=display§ion=download&do=confirm_download&hash=7c48ba679812294827c5d00ad11b91e1
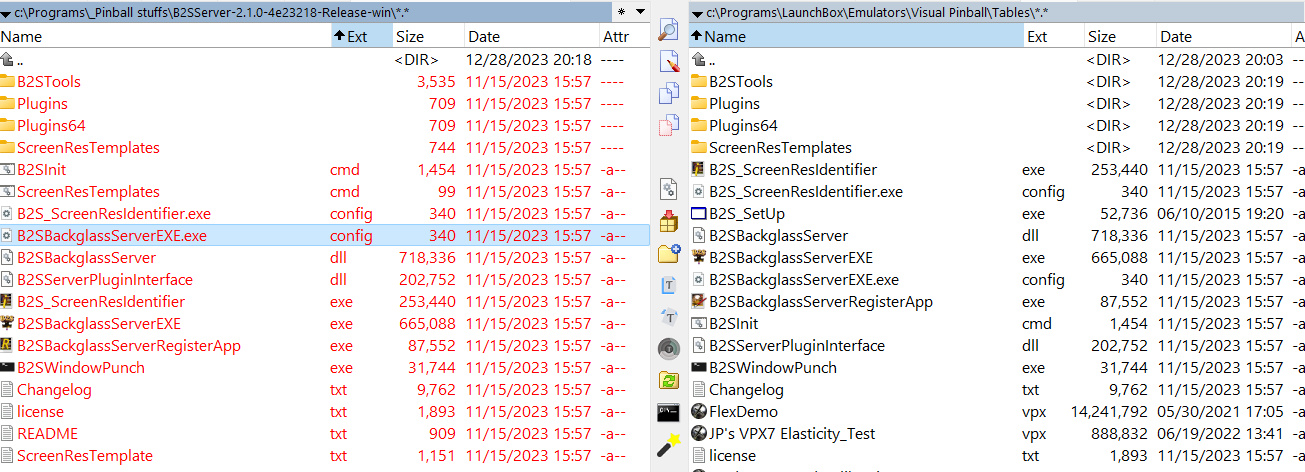
Extract and copy everything to your Visual Pinball\Tables folder.
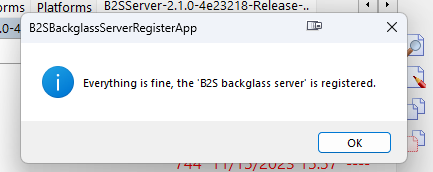
Right click B2SBackglassServerRegisterApp.exe and run as admin. You should see the following if success.
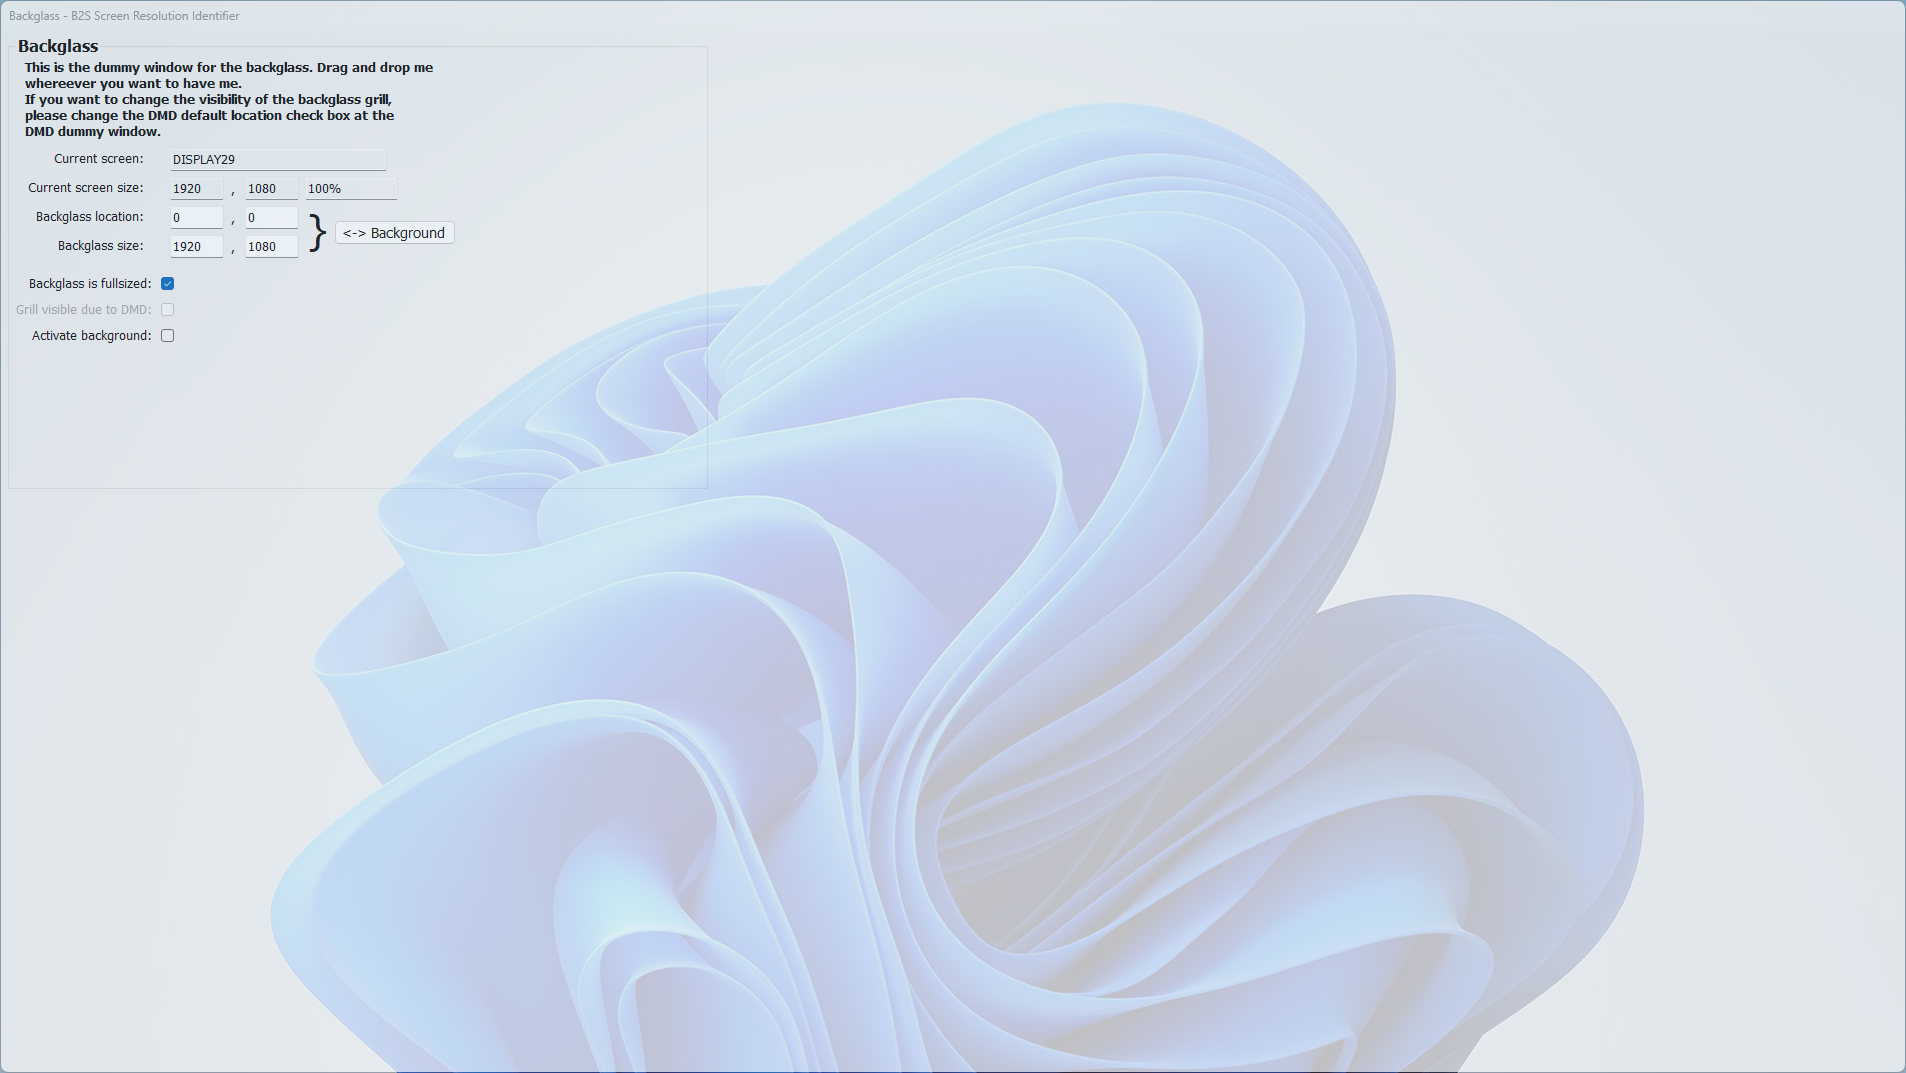
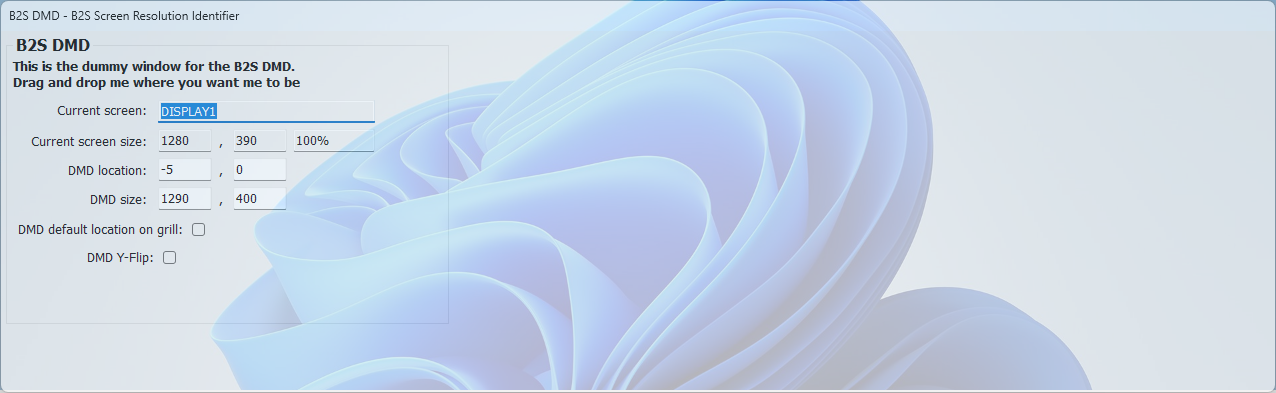
Setup the position by running B2S_ScreenResIdentifier.exe
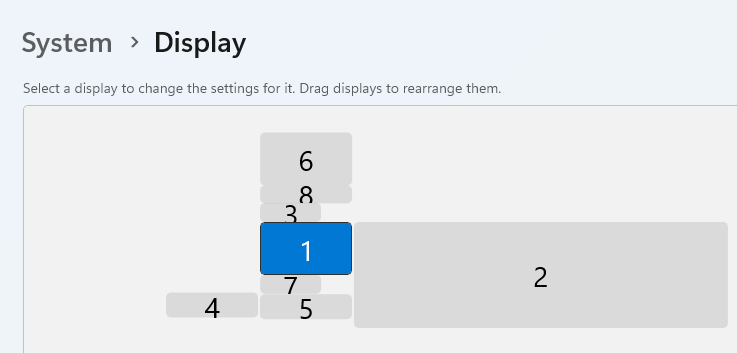
For example I have a 3 screen setup.
Screen 1 - Playfield
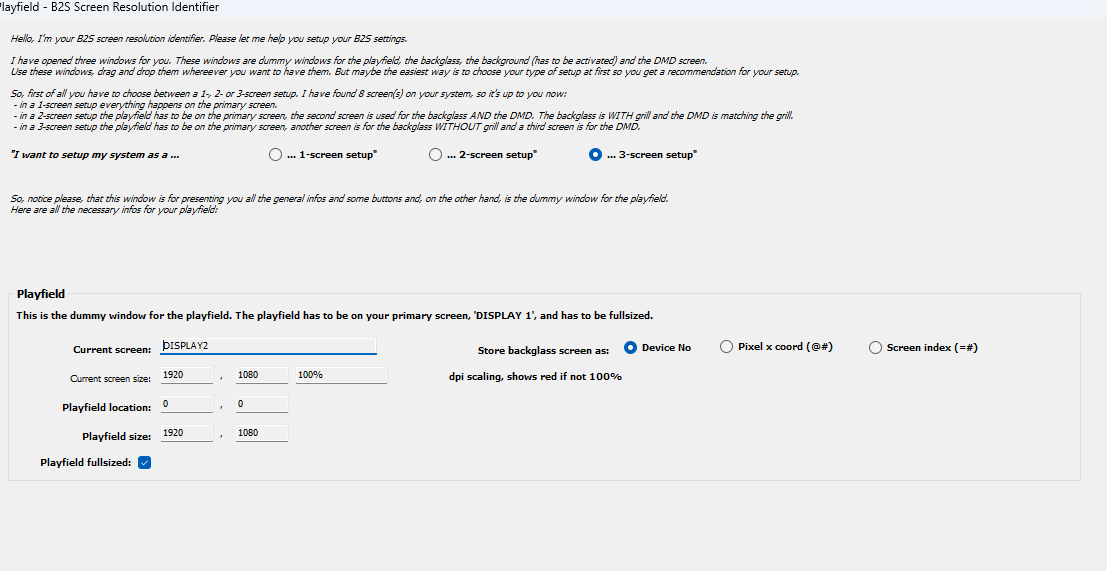
Screen 2: Backglass
Screen 3: DMD
Note: This is usually FullDMD, or full screen DMD with graphic art and a frame to put DMD display.
Test
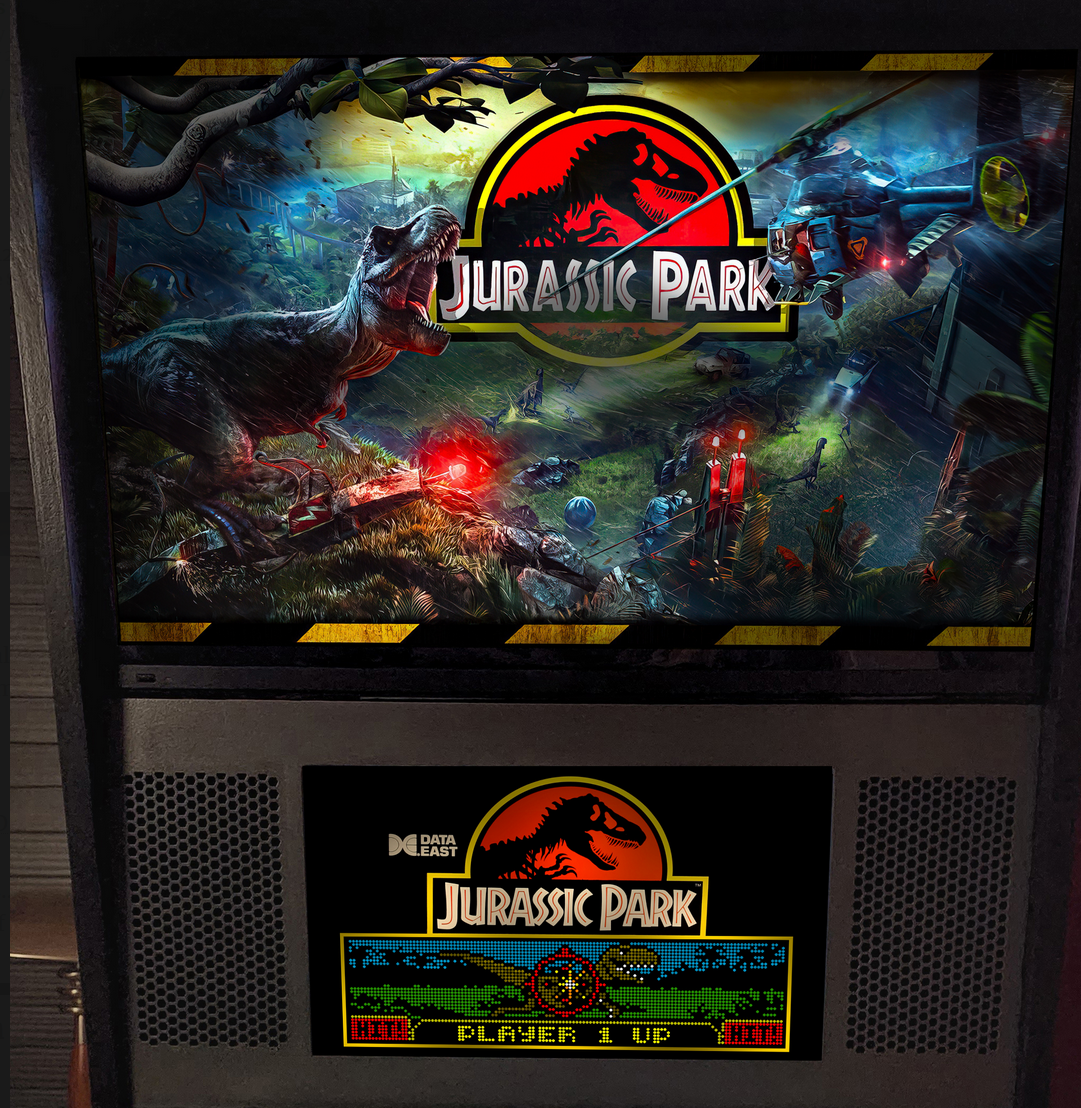
Download any directb2s file such as Jurassic Park https://vpuniverse.com/files/file/13359-jurassic-park-data-east-1993-alt-b2s-with-full-dmd/, double click and run.
DMD
There are two ways to run DMD in VPX
PinMAME by default has its internal DMD which is cumbersome to configure via Windows Registry and DO NOT SUPPORT DMD COLORIZATION. For thiis reason, use Freezy DMDExt instead.
DMD Option 1: DMDExt (aka Freezy, DMD Extensions)
Install
VPinMAME v3.4 and above came with it installed by default. So you don’t have to do anything.
Update
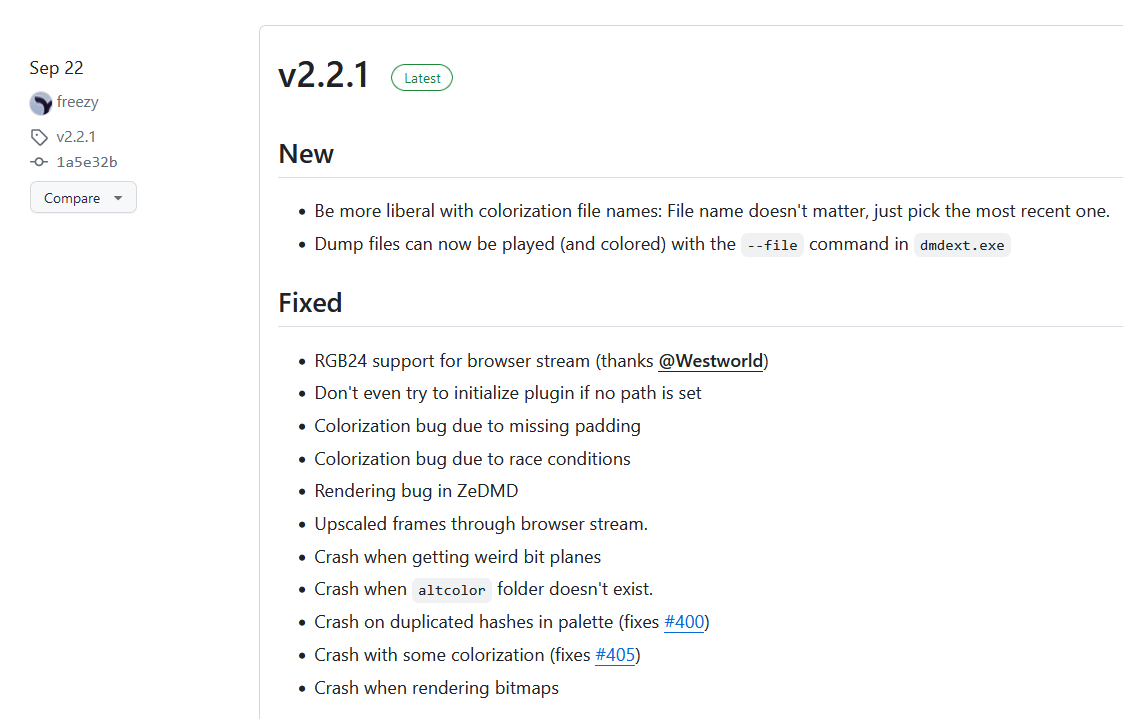
Download the latest update from https://github.com/freezy/dmd-extensions/releases.
Download both x86 and x64 zipped version.
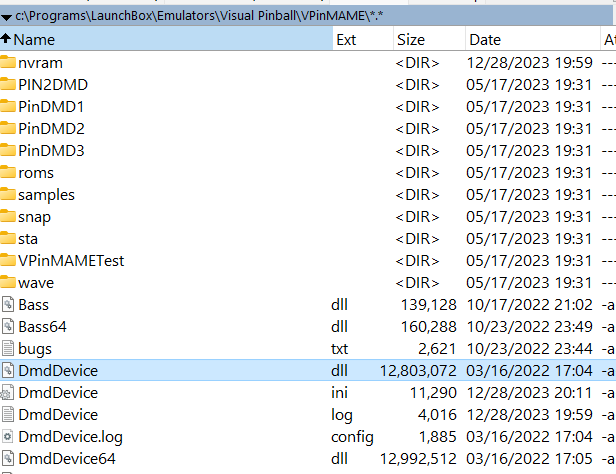
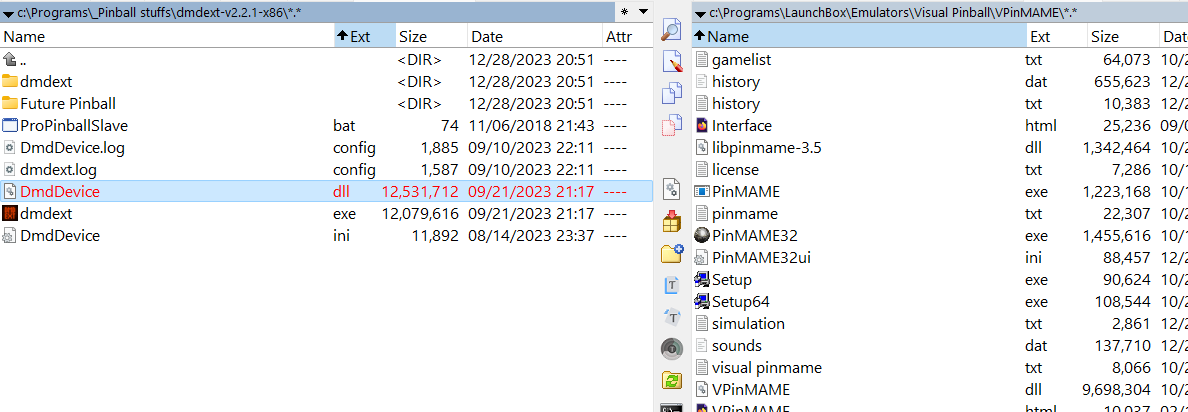
Extract the zip file and you should see the following:
Copy the following files to Visual Pinball\VPinMAME folder, overwriting any files that exist.
DmdDevice.log.config
dmdext.log.config
DmdDevice64.dll
DmdDevice.ini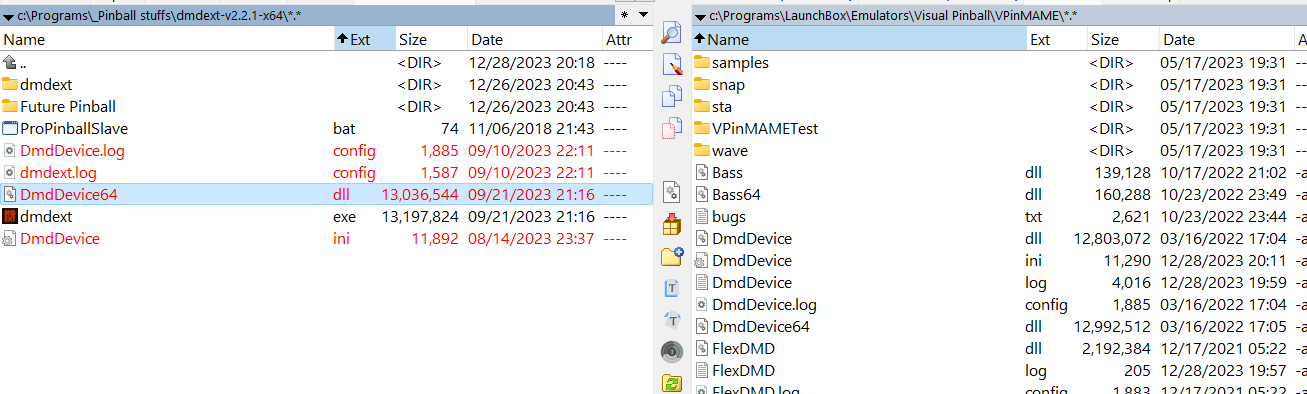
From the x86 folder, copy just DmdDevice.dll
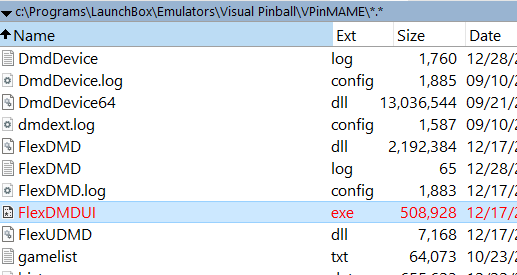
Verify that the dll version is indeed correct.
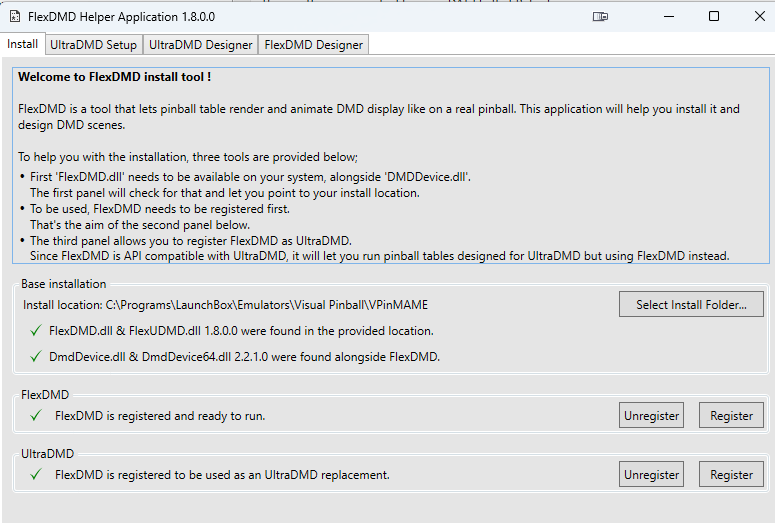
Run FlexDMDUI.exe
You should see the following if all matches.
Configure
Open DmdDevice.ini and modify the following.
Setup offset
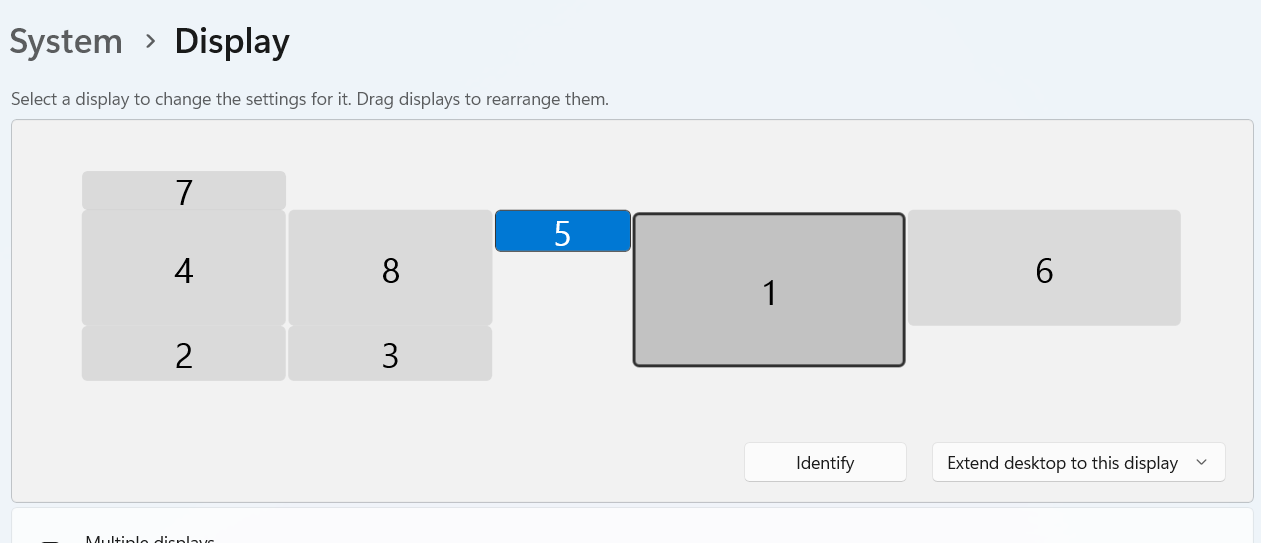
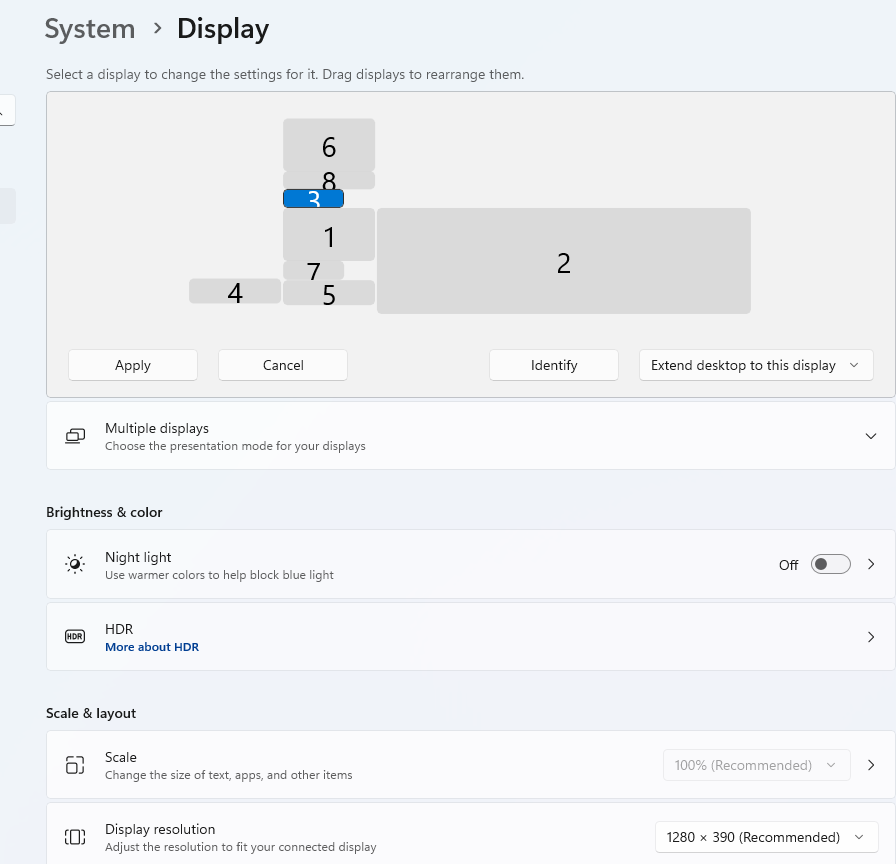
E.g. my DMD monitor (ID 5) is located at the third screen. My Primary screen is ID 4 (1920x1080), Backglass is ID 8 (1920x1080). So if I want to render DMD on the third screen, I would add the width for my primary display and backglass display , which is 1920+1920=3840,
[virtualdmd]
...

; x-axis of the window position
left = 3840

; y-axis of the window position
top = 0
Setup virtual DMD window size
E.g. my DMD monitor resolution is 1920x390.
[virtualdmd]
...

; width of the dmd in monitor pixels
width = 1920

; height of the dmd in monitor pixels
height = 390
Enable virtual DMD
; a DMD that renders with nice dots on a computer monitor
[virtualdmd]
enabled = true
Run
Run any table and you should see a FLEX DMD window. Drag that window to the monitor you want, set to full screen. You can then right click and save the settings (position and size) globally.
By default the DMD should show orange dots, to colorize it, read Colorize DMD section below.
Colorize DMD
Refer to: https://www.vpforums.org/index.php?showtopic=40998
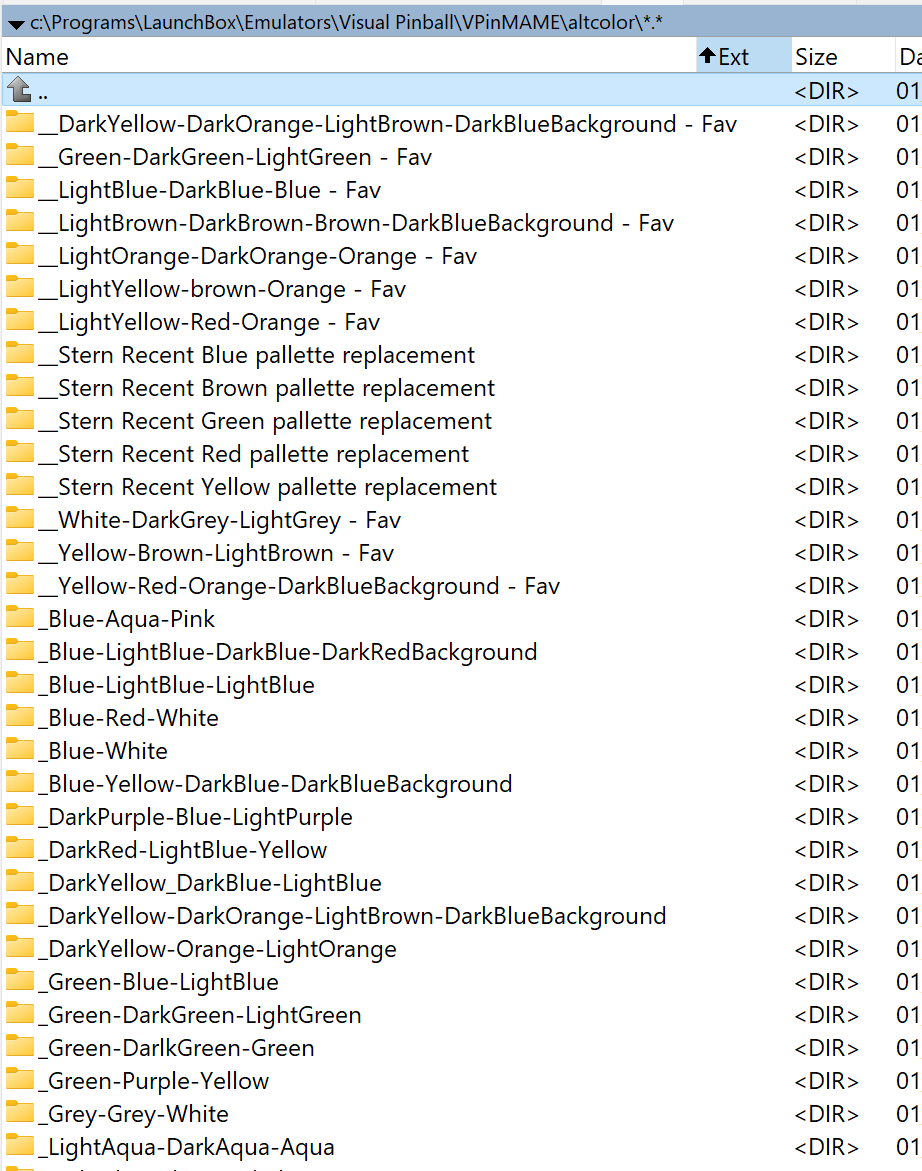
Download altcolor color pallettes:
https://vpuniverse.com/files/file/4966-more-altcolor-color-pallettes/
Extract to Visual Pinball\VPinMAME\altcolor
Run Setup64.exe from Visual Pinball\VPinMAME
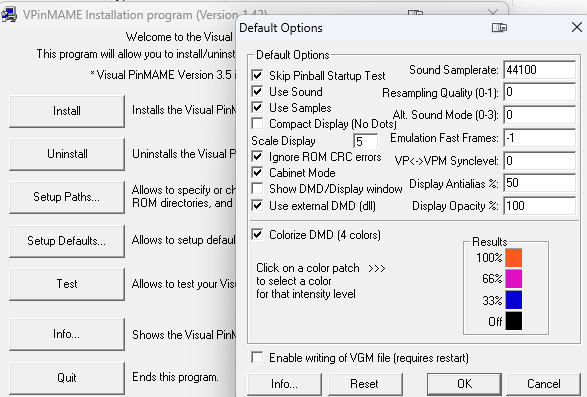
Click Setup Defaults... button, then uncheck Show DMD/Display window, check External DMD, and check Colorize DMD (4 colors).
Note: Not all ROM has colorize option, only a few in that pack. Check out more color pallette from https://vpuniverse.com/files/category/86-pin2dmd-color-palettes/ and put it there as you find more.
Cleanup
When modifying DmdDevice.ini, you want to modify the file from Visual Pinball\VPinMAME , not the one in Visual Pinball\VPinMAME\DMDext folder. That folder is kept for backup purpose only!
DMD Option 2: PinMAME Internal DMD
Configure PinMAME DMD Default Global Position & Size
By default, any Pinball PinMAME table will set the DMD position to 0,0 or top left in your primary screen. To set it as default to another monitor, do the following:
Download this Windows registry file https://www.vpforums.org/index.php?app=core&module=attach§ion=attach&attach_id=18176 to your Windows Registry. Double click to add.
Credits to @Neophyte from VPforums (https://www.vpforums.org/index.php?showtopic=26338) for this file
If that file is no longer available, create a new file and renamed it to vpinmame_default_dmd_settings.reg. Then double click to run.
Windows Registry Editor Version 5.00

[HKEY_CURRENT_USER\Software\Freeware\Visual PinMame\default]
"cheat"=dword:00000001
"sound"=dword:00000001
"samples"=dword:00000001
"dmd_compact"=dword:00000000
"dmd_doublesize"=dword:00000001
"samplerate"=dword:0000ac44
"dmd_antialias"=dword:00000032
"synclevel"=dword:00000000
"showpindmd"=dword:00000000
"fastframes"=dword:ffffffff
"ignore_rom_crc"=dword:00000001
"cabinet_mode"=dword:00000001
"dmd_red"=dword:000000ff
"dmd_green"=dword:00000058
"dmd_blue"=dword:00000020
"dmd_perc66"=dword:00000043
"dmd_perc33"=dword:00000021
"dmd_perc0"=dword:00000014
"dmd_title"=dword:00000000
"dmd_only"=dword:00000001
"dmd_border"=dword:00000000
@=dword:00000001
"keepaspect"=dword:00000001
"dmd_pos_x"=dword:0000079b
"dmd_pos_y"=dword:0000017d
"dmd_width"=dword:000001e6
"dmd_height"=dword:00000081
Open regedit from your Windows Run Command (Win+R), then go to Computer\HKEY_CURRENT_USER\Software\Freeware\Visual PinMame\default
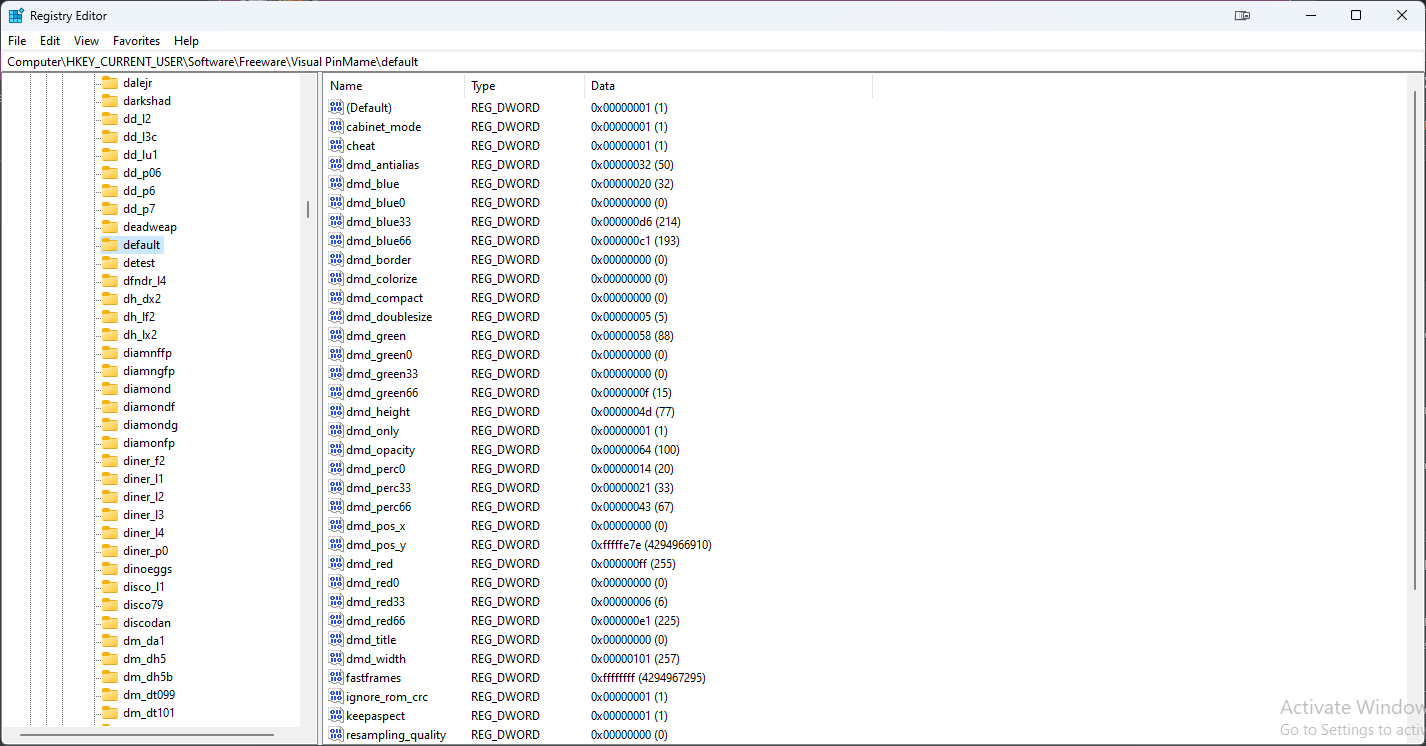
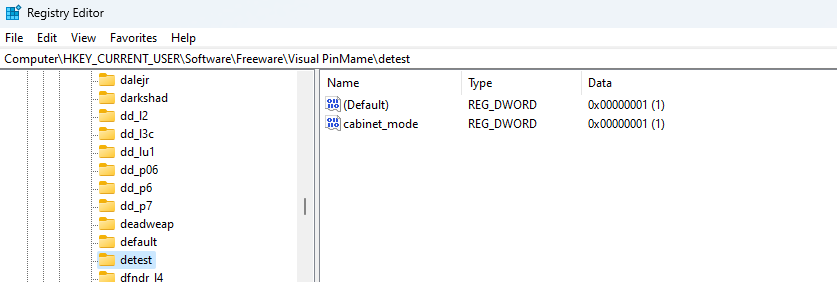
You’ll see a lot of folders there. Each folder correspond to a rom in PinMAME.
By default, each ROM table that you NEVER RUN before should only has a cabinet entry.
To configure the default DMD position and size, you just have to modify 5 settings:
dmd_doublesize: how much to scale from the original size
dmd_height: height of dmd in pixel unit (px)
dmd_width: width of dmd in pixel unit (px)
dmd_pos_x: absolute coordinate x starting from your primary monitor
dmd_pos_y: absolute coordiate y starting from your primary monitor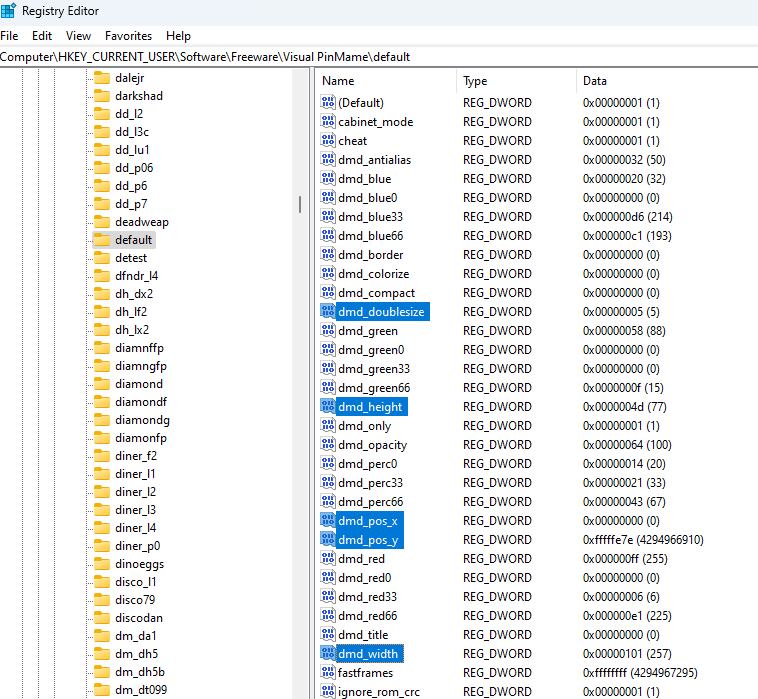
Configure DMD Postion
Both dmd_pos_x and dmd_pos_y is the absolute x,y position starting from your primary screen. So if I wanted the whole DMD to placed in monitor #3, its pos x would be 0, but y would be different.
Launch any PinMAME table and you should see the DMD, then drag it to the monitor that you want. Close the game and go back to regedit and that rom entry, you should see both of these values will be updated. Typically you just need to set dmd_pos_x to 0 if your DMD screen is left aligned perfectly as shown in the figure above.
Configure DMD Size
For this I found that setting dmd_doublesize to 5 is the best fit for my monitor #3 that is resolution of 1280x390. If yours is different you might adjust differently.
After setting, just adjust the dmd_height and dmd_width one by one until it fit the entire monitor. It helps to have another video running in full screen in the background in the DMD monitor so you can tell if the DMD display actually fit the whole monitor.
Configure DMDExt to send to Pinup Player
Following text is copied from https://github.com/freezy/dmd-extensions#install-instructions
Open DmdDevice.ini from Visual Pinball\VPinMAME folder.
Enable the Pinup Player output in DmdDevice.ini
[pinup]
enabled = true
To enable event triggering, you'll need a recent version of dmddevicePUP.dll and dmddevicePUP64.dll. You can download the latest version https://www.nailbuster.com/wikipinup/doku.php?id=release_notes.
Note: somehow I still couldn’t find it.
Cleanup Visual Pinball Folder
Next, remove all the B2Sserver files from Visual Pinball folder because those were not supposed to be there, but AIO installer somehow put those there.
Files to removes from Visual Pinball root folder.
B2S_SetUp.exe
B2SBackglassServer.dll
B2SBackglassServerEXE.exe
B2SBackglassServerRegisterApp.exe
B2SServerPluginInterface.dll
ScreenRes.txt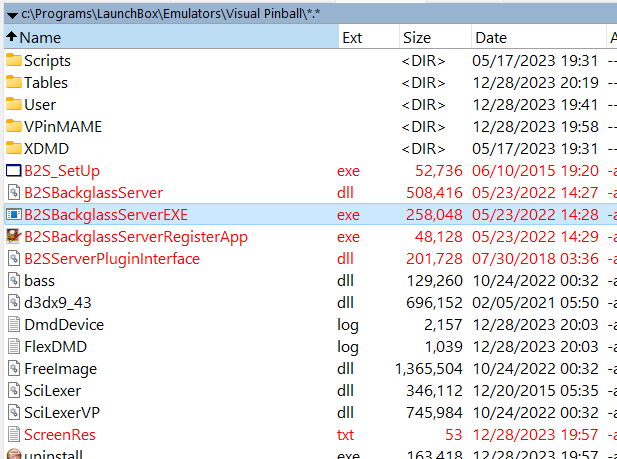
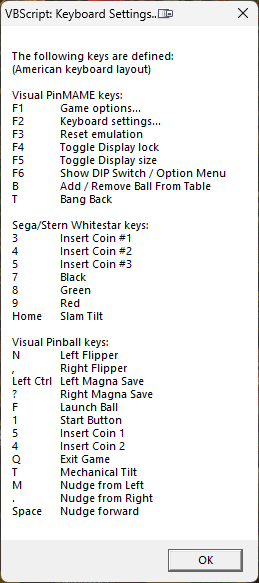
Visual Pinball Keyboard Shortcut
Press F2 to show this shortcut list.
Troubleshooting
FlexDMD keep on showing on my primary screen
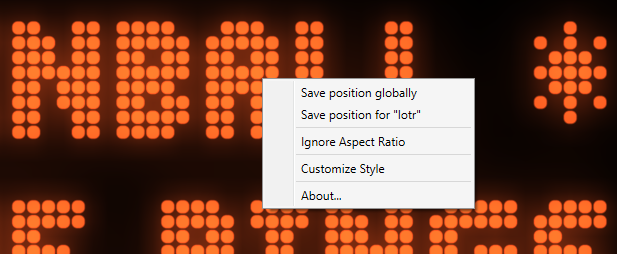
After you dragged the FlexDMD to your desired monitor, be sure to right click and select Save position globally
DMD showing “Factory Settings Restored” and no flipper response
If a PinMame table DMD keep on showing Factory settings restored and the flipper didn’t respond to flipper buttons, you’ll need to RESET PinMAME. To do so, press F3 which is the default keys.
TIP
💡 This only applies to PinMAME table as it is a roms issue. You only need to RESET once to prevent that factory settings restored prompt on DMD.
Make sure to disable setting F3 key to other Visual Pinball buttons to prevent it from intercepting the key.