Overview
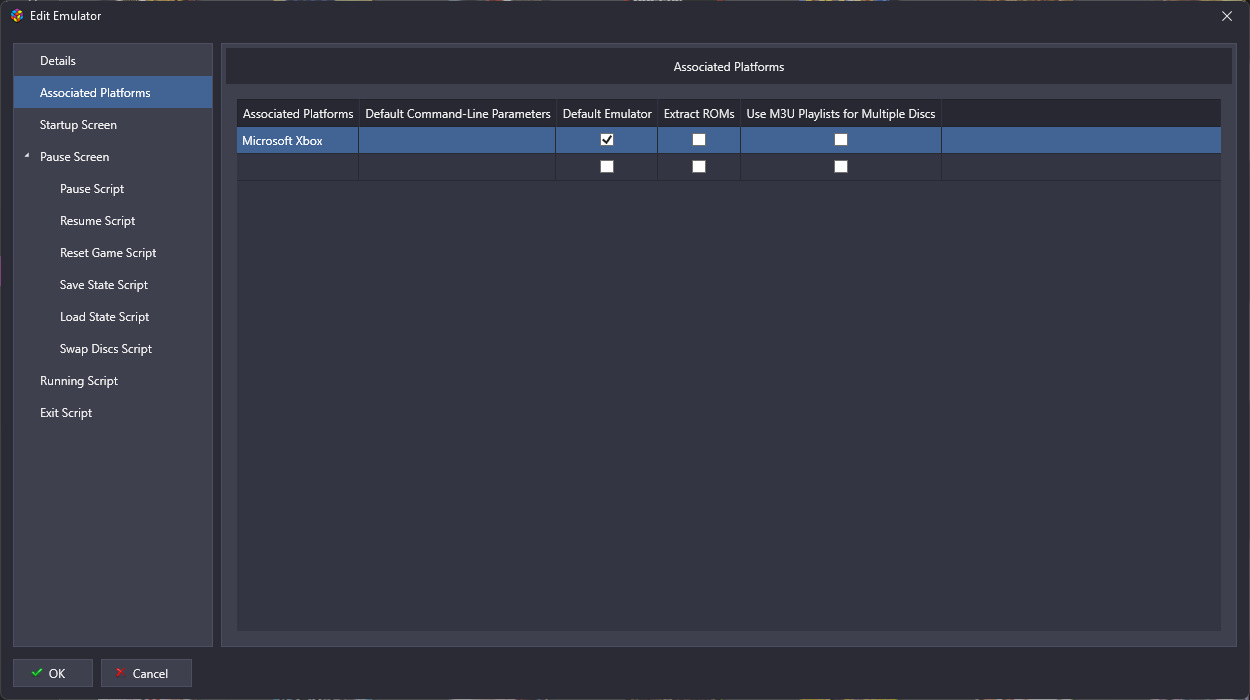
Supported Platforms:
- Microsoft Xbox
Downloads
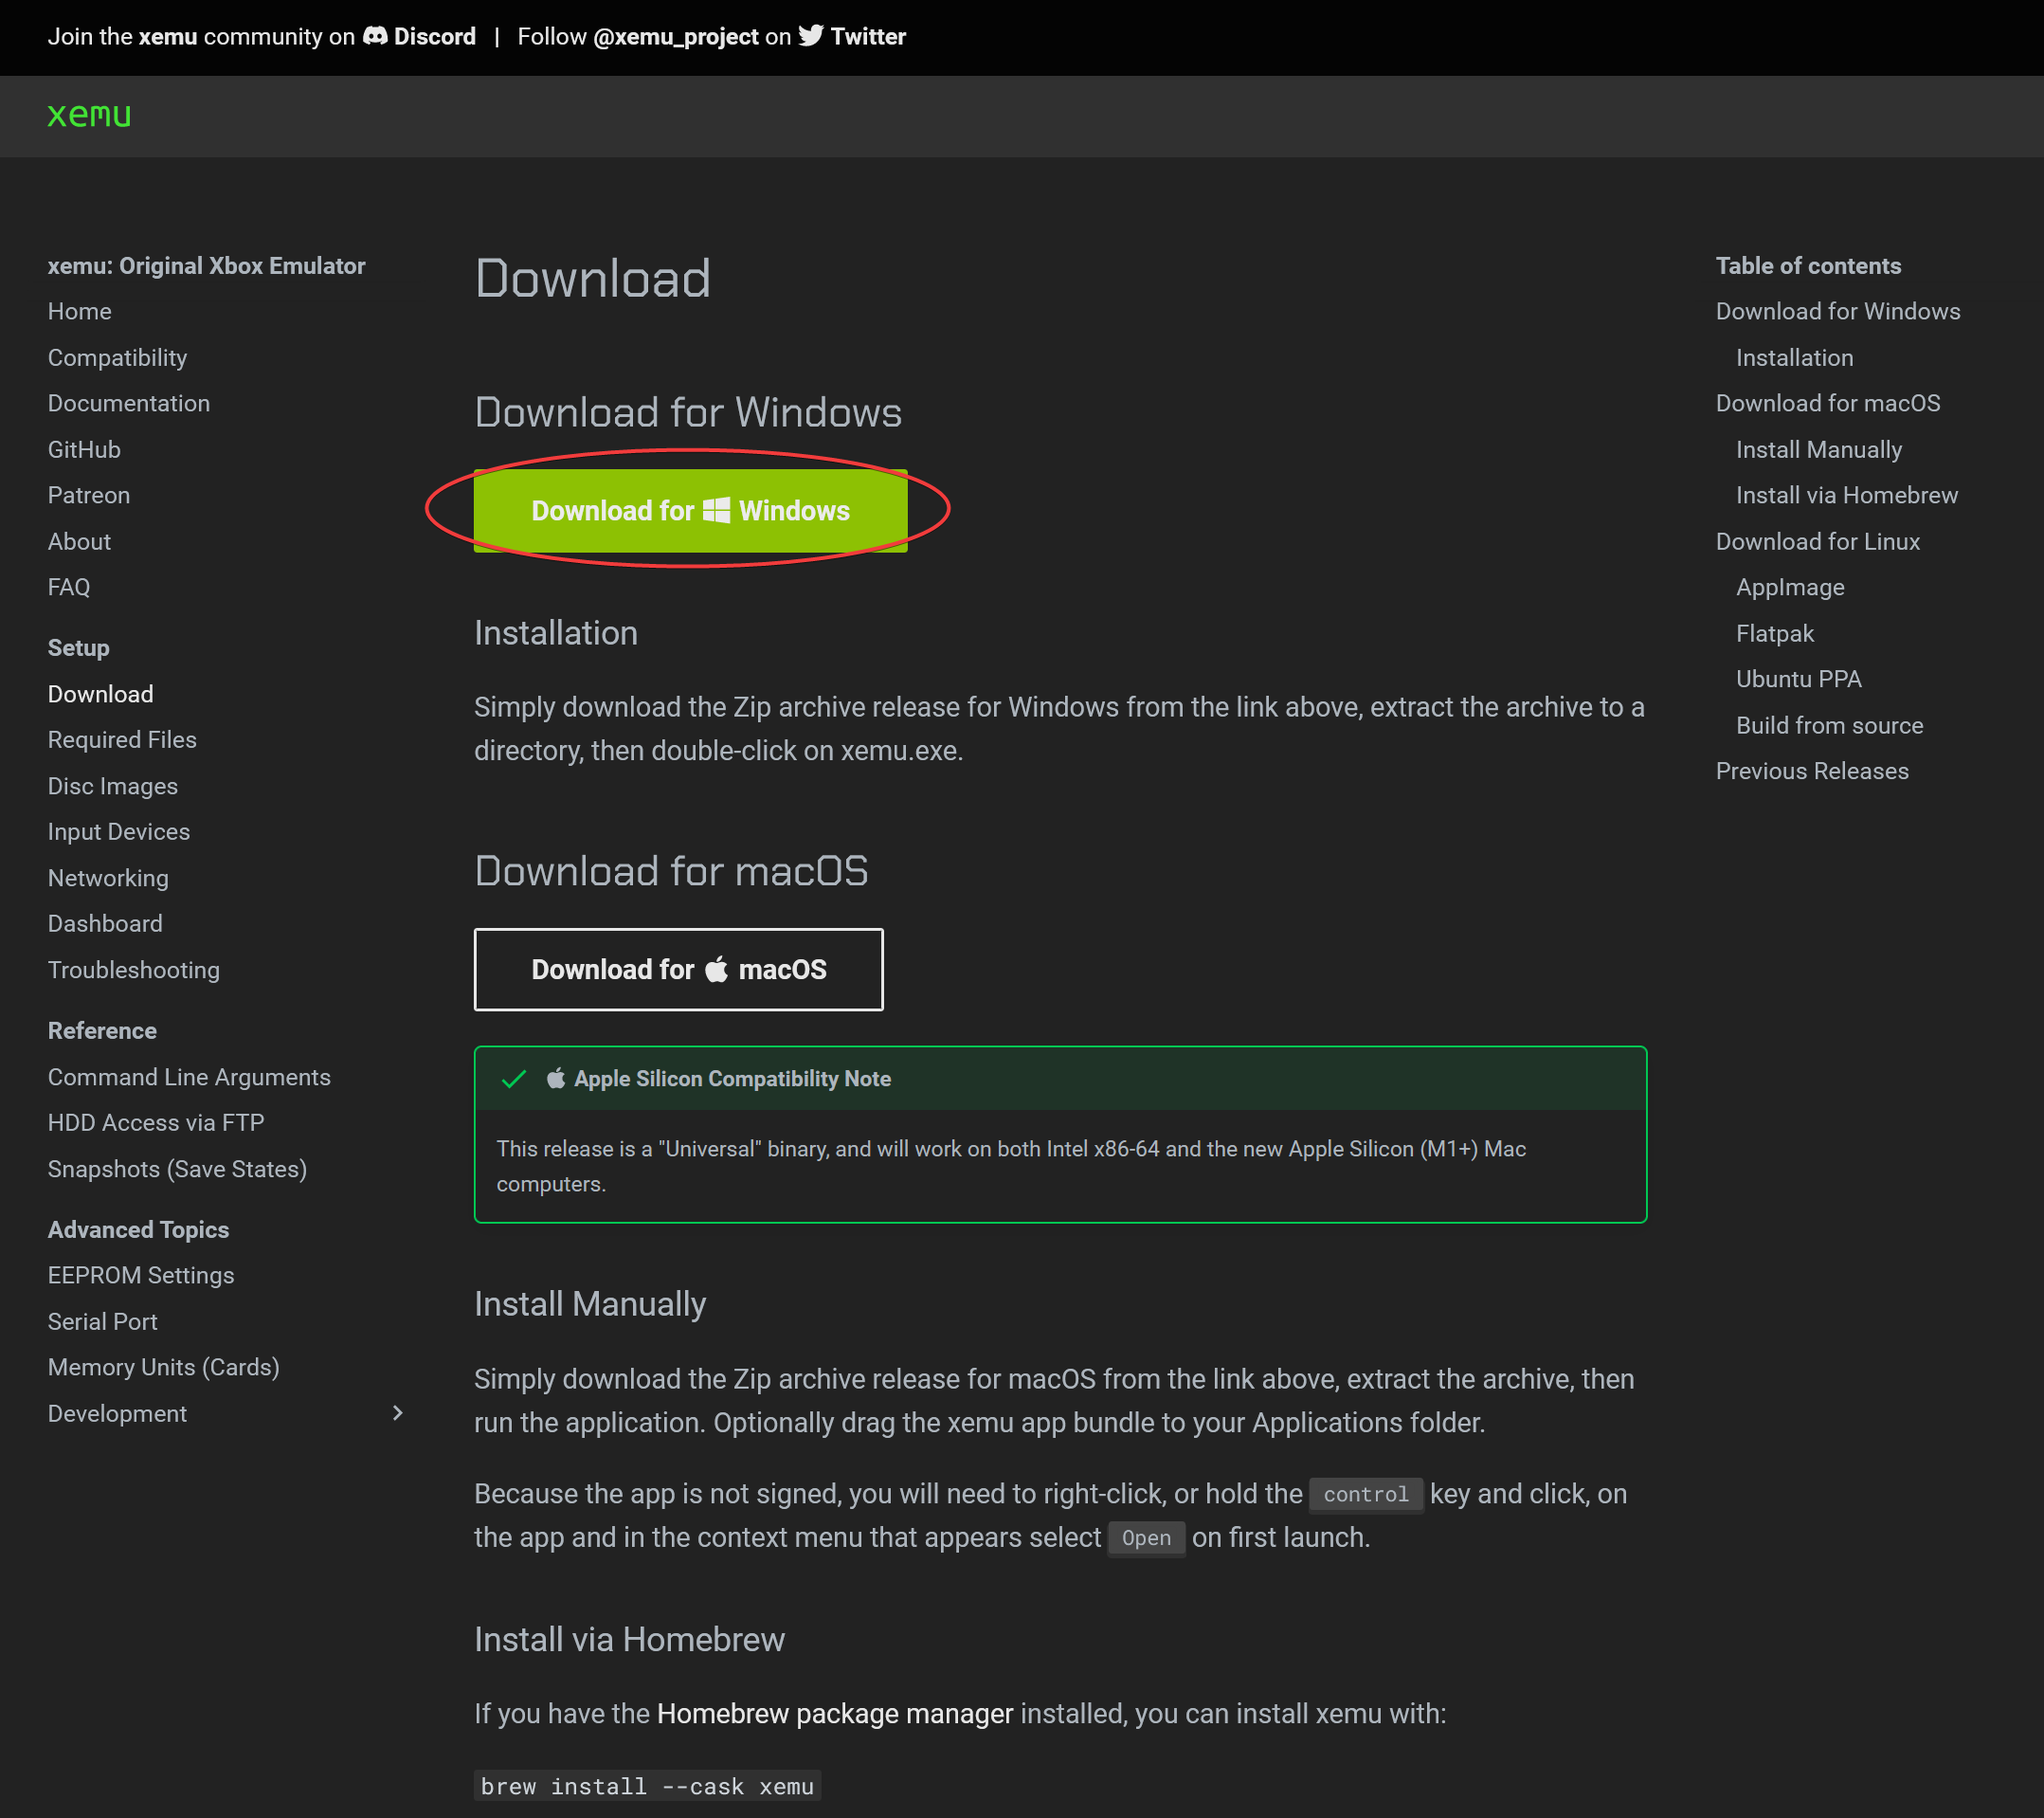
Download the emulator from https://xemu.app/docs/download/
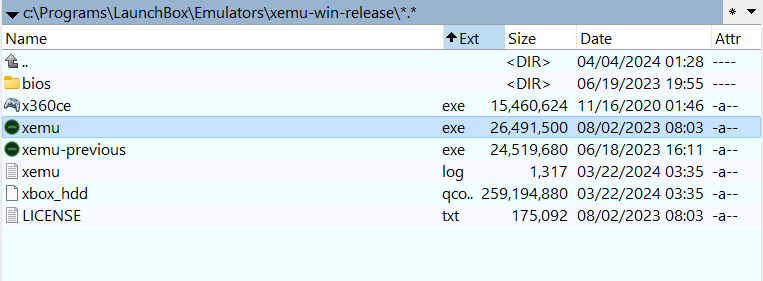
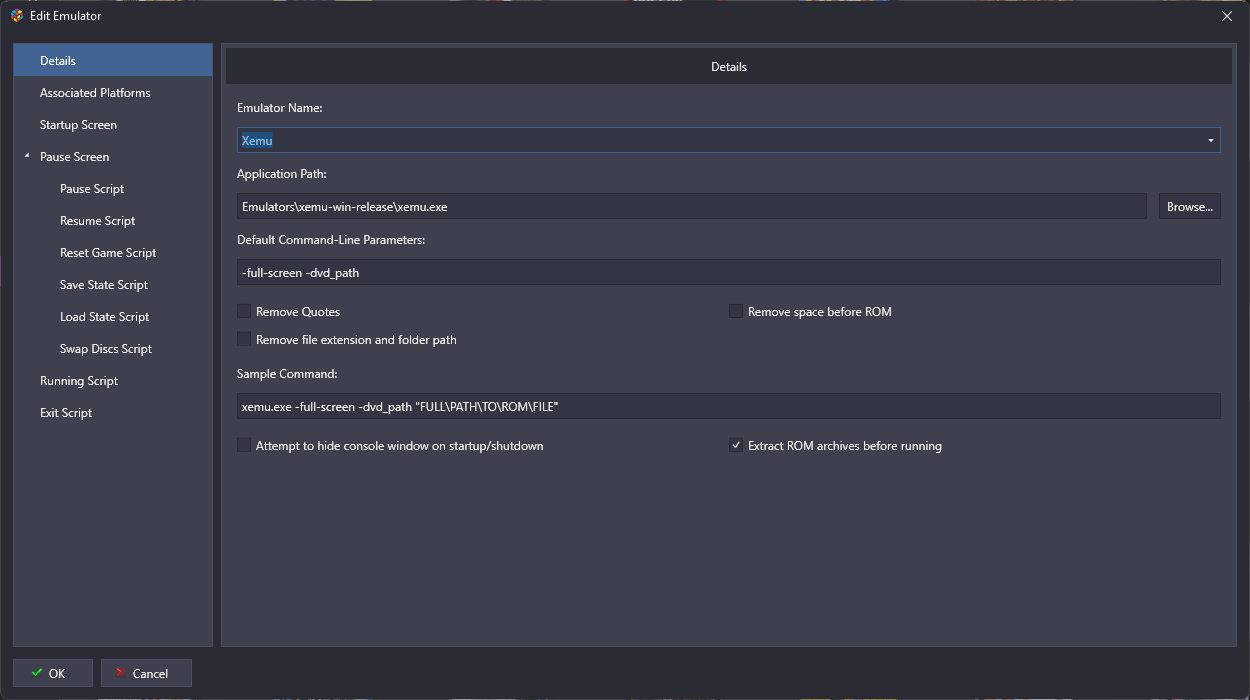
Extract/install to Launchbox\Emulators
Games
Redump ISO cannot be loaded directly to the Xemu emulator because it doesn’t show the game partition, just the default. Xemu only support xiso ISO images.
Convert ISO to XISO
Method 1: Repackinator + CTool
WARNING
This method does not work and is kept for historical purpose. See Method 2: extract-xiso instead.
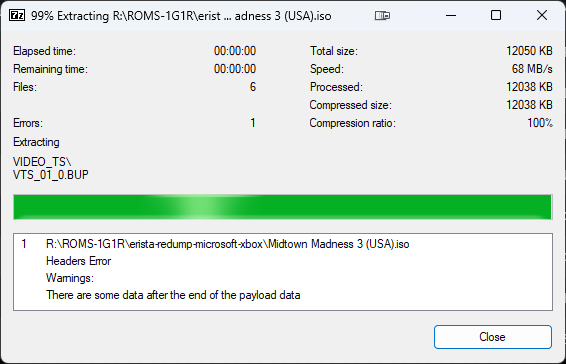
If you tried to extract the ISO using either WinRAR or 7-Zip, you will encounter the following error.
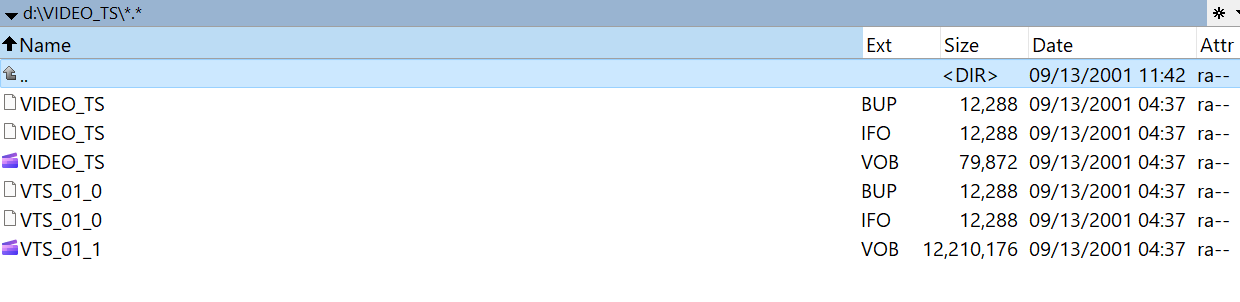
And upon mounting the ISO, the system would only see the Video folder.
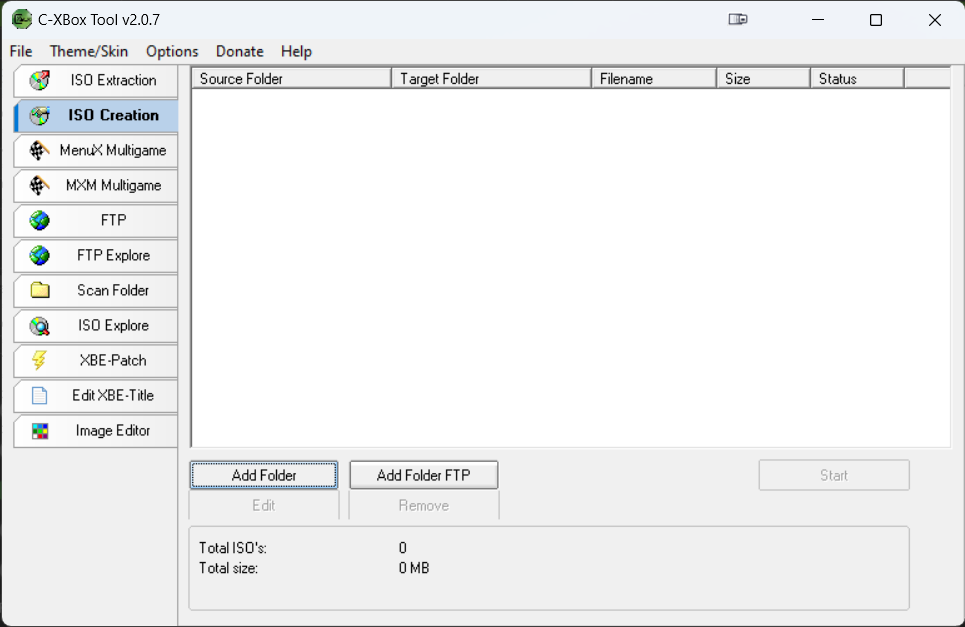
To solve this issue, we have to use tools to convert it to xiso file. The C-Xbox Tool that most people recommend won’t work for Redump ISO.
Instead, we will use https://github.com/Team-Resurgent/Repackinator, which is designed to be a modern all-in-one ISO management tool for the Original Xbox games.
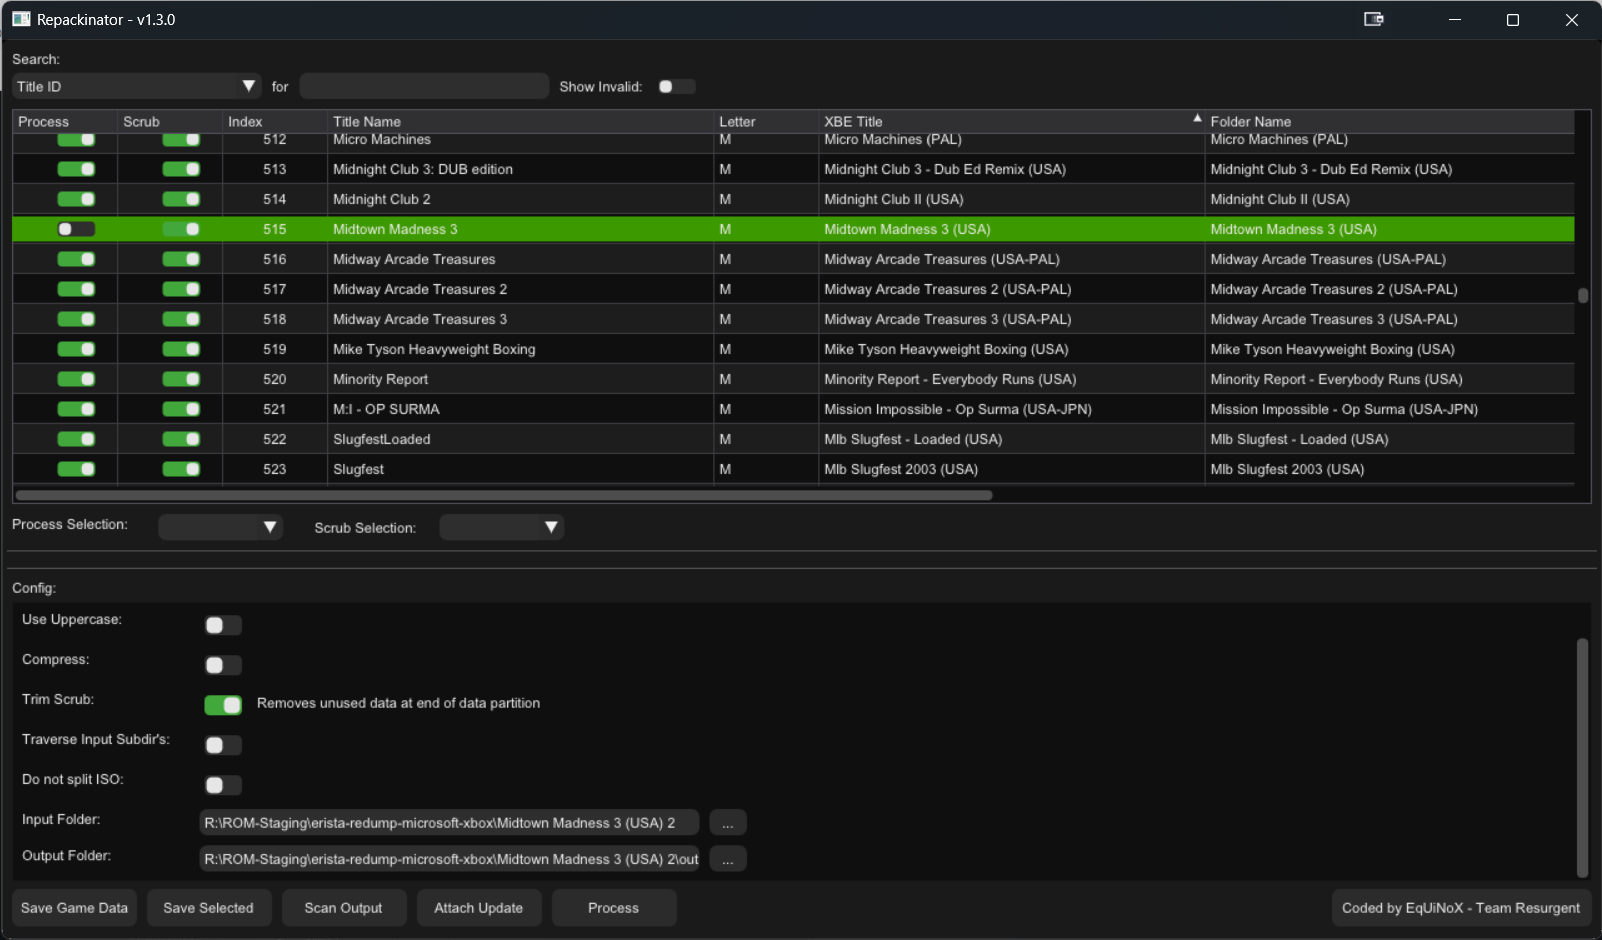
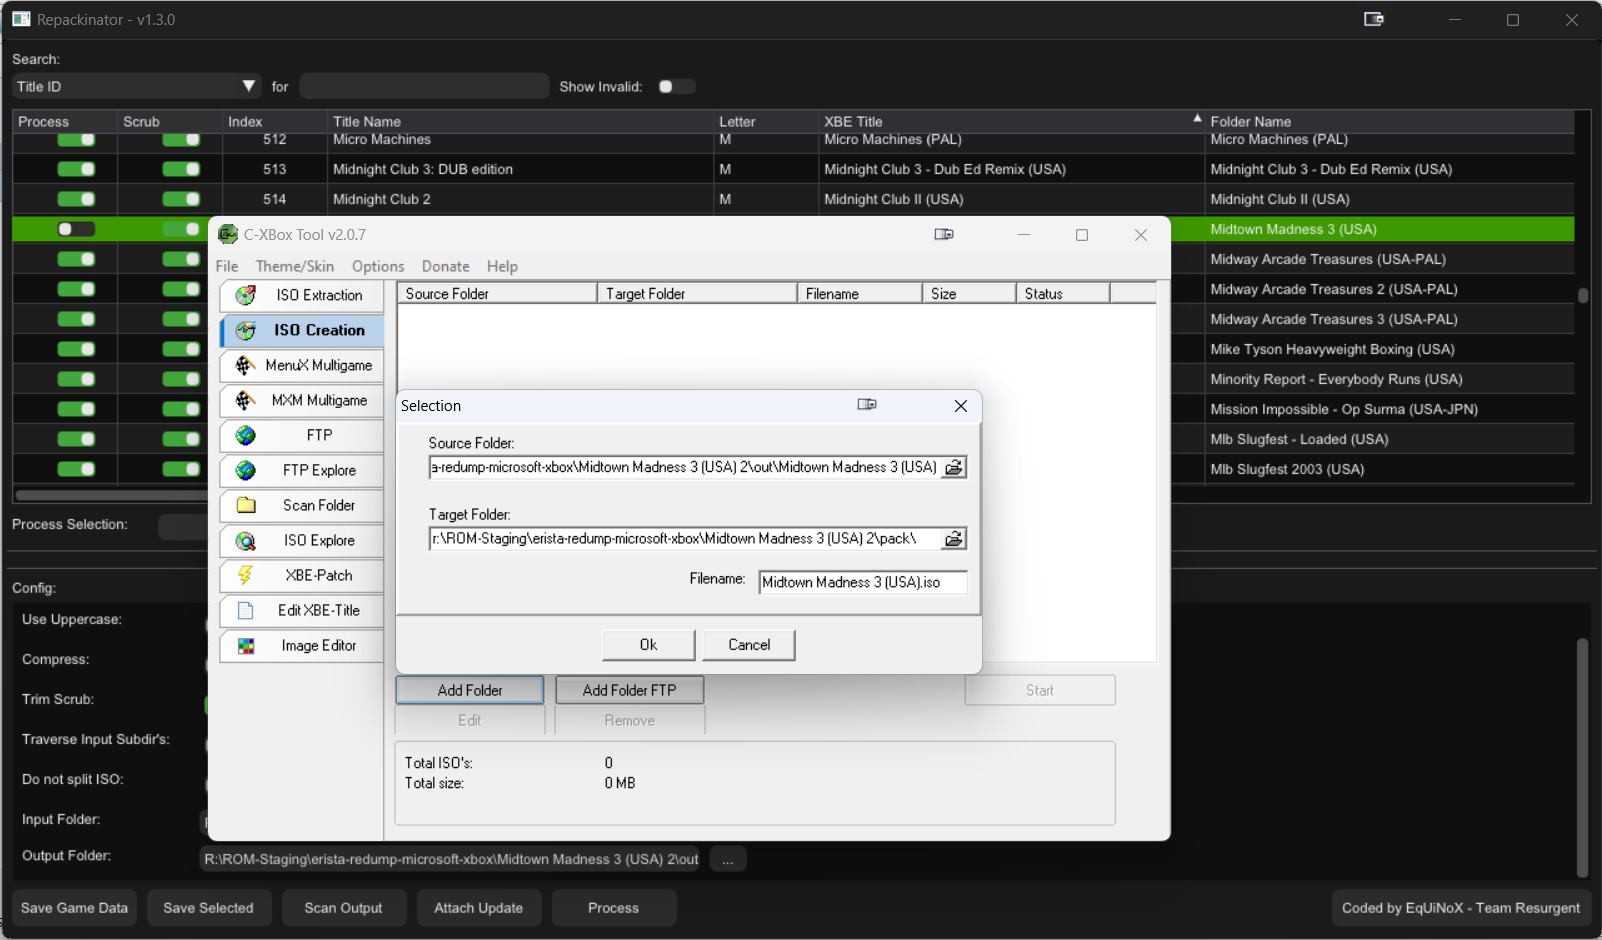
I chose Midtown Madness 3 game. Be sure to check Trim Scrub to remove unused data at the end of data partition to save some spaces.
Next, set the Input Folder which is the folder that contains Redump ISO game, and output folder to store the extracted game data.
After repacking
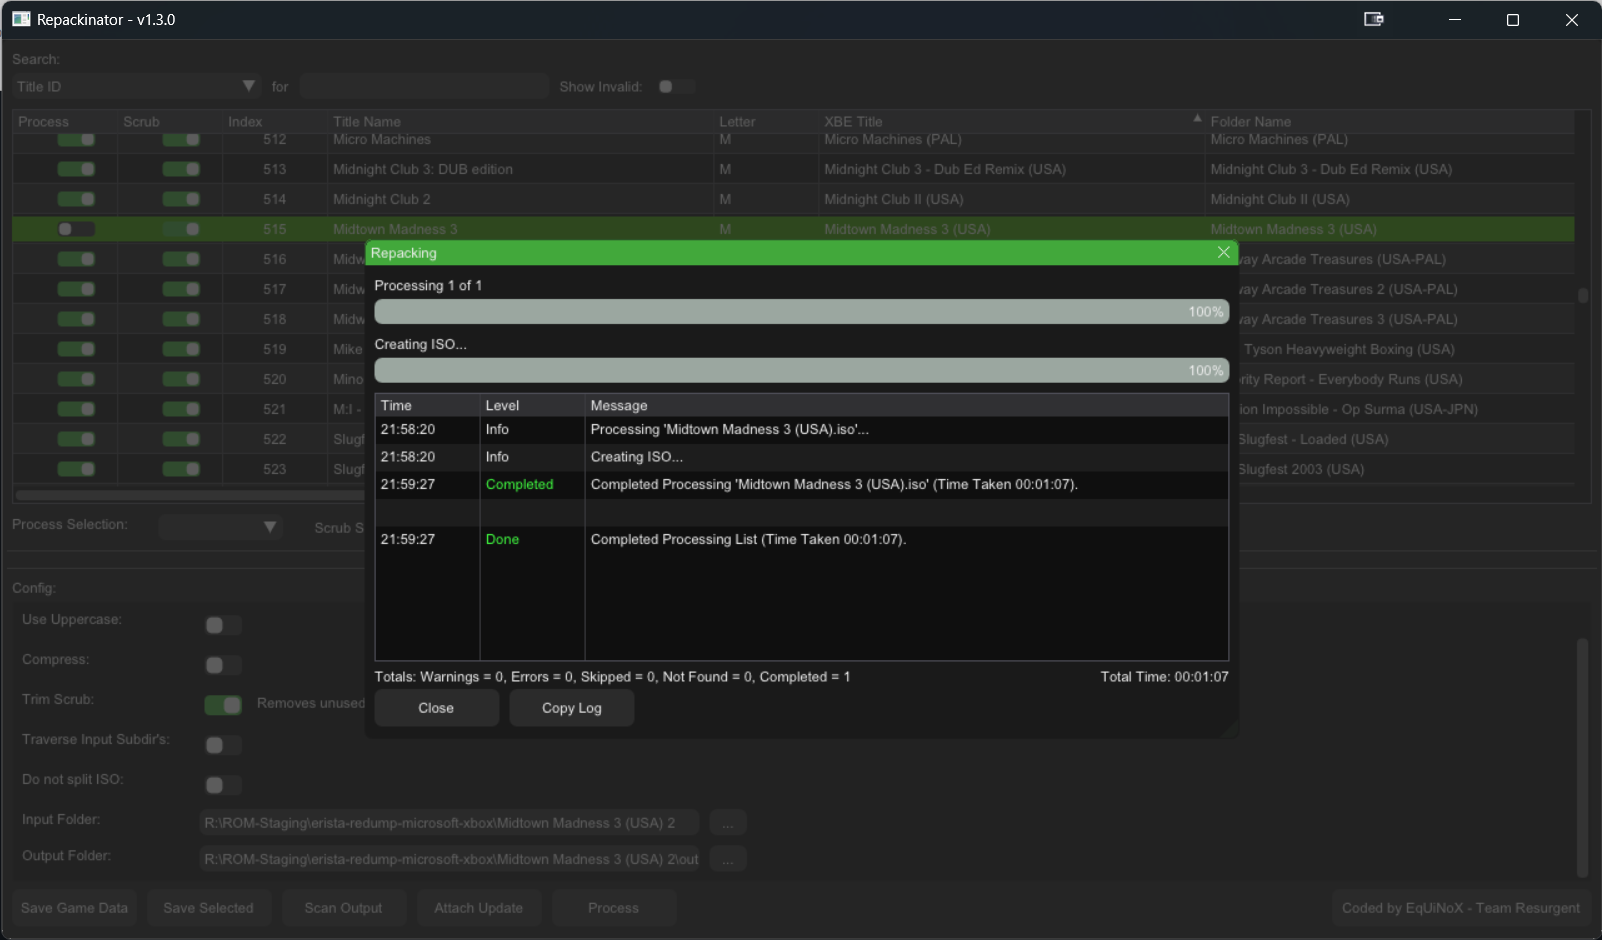
Contents of the output folder after the job is completed.

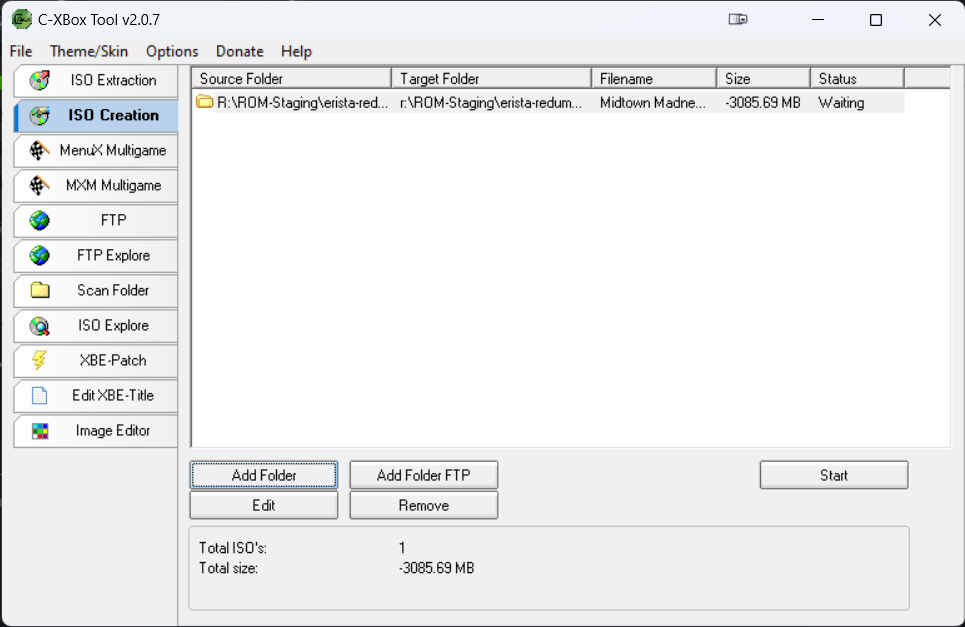
Next, we’ll use C-Tool and select the output folder to repack it into XISO
And if you thought that would work! Wrong!!!
Method 2: extract-xiso
TIP
This is the recommended way to convert .iso to .xiso and confirmed to work on xemu emulator!
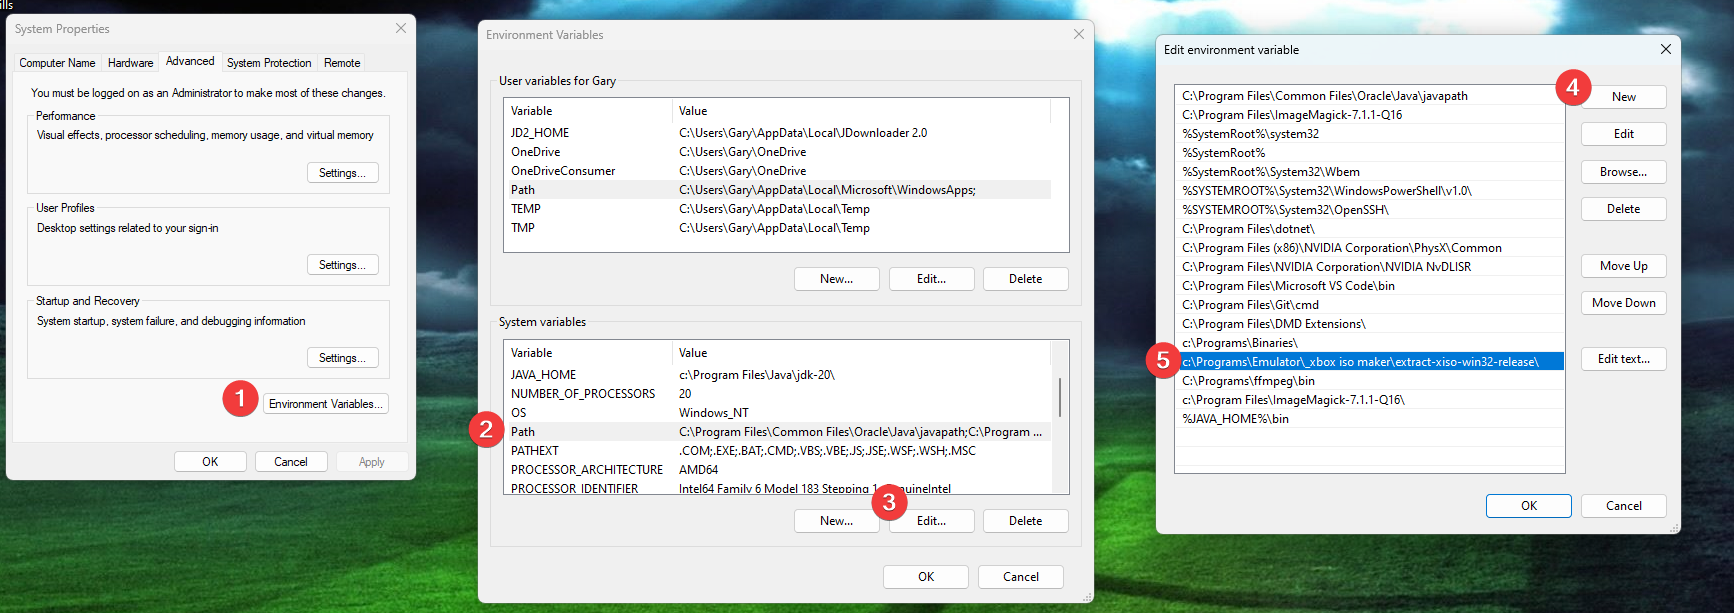
Download extract-xiso from https://github.com/XboxDev/extract-xiso/releases/tag/build-202303040307.
Then add it to your system environment path.
Open up your Windows command prompt, then run the following to extract Redump ISO content
extract-xiso -r "Midtown Madness 3 (USA).iso"It will create a compressed xiso file but will rename it as .iso. The original ISO will be renamed as .iso.old.
Notice how the compressed iso is much lower than the original ISO! 7.8GB vs 2.8GB!

Emulator Setup
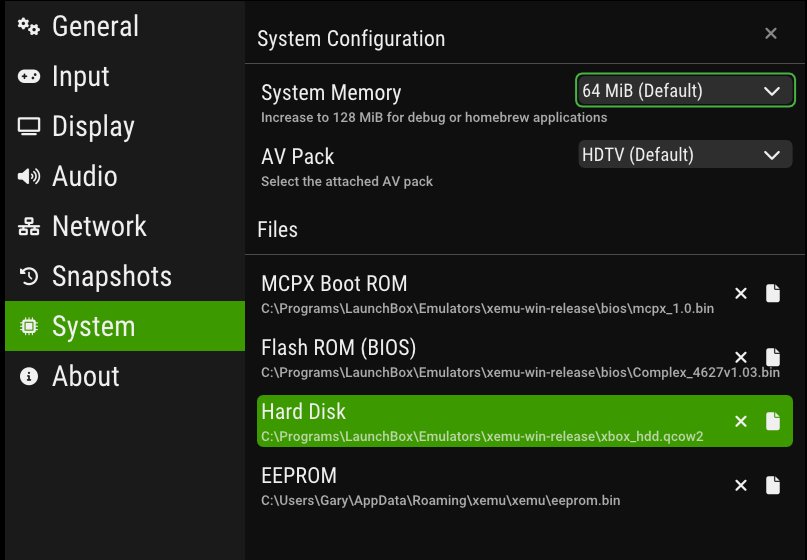
When launching xemu for the first time, it will prompt you to setup 3 files, BIOS, …
Download the BIOS pack from https://archive.org/download/xemu-files and the qemu hard disk from https://github.com/xqemu/xqemu-hdd-image/releases/tag/v1.0. Then setup the paths.
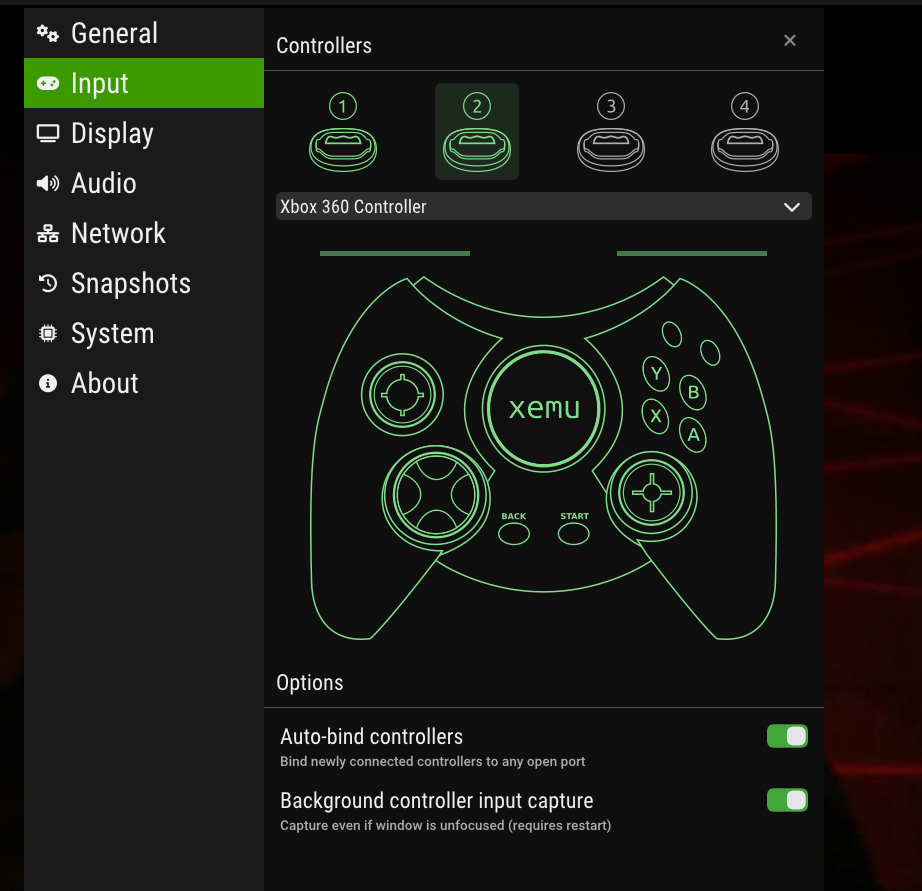
Controls
Xemu emulator only support real Xbox controller. To use keyboard, you have to install a Virtual Xbox controller which will translate physical keyboard keys into XInput buttons.
There are several options here:
- vJoy + GPDSCK + x360CE
- Virtual Controller
- UCR ← I chose this!
Read https://www.notion.so/UCR-Universal-Control-Remapper-f43b8a0ed90b477992403d4faef5703a?pvs=12 for more info!
With the virtual controller setup, finally you can now launch xemu emulator and you should see a new controller Microsoft Xbox Controller, which is the virtual controller that we just setup.
Hot Keys
Launchbox Setup
Fortunately xemu support loading xiso directly, unlike RPCS3 which require mounting the .iso via CD mount program separately! That saves us of having to use DaemonTools to mount the disc!
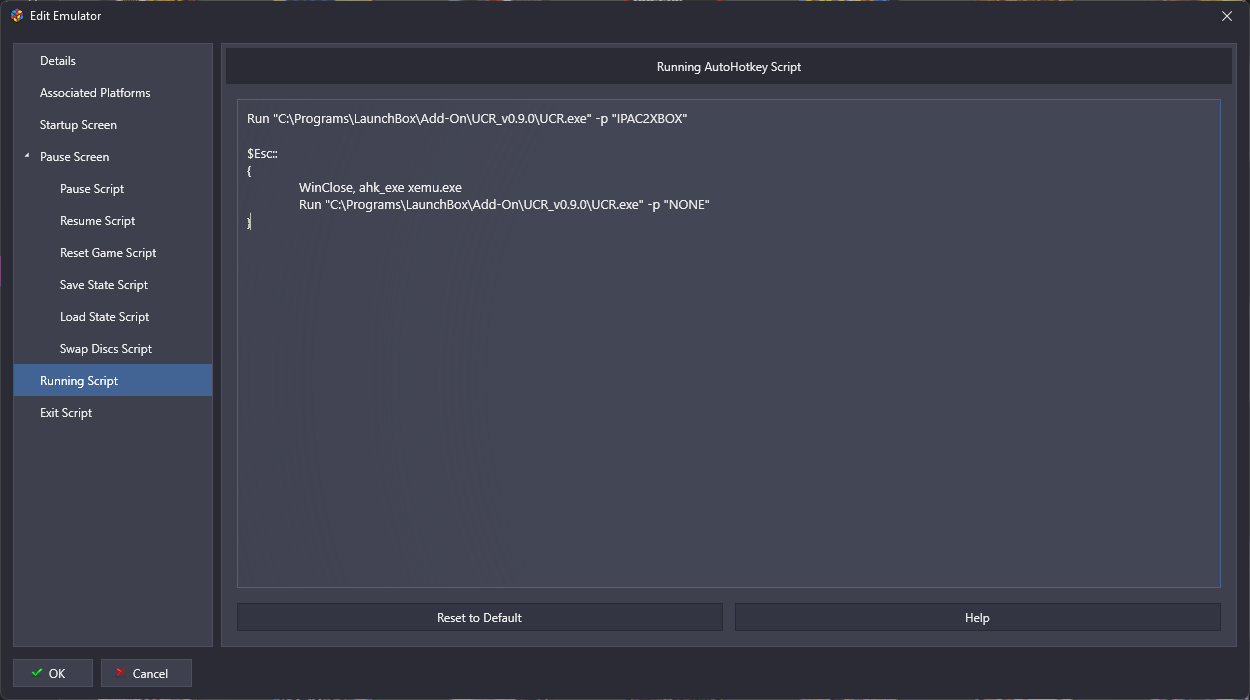
Paste the following into Running Script section which will:
- Load the virtual joystick mapper UCR and set the profile to
IPAC2XBOXto emulate Xbox controller through keyboard keys. - Pressing
Escapebutton exit the emulator and switch UCR profile toNONE.
Run "C:\Programs\LaunchBox\Add-On\UCR_v0.9.0\UCR.exe" -p "IPAC2XBOX"

$Esc::
{
	WinClose, ahk_exe xemu.exe
	Run "C:\Programs\LaunchBox\Add-On\UCR_v0.9.0\UCR.exe" -p "NONE"
}