Overview
Supported Platforms:
- MAME
- MESS
RetroArch libretro_mame core can be configured to emulate MAME and MESS cores.
WARNING
As of March 2024, I decided to use MAME (with MESS included) to launch obscure system instead of using RA libretro_mame core for consistency and better compatibility. The libretro_mame core that RA bundle with is still very old, i.e. MAME 0.253. Current MAME version as of writing is MAME 0.263.
Read MAME Softlist post for more details on emulating these systems with MAME and import to Launchbox.
WARNING
The following writings are included here for historical purposes, or for those that still wanted to emulate using libretro_mame core due to its unifying command system.
The basic step to emulate any MESS system using libretro_mame core is:
- Download
hash.inifrom …. Then copy it toRetroarch/system/mame/hashfolder. - Create a folder matching the XML filename in
Retroarch/system/mame/<xmlfilename>which you will put all the roms for that platform. - Copy the platform bios file, in zipped format in
Retroarch/system/mame/<xmlfilename>/<bios>.zip - Copy the game roms into
Retroarch/system/mame/<xmlfilename> - Launch a game and press
Scroll Lockto enter full keyboard mode. This mode disable all other hotkeys and let you fully use a keyboard for computer-emulating cores like Atari800/DOSBox/VICE/etc. without triggering hotkey side effects. - Press
Tabto show MESS settings, then configure inputs. - Exit the menu and enjoy the game!
See the Tiger Game.com section for a full walkthrough on the settings, then replicate the same for the other platforms.
Tiger Game.com
@ref: https://forums.libretro.com/t/guide-play-non-arcade-systems-with-mame-or-mess/17728
Setup Hash Folder
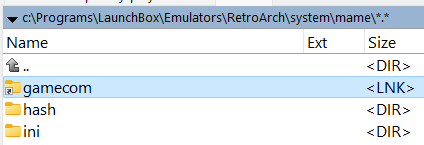
Go to retroarch/system/mame folder and create a hash folder.
Download the xml for the platform from https://github.com/mamedev/mame/blob/master/hash. Since this is Tiger Game.com platform, we will download the gamecom.xml here and put it in the hash folder we created earlier.

Go one level up from the folder, then create a gamecom folder to place all the roms. For me I simply create a NTFS junction link to point to my ROMS folder stored in another drive. Command used: mklink /j gamecom R:/Roms/Tiger [Game.com](http://Game.com). You can simply copy and paste the folder here if you want instead.
Your final folder directory structure should look something like:
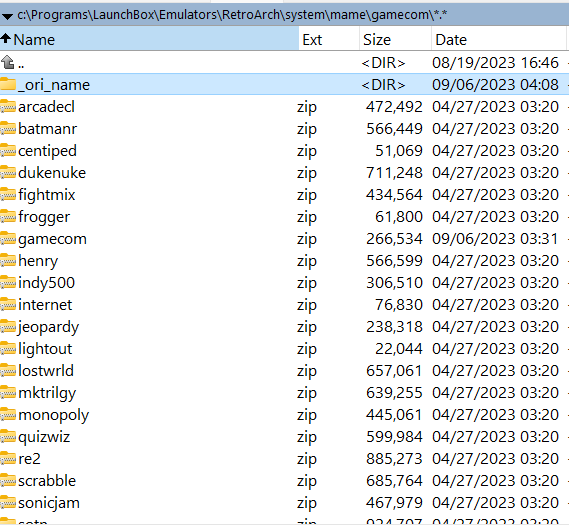
Put all the roms (zipped) into this folder. They have to be named using the short names in the gamecom.xml folder we put into the hash folder earlier.
TIP
The gamecom.zip is the BIOS file and not the game itself. We have to put it in the same folder as the rom folder. See [Setup BIOS] section below on how to get it.
Correct rom file names
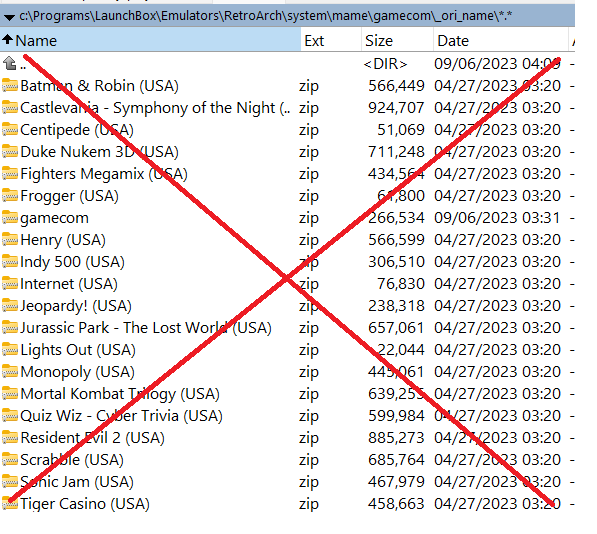
Incorrect ROM file name
TIP
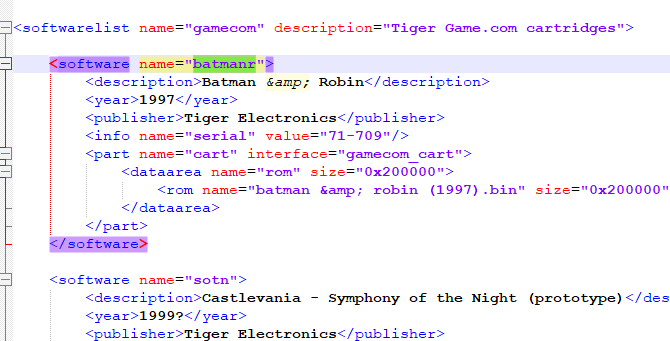
Why the rom filename has to be named as the shortname instead of full game title?
Open the gamecom.xml and you should see the software name="<SHORT_NAME>". In order for RA libretro_mame core to detect the game, the zipped rom name has to be batmanr.zip instead of Batman & Robin (USA).zip. Treat the gamecom.xml as the softlist that mame core will lookup for the game.
Setup BIOS
Download the BIOS gamecom.zip from https://archive.org/download/gamecom/1997 - Game.com/. Alternatively, you can also find it from the MAME merged/non-merged pack that you downloaded.
Place the zip file (DON'T EXTRACT) into the gamecom folder we created earlier, e.g. retroarch/system/mame/gamecom
Configure Core
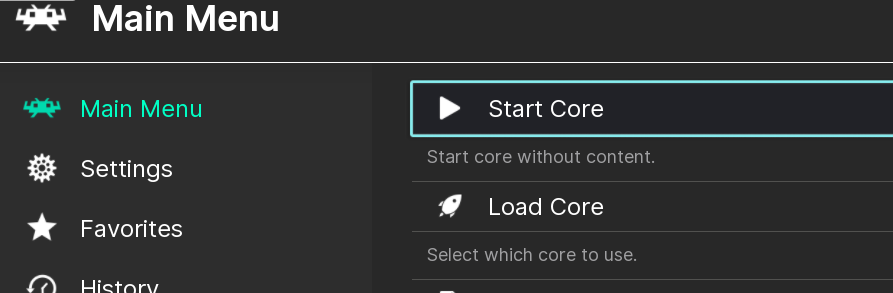
Launch Retroarch.exe and select MAME core,
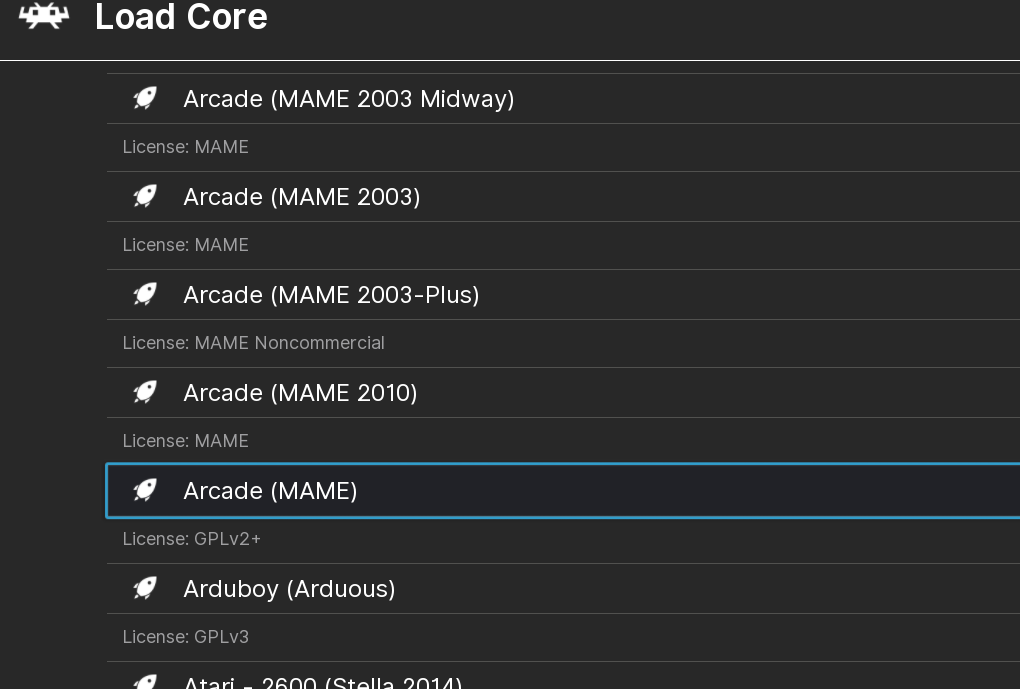
Press Start Core
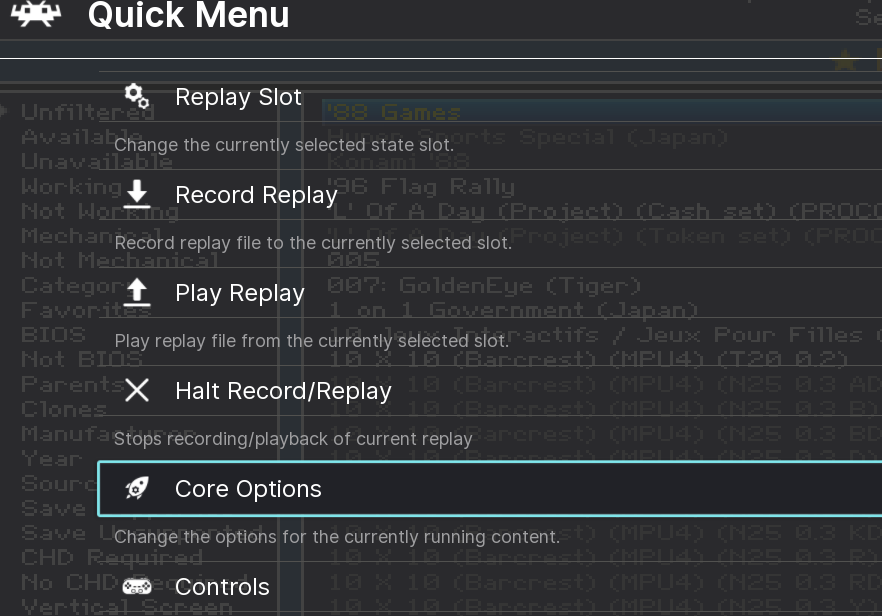
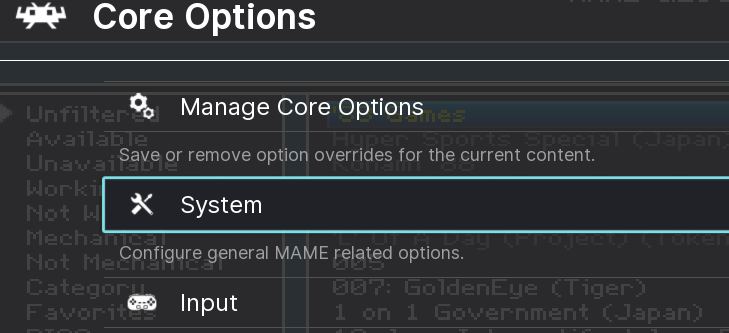
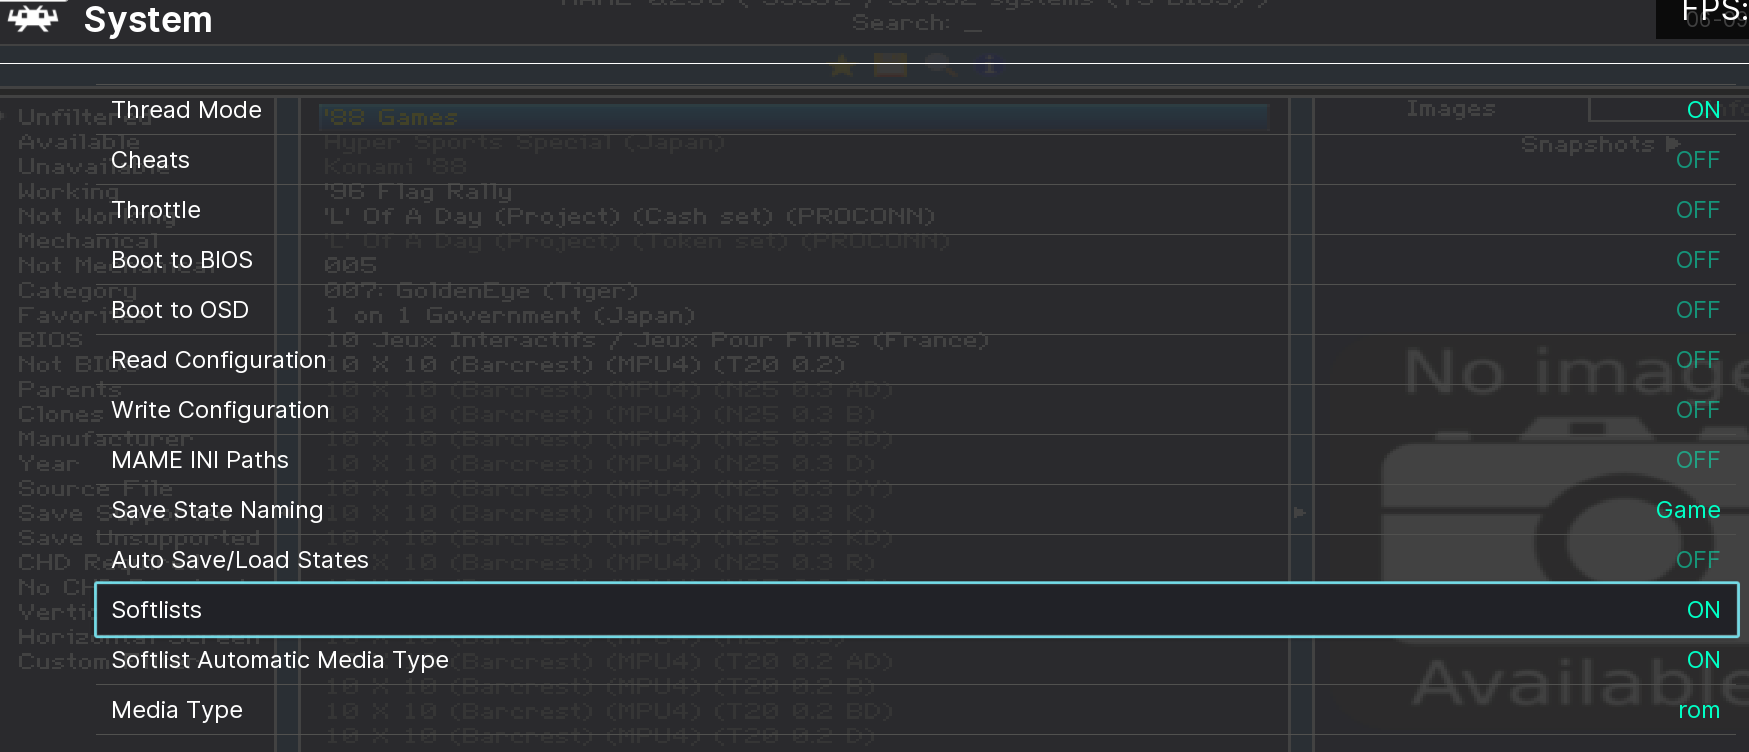
Go to Retroarch Settings (default key: F1), then select Core Options > System and make sure Soft List is Enabled. By default it should be set to Enabled .
Configure Controls
Load a game (.zip) from the rom path earlier. When in game, you might noticed that the controls in RA won’t be mapped to the MAME core, this is because the mame core uses its own set of controls.
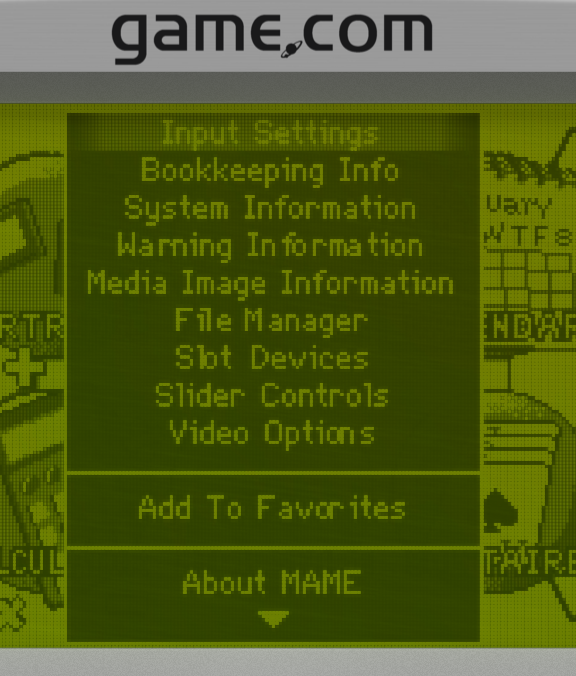
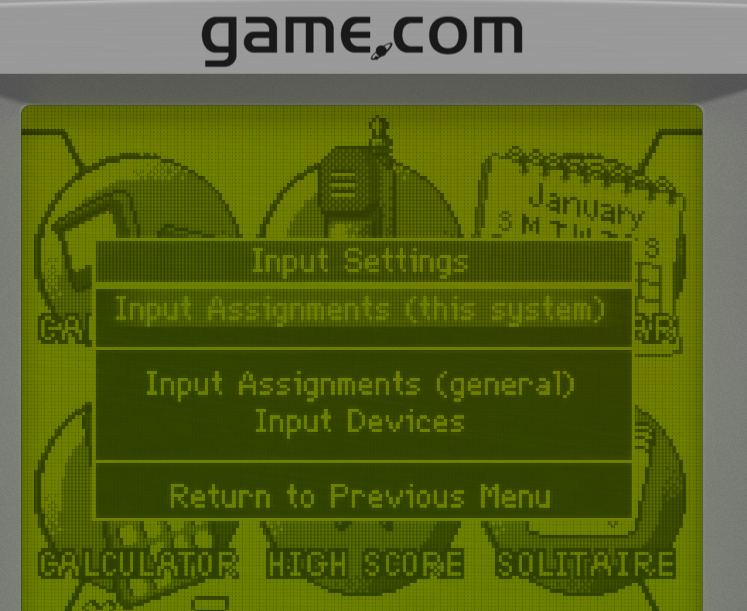
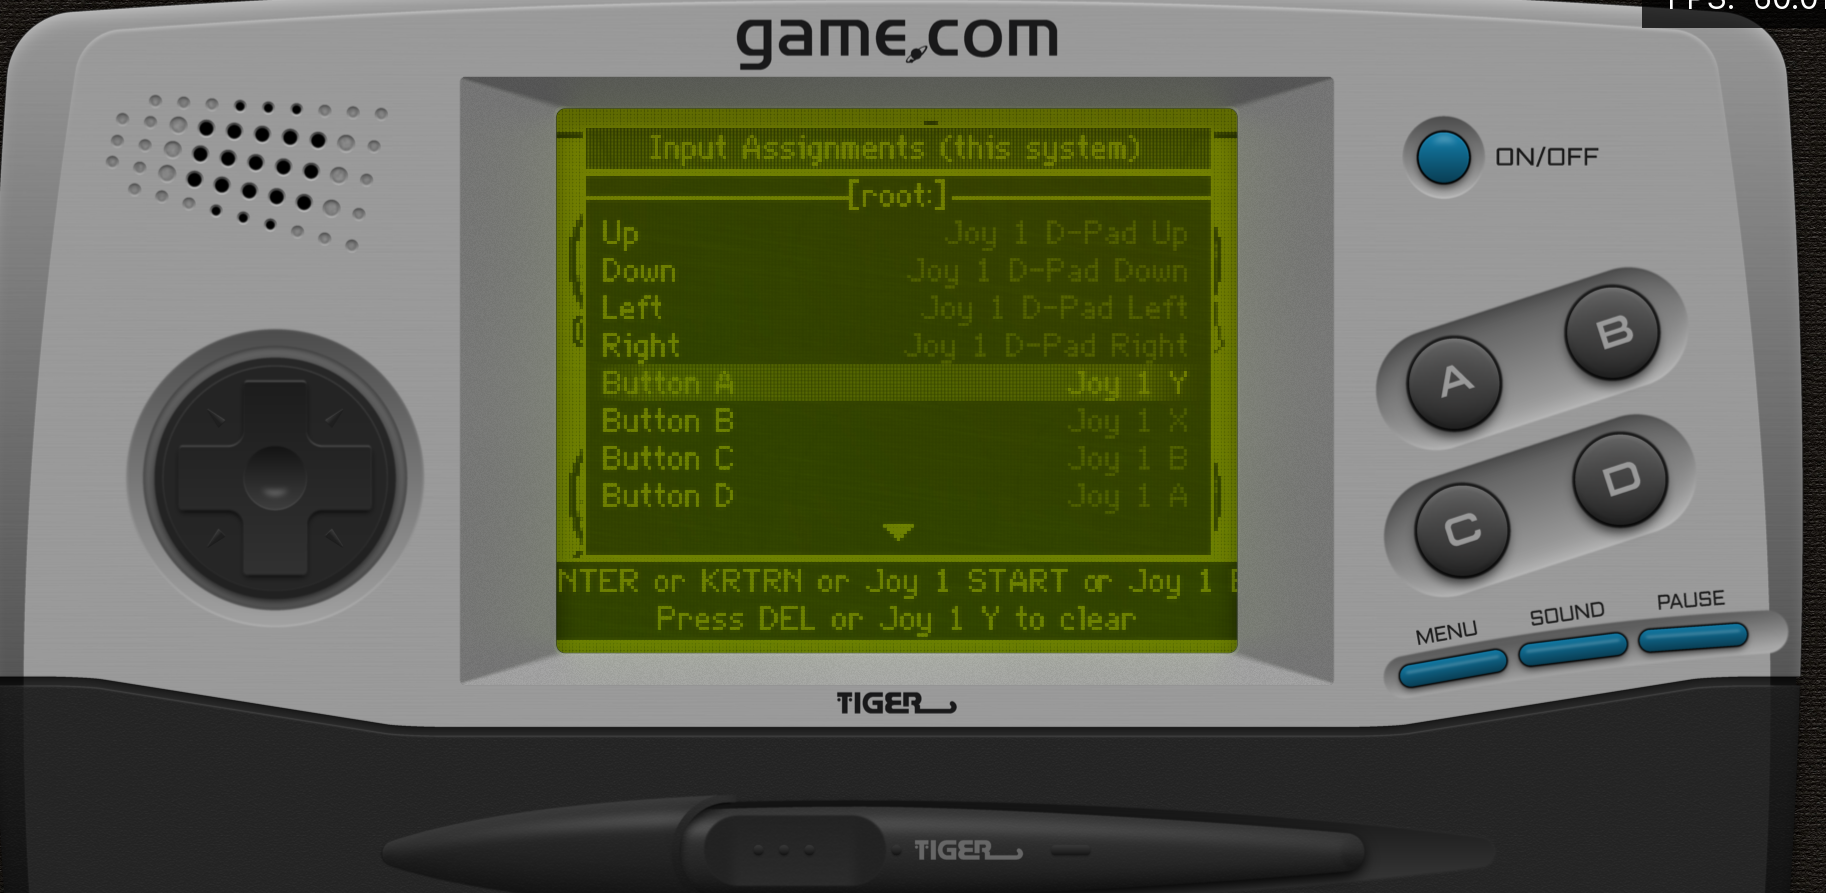
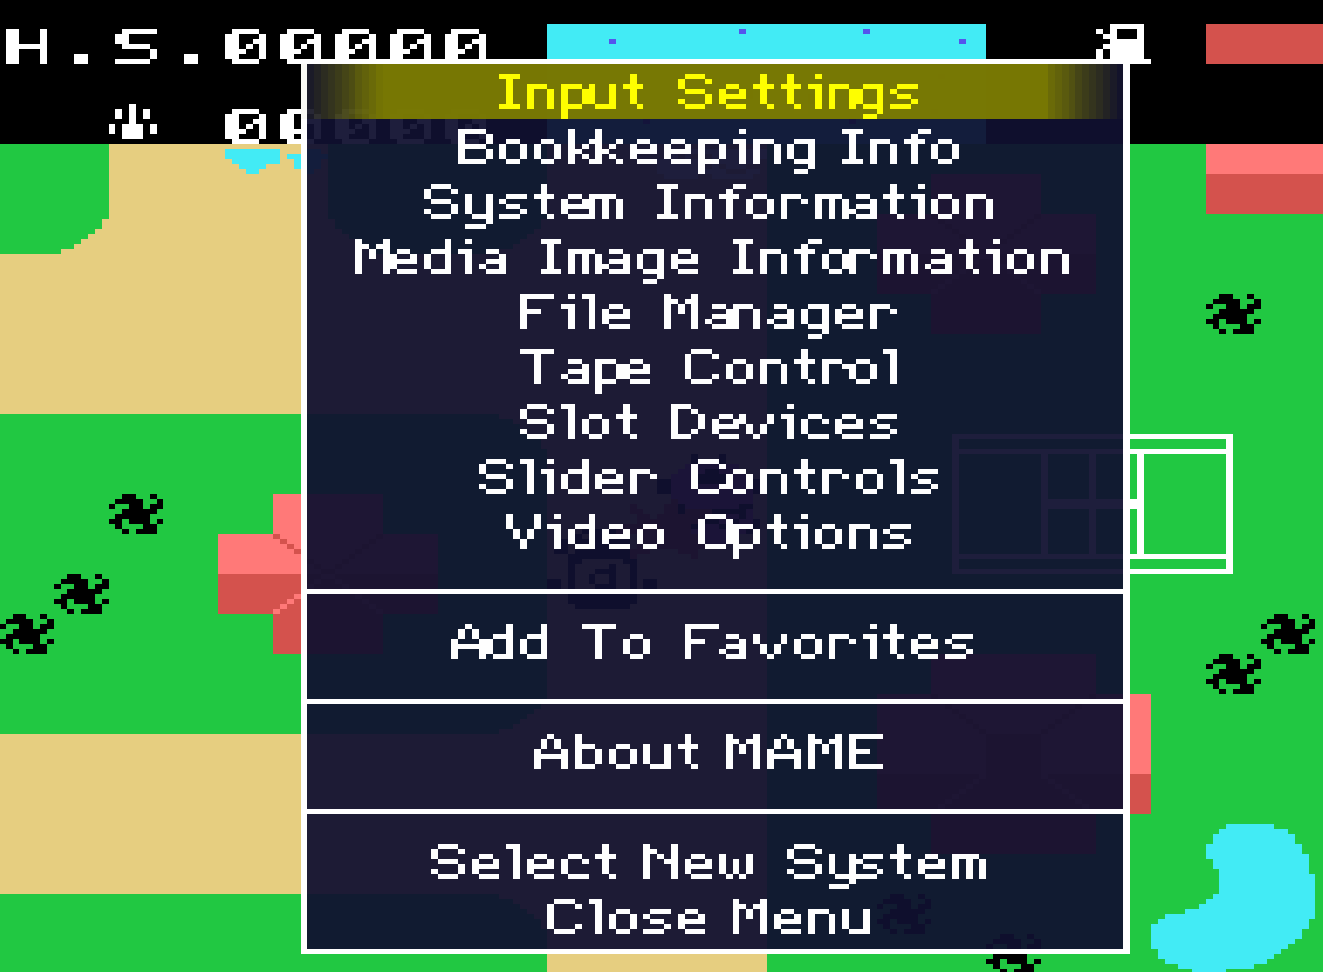
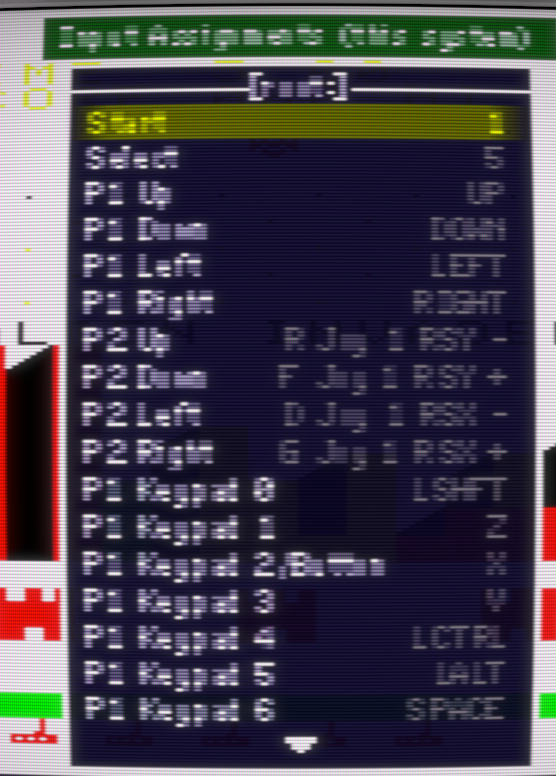
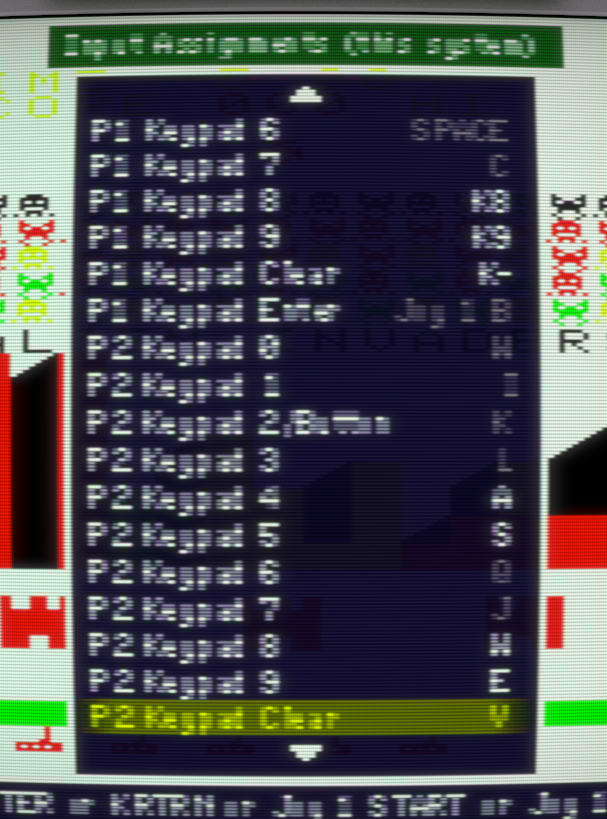
To setup the controls instead, press TAB after launching the game. Then select Input Settings > Input Assignments (this system).
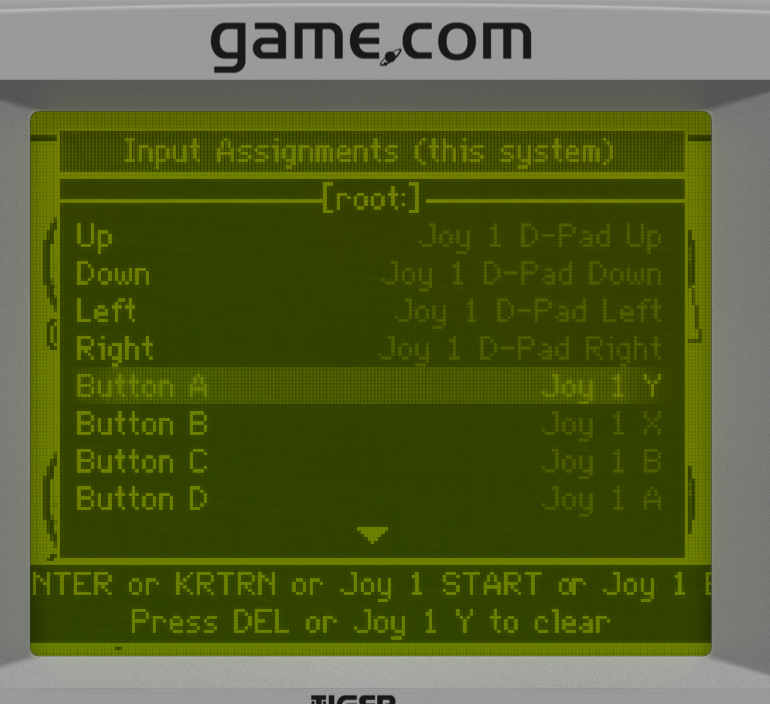
Configure the controls here. Note that the Joy 1 name is passed from RA!
Final Result
Other Notes
- You don’t have to rename the actual rom inside each zip file, because MAME core will auto detect the SHA signature and match the rom appropriately. If a game refuse to load (Retroarch just flash exit), it simply means the checksum for the rom doesn’t match with the hash XML.
Epoch Super Cassette Vision
BIOS:
- ?
Hash XML: https://github.com/mamedev/mame/blob/master/hash/scv.xml
VTech Creativision
BIOS: crvision.zip
Hash XML: https://github.com/mamedev/mame/blob/master/hash/crvision.xml
Press Scroll Lock twice until you see Game Focus off. At this point pressing TAB should show the MESS menu.
Setup input for Reset, Up/Down/Left/Right, Button 1 and Button 2. Be sure to set RESET key because you need to press that to start every game. Basically VTech Creativision games require you to first press the Reset key, then select difficulty, then enter Game mode again.
Exit the menu.
Correct sequence when running any VTech Creativision games:
- Press
Scroll Lockuntil you seeUI Controls Enabled. - Press
Resetkey and any music should stop. - Press
Button 1 or 2to select difficulty. - Press
Scroll Lockand you should seeGame focus onon the bottom left. - Press any key, e.g.
cand the music should start. - Press
Scroll Lockagain until you seeUI controls enabled. Then the controls should be working, e.g. d-pad.
Notes from others
For Creativision you need to first enter keyboard mode. Press the Scroll Lock key on your keyboard. If you don't press Scroll Lock, TAB will not work to enter the MESS menu.
You should get a popup saying you are now in that other mode. Now press TAB. You will get the MESS menu. As before, go to "Input (this machine)."
The Creativision used little overlays in the controllers. Their controller had a joystick, two buttons, and half of a computer keyboard (you could stick them together and make a full keyboard!). All the Creativision games with the exception of two used the same layout for their controls, despite the multiplicity of keys.
Map RESET to your start or select button.
Player one:
Map buttons 1 and 2 to your two fire buttons.
Map B or 6 to a third button. This will typically be called "start" in the game. In Astro Pinball it is the serve button.
Player two:
Map buttons 1 and 2 to your two fire buttons.
Map N or 7 to a third button. This will typically be called "start" in the game. In Astro Pinball it is the serve button.
The two games that are an exception are Music Maker and Tank Attack. Music Maker basically requires an entire keyboard.
If you plan to play Tank Attack you should map these additional keys:
Player 1:
Q or A will be "Lay Mine"
T or G will be "Switch Tank"
Player 2:
; or P will be "Lay Mine"
Y or H will be "Switch Tank"
You can browse the overlays on Creativision emulator sites to see what they looked like and what keys they covered.
To start a game, you will usually hit RESET (e.g., Start or Select) and then whatever you mapped to B or 6. A game like Air/Sea Attack has you hit RESET, then select difficulty with either of the fire buttons, then hit START (which would be B or 6).
After mapping the Creativision, choose "Return to Previous Menu" and "Return to machine." Then once again press Scroll Lock to return to normal input mode. Now you can play.
Bally Astrocade
Download the following BIOS from https://archive.org/download/mame-0.240-roms-split_202201/MAME 0.240 ROMs (split)/. Put them into Retroarch\system.
BIOS:
- astrocde.zip
- astrocdl.zip
- astrocdw.ziP
Hash XML: https://github.com/mamedev/mame/blob/master/hash/astrocde.xml
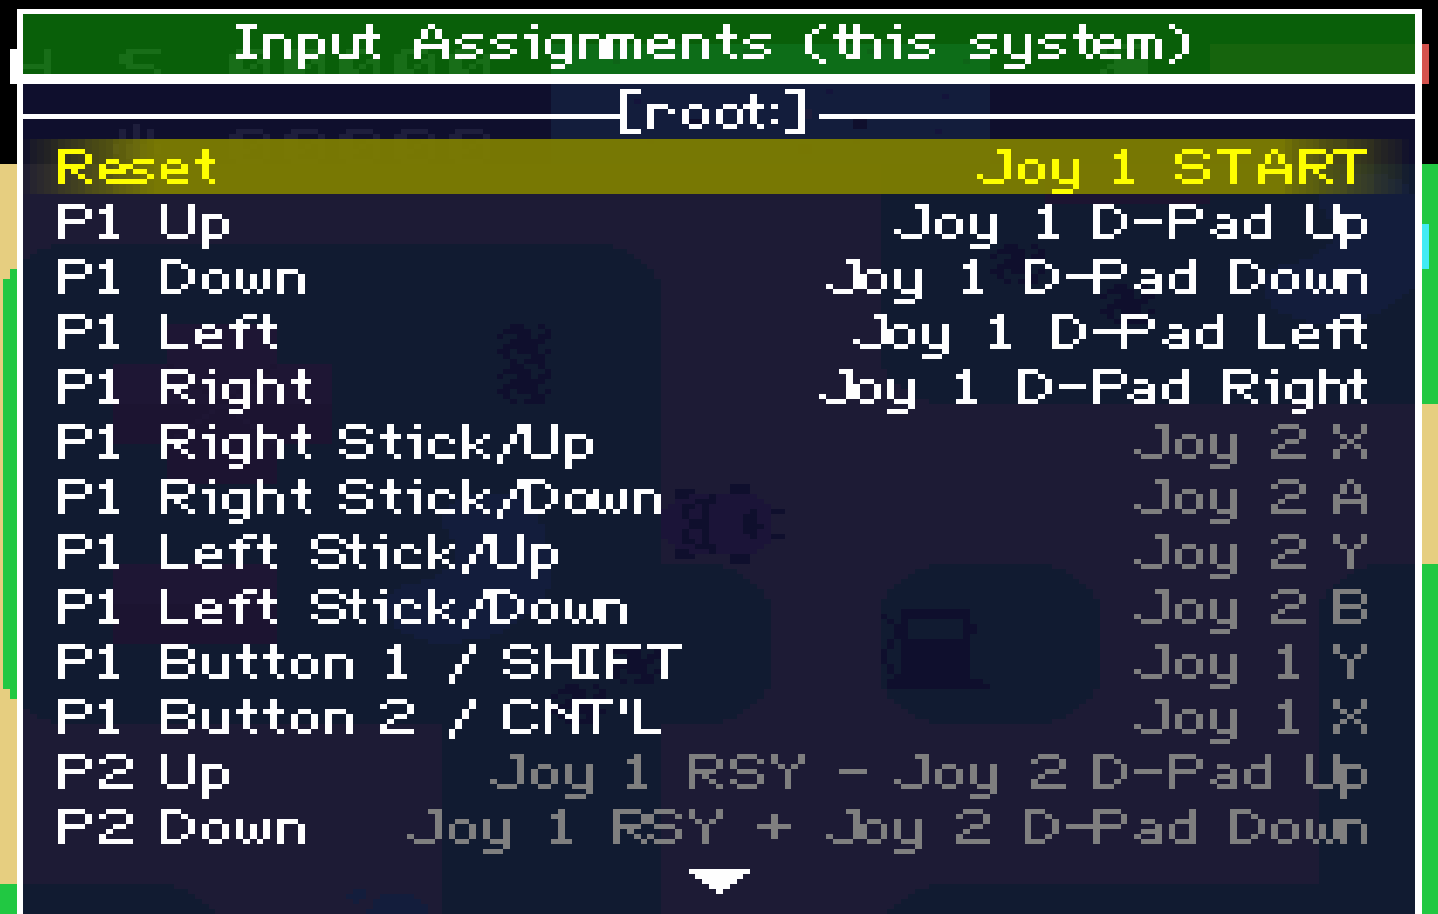
Inputs:
Emerson Arcadia
BIOS: Not needed
Hash XML: https://github.com/mamedev/mame/blob/master/hash/arcadia.xml
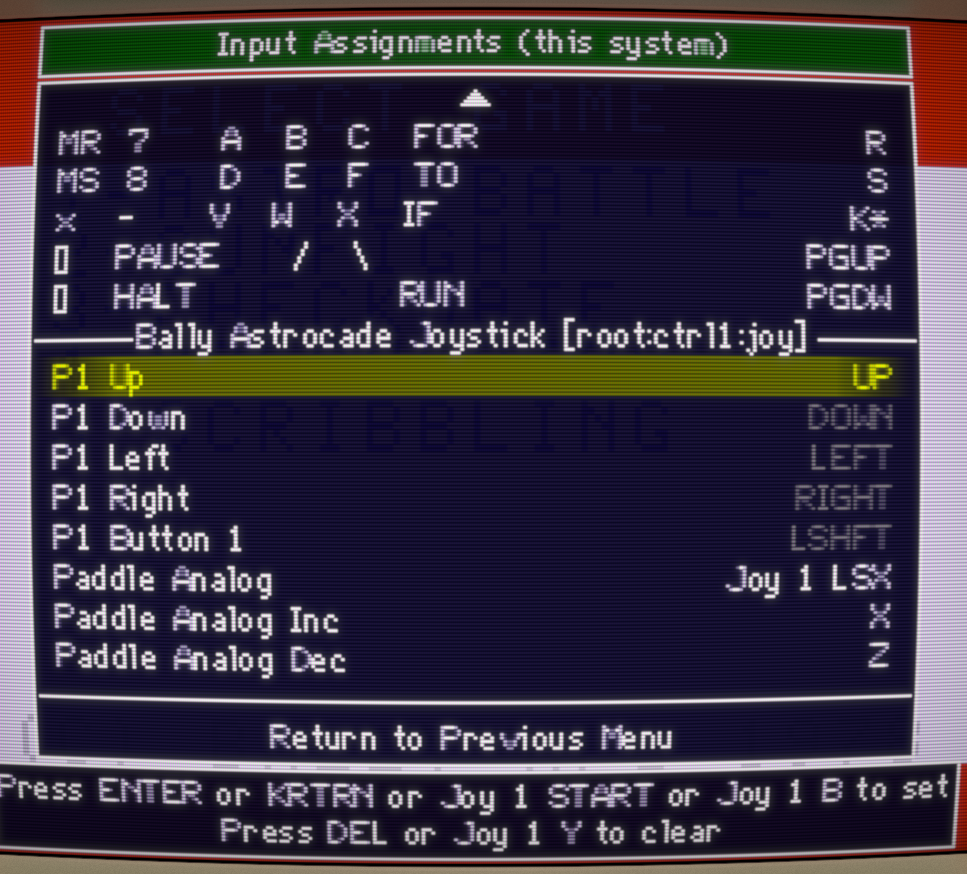
Inputs:
VTech V.Smile
BIOS: vsmile.zip
Put BIOS in retroarch\system
For the ROM folder, be sure to create a folder called vsmile instead of the name of the hash XML vsmile_cart.
Launchbox Setup
...